必要な工具と部品
-
-
-
Slide the phone open. Notice on the edges around the keyboard, there is a thick casing. Remove this casing, instructions below…
-
Placing two dominant fingers on the back plate where the battery was, use your thumb finger nail (or prying utensil) and place it on the edge of this thin casing. Firmly, push down with your finger nail (prying utensil) around the casing from left to right. Disconnect casing from keyboard section. Flip the phone over and remove it.
-
-
-
Using your prying tool, lift the green circuit board platform off the black casing and gently disconnect the connection point between the tether and the green circuit board.
-
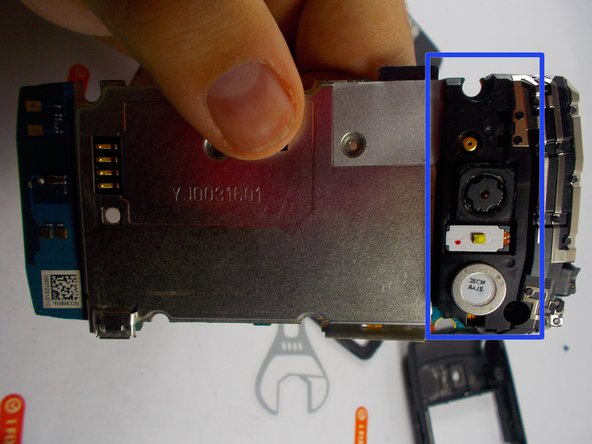
Flip phone over, and notice where the camera lies on the other side, there are three small clips connecting a black casing over the section of the phone. Gently using your hands or the prying tool, take these clips off.
-
-
-
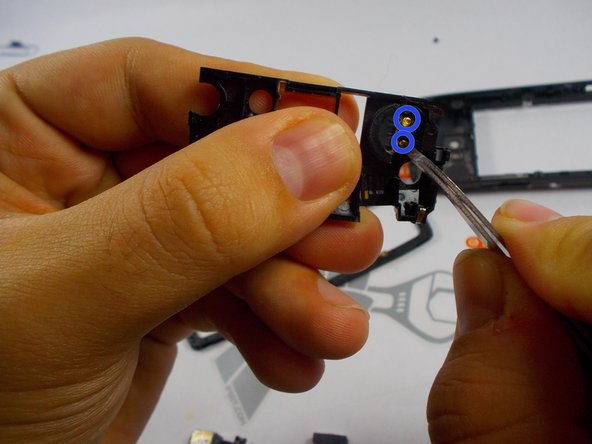
Holding the recently removed black casing in your hand notice that silver circular module connected to the casing.
-
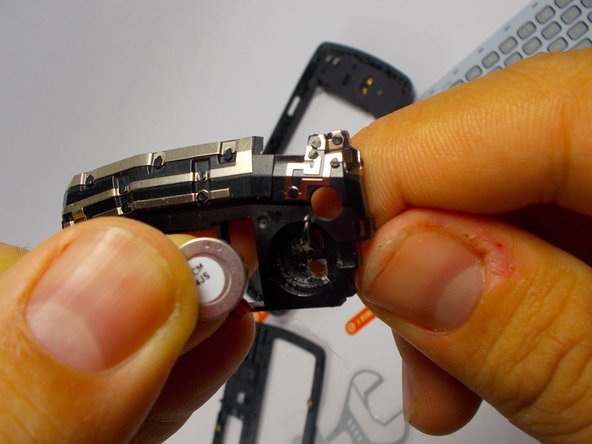
Using your prying tool gently press down on one of the golden springs coming out of it. Apply enough pressure so the speaker module is ripped off its sticky foundation.
-
Once this is removed take the new speaker and fit it in at the same place. Be sure to apply a suitable amount of pressure with both finger and thumb to ensure it is stuck to the sticky tape once again.
-
Follow the steps backwards to put the phone back together.
-


To reassemble your device, follow these instructions in reverse order.
To reassemble your device, follow these instructions in reverse order.
3 の人々がこのガイドを完成させました。
チーム

UMass Dartmouth, Team 5-6, Vijaybhaskar Fall 2014 UMass Dartmouth, Team 5-6, Vijaybhaskar Fall 2014人のメンバー
UMASSD-VIJAYBHASKAR-F14S5G6
3 メンバー
8のガイドは作成済み