メインコンテンツにスキップ

LG 305C Touch Screen Assembly Replacement

必要な工具と部品

  1. LG 305C  Touch Screen Assembly Replacement, Battery: 手順 1、 1の画像 1
    • Pry open the back case on the device with a plastic opening tool and remove it.

  2. LG 305C  Touch Screen Assembly Replacement: 手順 2、 1の画像 1
    • Pry the battery out of the device with a plastic opening tool and remove it.

  3. LG 305C  Touch Screen Assembly Replacement, Touch Screen: 手順 3、 2の画像 1 LG 305C  Touch Screen Assembly Replacement, Touch Screen: 手順 3、 2の画像 2
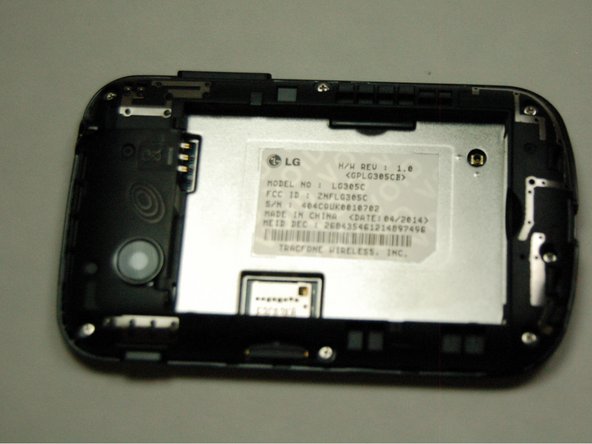
    • Here you can identify your device by reading the Model number which should read LG 305C.

    • Having done this you can be sure your device is an LG 305C and we can continue onto replacing the screen.

  4. LG 305C  Touch Screen Assembly Replacement, SD Card Removal: 手順 4、 1の画像 1
  5. LG 305C  Touch Screen Assembly Replacement: 手順 5、 3の画像 1 LG 305C  Touch Screen Assembly Replacement: 手順 5、 3の画像 2 LG 305C  Touch Screen Assembly Replacement: 手順 5、 3の画像 3
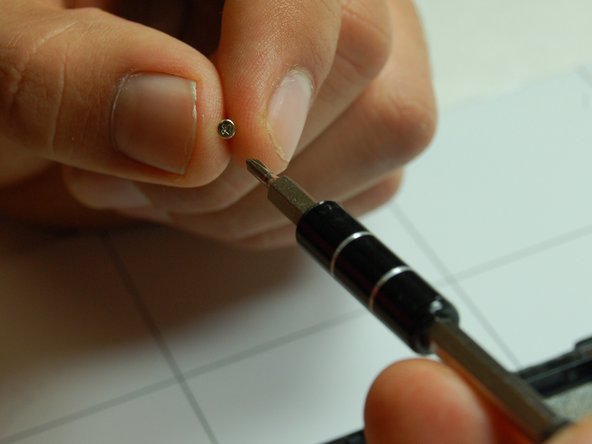
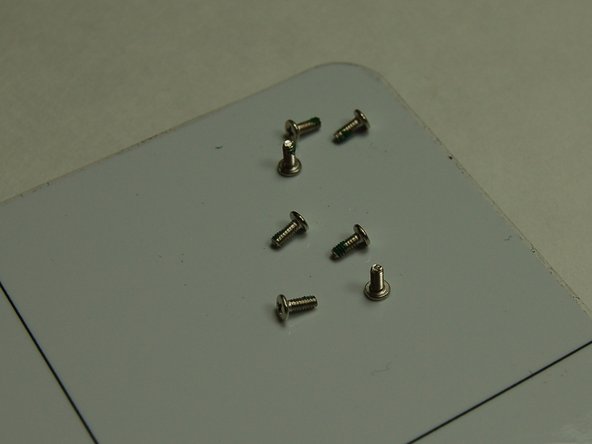
    • Use a Phillips #00 screwdriver to remove the seven screws that are located along the edges of the device.

  6. LG 305C  Touch Screen Assembly Replacement: 手順 6、 2の画像 1 LG 305C  Touch Screen Assembly Replacement: 手順 6、 2の画像 2
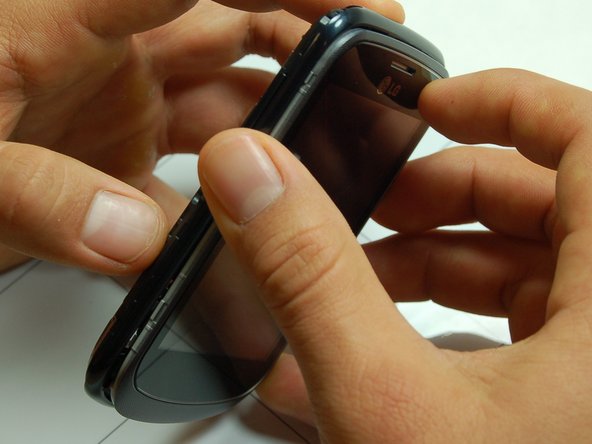
    • Once finished removing all seven Phillips screws we can begin to separate the first layer of the screen and back.

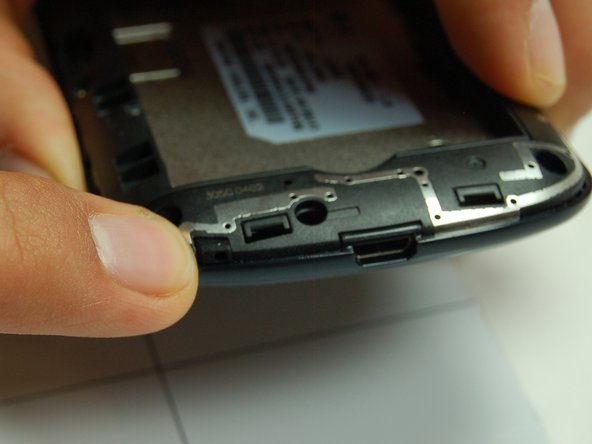
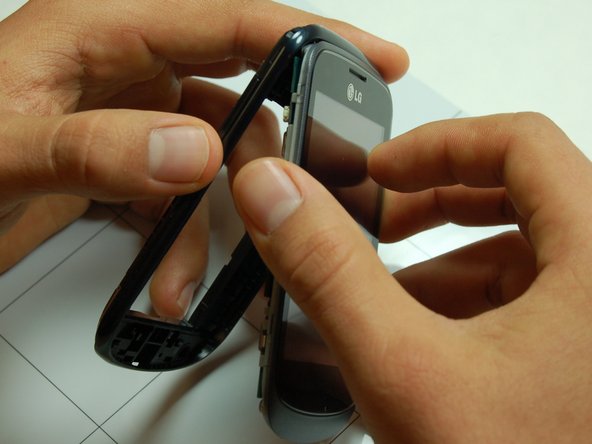
    • Here you will need to use your plastic pry tool for this step. Along the edges of the device you should be able to pry on the plastic side of the screen to loosen it.

    • There is also a notch shown in picture 2 you will need to push in.

  7. LG 305C  Touch Screen Assembly Replacement: 手順 7、 3の画像 1 LG 305C  Touch Screen Assembly Replacement: 手順 7、 3の画像 2 LG 305C  Touch Screen Assembly Replacement: 手順 7、 3の画像 3
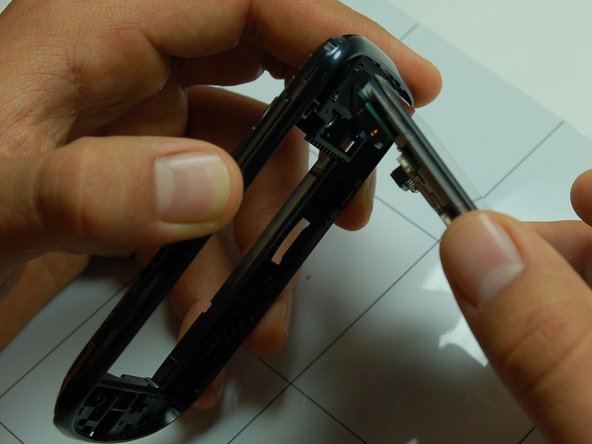
    • Once loose you can remove the front end of the screen by gentle swinging it out from its notched in position. like so in the three movements

  8. LG 305C  Touch Screen Assembly Replacement: 手順 8、 2の画像 1 LG 305C  Touch Screen Assembly Replacement: 手順 8、 2の画像 2
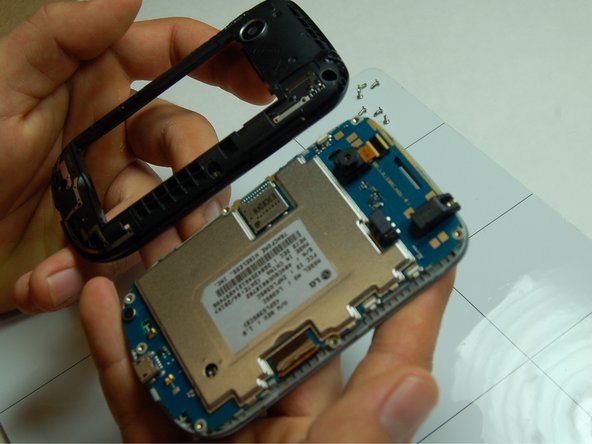
    • This step we will be separating the motherboard and the plastic screen mold.

    • You will need to gentle with your finger pry the Touch screen connection that is attached to the motherboard off.

    • Once detached you will gentle separate the two pieces.

    • When finished it should look like picture 2.

終わりに

To reassemble your device, follow these instructions in reverse order.

作成者

4人の作成者と共同で作成されました。

alex Benitez

メンバー登録日: 10/24/16

103 ポイント

1ガイドが承認済み

チーム

Texas Tech, Team 1-3, Bennett Fall 2016 Texas Tech, Team 1-3, Bennett Fall 2016人のメンバー

TTU-BENNETT-F16S1G3

6 メンバー

2のガイドは作成済み

0 件のコメント

コメントを追加

統計データ:

過去 24時間: 0

過去 7 日: 0

過去 30 日: 2

今までの合計 301