LCD X2gen Display disassembly

閲覧: 2786
統計データ:
- 過去24時間:
- 2
- 過去7日:
- 33
- 過去30日:
- 153
- 今までの合計
- 2,786
コメント: 0
このガイドにコメントを投稿した人はいません。何かコメントはありませんか?(日本語可)
修理ガイドのコメントへ完了済み: 2 3
2人のユーザーがこのガイドを「完了」させました。あなたも加わりませんか?
あなたを含む、3人のユーザーがこのガイドを使って修理を「完了」させました。素晴らしいです!
お気に入り: 5 6
5人のユーザーがこのガイドをお気に入りに登録しています。あなたもリストに入れませんか?
あなたを含む、6人のユーザーがこのガイドをお気に入りに登録しています。
アクションショット
アクションヒーローになりましょう!このガイドはある特定の動作をどのように行なうのか、より詳細な画像が必要です。
高画質の画像が必要
よりよい画像があればこのガイドが改善されます。よければ新しい写真を撮影し、編集し、アップロードしてお手伝いください。
多くの画像が必要
幾つかの画像があればこのガイドの手順がより明確になるでしょう。
コミュニティメンバーによる寄稿ガイド
iFixitコミュニティーの素晴らしいメンバーがこのガイドを作成しました。iFixitスタッフによって作成されたものではありません。
より良い紹介部分
この紹介部分を完成し編集することでこのガイドを改良する
必要な工具と部品
ツール

-
-
-
Display viewed laying face down on the working table (my dining table)
-
Remove the 6 screws. 4 on the corners and 2 middle bottom.
-
-
-
Remove front bezel by lifting softly starting from the middle and moving out to the corners.
-
-
-
Front bezel removed.
-
Observe: the control board, bottom right.
-
exposed screws on both sides (4 left, 4 right) holding the LCD to the back cover.
-
-
-
Prepare to remove the 4 screws on each side to lift the LCD. Do not try to remove it after unscrewing the 8 screws. There are cables connected on the back.
-
This pic shows the right side
-
-
-
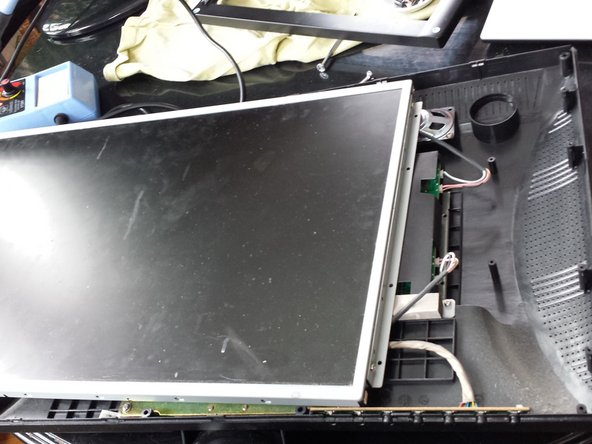
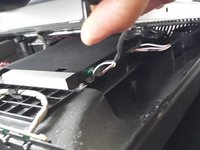
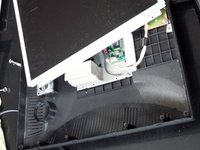
Lift carefully about 2 inch to expose the back light connections, 2 pink and 2 white.
-
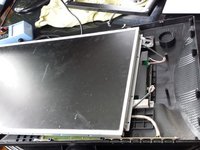
Slide the monitor to the left about 3-4 inch. to have access to the connections.
-
-
-
-
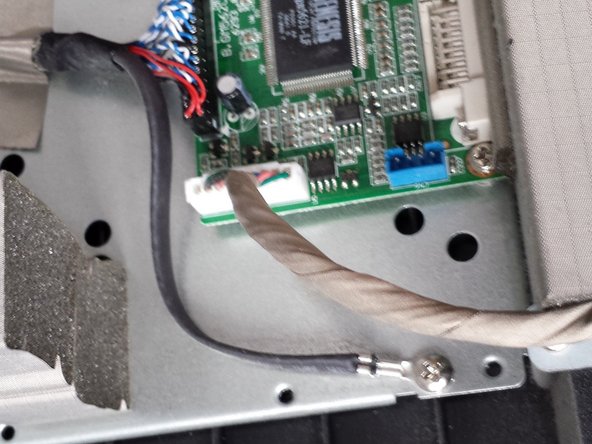
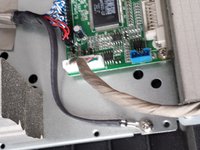
After removing the connectors, slide it about 3-5 inches to the right to have access to the data connector and ground
-

 FixBotに聞いてみる





To reassemble your device, follow these instructions in reverse order.
2 の人々がこのガイドを完成させました。