メインコンテンツにスキップ

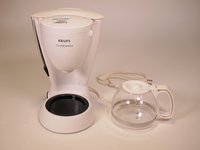
Krups CafeExpress FMA110 Disassembly

必要な工具と部品

  1. Krups CafeExpress FMA110 Disassembly, Krups CafeExpress FMA110 Disassembly: 手順 1、 2の画像 1 Krups CafeExpress FMA110 Disassembly, Krups CafeExpress FMA110 Disassembly: 手順 1、 2の画像 2
    • Using the Phillips #1 screwdriver, remove the four 13.8 mm screws on the bottom of the device.

    • Remove the metal plate.

  2. Krups CafeExpress FMA110 Disassembly: 手順 2、 1の画像 1
    • Using the Phillips #1 screwdriver, remove the two 16.7 mm screws to release the power cable.

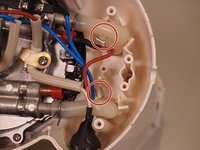
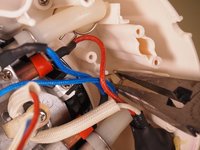
  3. Krups CafeExpress FMA110 Disassembly: 手順 3、 2の画像 1 Krups CafeExpress FMA110 Disassembly: 手順 3、 2の画像 2
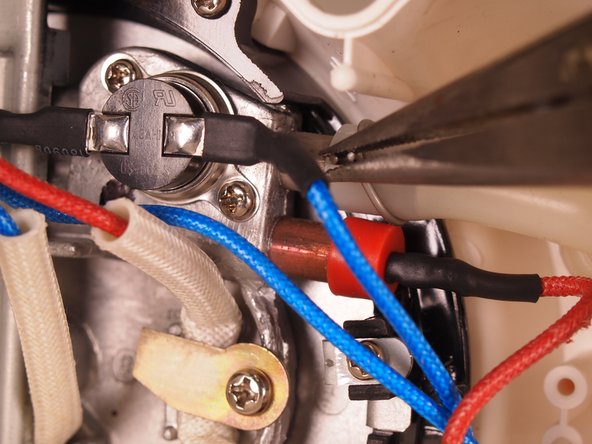
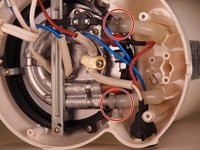
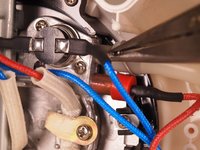
    • Pinch the clamps around the thinner part of the silicon tubing and slide them towards the corner of the tube.

  4. Krups CafeExpress FMA110 Disassembly: 手順 4、 1の画像 1
    • Carefully pull the silicon tubing off of the metal tube.

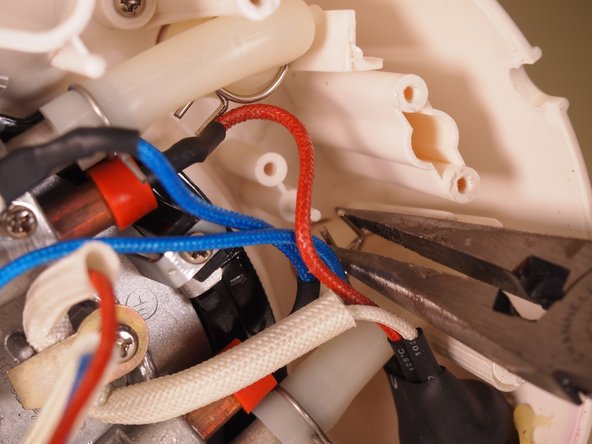
  5. Krups CafeExpress FMA110 Disassembly: 手順 5、 2の画像 1 Krups CafeExpress FMA110 Disassembly: 手順 5、 2の画像 2
    • Pinch the clamps around the thicker part of the silicon tubing and slide them towards the corner of the tube.

  6. Krups CafeExpress FMA110 Disassembly: 手順 6、 1の画像 1
    • Carefully remove the silicon tubing from the upper reservoir.

  7. Krups CafeExpress FMA110 Disassembly: 手順 7、 1の画像 1
    • Using the Phillips #1 screwdriver, remove the three 13.8 mm screws towards the back of the base.

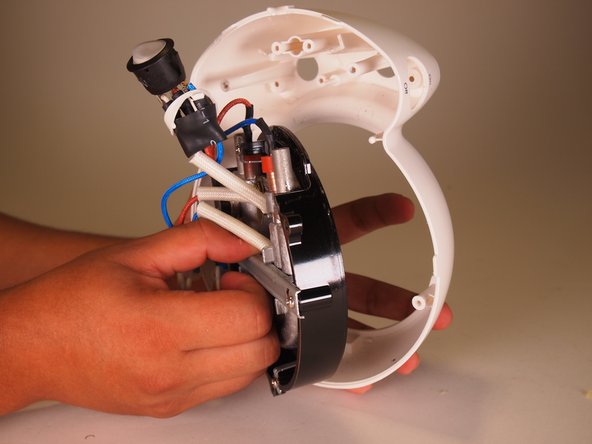
  8. Krups CafeExpress FMA110 Disassembly: 手順 8、 1の画像 1
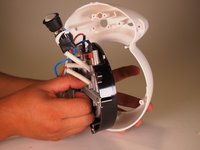
    • Separate the base of the device from the upper reservoir.

  9. Krups CafeExpress FMA110 Disassembly: 手順 9、 1の画像 1
    • Push the switch out from the inside, releasing it from the plastic base.

  10. Krups CafeExpress FMA110 Disassembly: 手順 10、 1の画像 1
    • Loosen the white ring from the switch and squeeze it to slide it through the opening in the base.

  11. Krups CafeExpress FMA110 Disassembly: 手順 11、 1の画像 1
    • Slide the rest of the switch back through the hole in the base.

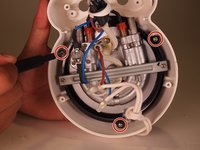
  12. Krups CafeExpress FMA110 Disassembly: 手順 12、 2の画像 1 Krups CafeExpress FMA110 Disassembly: 手順 12、 2の画像 2
    • Using the Phillips #1 screwdriver, remove the three 15.8 mm screws to release the inner components from the plastic base.

  13. Krups CafeExpress FMA110 Disassembly: 手順 13、 2の画像 1 Krups CafeExpress FMA110 Disassembly: 手順 13、 2の画像 2
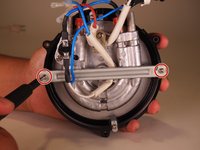
    • Using the Phillips #1 screwdriver, remove the two 11.5 mm screws on either side of the horizontal metal bracket.

  14. Krups CafeExpress FMA110 Disassembly: 手順 14、 1の画像 1
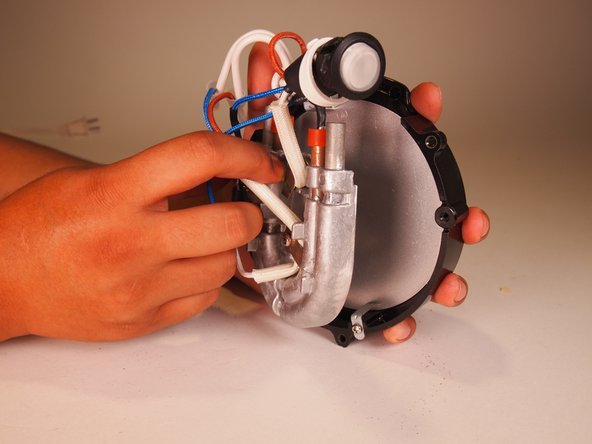
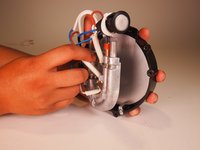
    • Remove the horizontal bracket to separate the heating element and wires from the hot plate.

  15. Krups CafeExpress FMA110 Disassembly: 手順 15、 1の画像 1
    • Disconnect the wire connectors from the thermal switch.

  16. Krups CafeExpress FMA110 Disassembly: 手順 16、 1の画像 1
    • Using the Phillips #1 screwdriver, remove the two 7.6 mm screws and remove the thermal switch.

  17. Krups CafeExpress FMA110 Disassembly: 手順 17、 2の画像 1 Krups CafeExpress FMA110 Disassembly: 手順 17、 2の画像 2
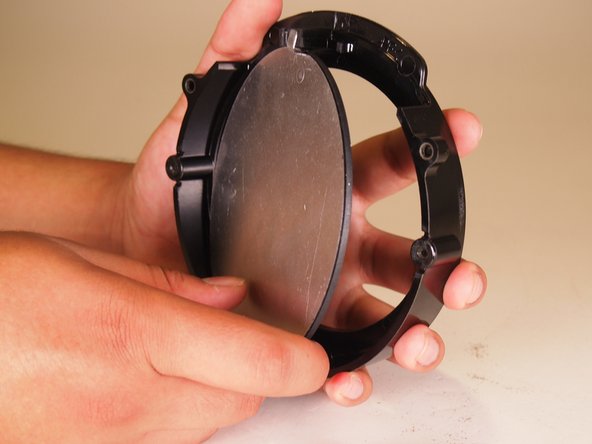
    • Using the Phillips #1 screwdriver, remove the two 9.9 mm screws from the hot plate.

    • Separate the hot plate from its frame.

  18. Krups CafeExpress FMA110 Disassembly: 手順 18、 2の画像 1 Krups CafeExpress FMA110 Disassembly: 手順 18、 2の画像 2
    • Once the heating element reaches a certain temperature, the thermal switch shuts it off to prevent it from overheating.

終わりに

To reassemble your device, follow these instructions in reverse order.

作成者

2人の作成者と共同で作成されました。

Sam Sugerman

メンバー登録日: 09/16/21

327 ポイント

1ガイドが承認済み

チーム

0 件のコメント

コメントを追加

統計データ:

過去 24時間: 0

過去 7 日: 0

過去 30 日: 2

今までの合計 165