メインコンテンツにスキップ

Kolcraft Cloud Plus Seat Replacement

必要な工具と部品

  1. Kolcraft Cloud Plus Seat Replacement, Seat: 手順 1、 3の画像 1 Kolcraft Cloud Plus Seat Replacement, Seat: 手順 1、 3の画像 2 Kolcraft Cloud Plus Seat Replacement, Seat: 手順 1、 3の画像 3
    • Unsnap the six buttons holding the storage basket under the seat.

  2. Kolcraft Cloud Plus Seat Replacement: 手順 2、 1の画像 1
    • Unsnap the “Child Tray” by pulling outwards on the plastic connectors on either side of the stroller. As you pull, lift upwards to completely remove the tray from its connection to the stroller’s frame.

  3. Kolcraft Cloud Plus Seat Replacement: 手順 3、 1の画像 1
    • Remove the "Parent Tray" by pulling outwards on the plastic connectors on either side of the stroller. Lift straight up to remove completely.

  4. Kolcraft Cloud Plus Seat Replacement: 手順 4、 3の画像 1 Kolcraft Cloud Plus Seat Replacement: 手順 4、 3の画像 2 Kolcraft Cloud Plus Seat Replacement: 手順 4、 3の画像 3
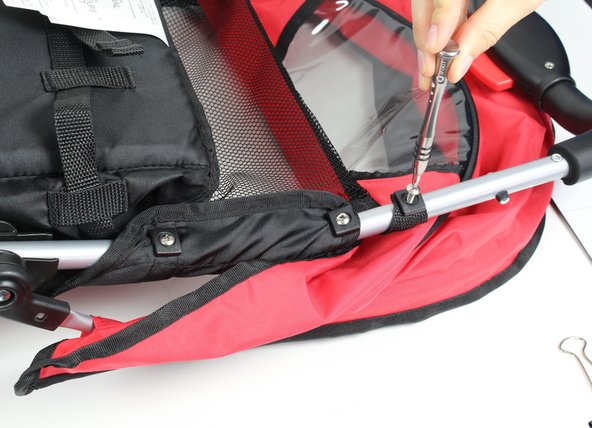
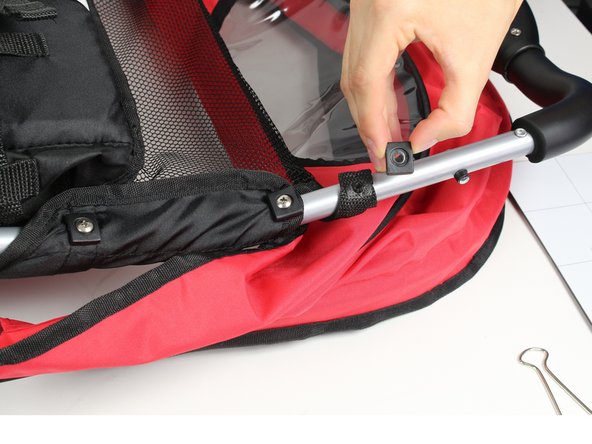
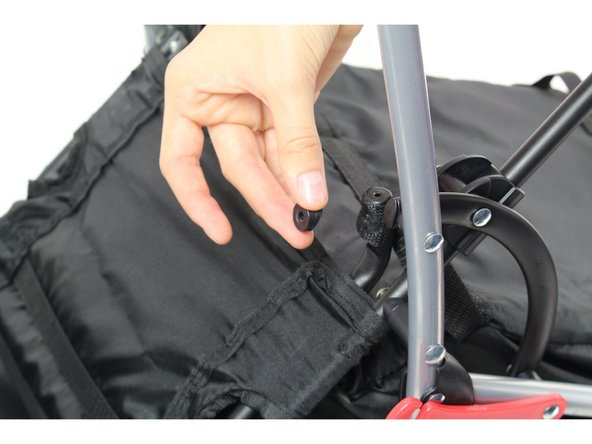
    • Unscrew the three, 14mm Phillips #2 screws on the outer frame of the stroller and repeat for the opposite side.

    • Remove the plastic washers that come off with the screws.

    • You may have to fold the stroller, then flip it over to access the screws on its underside.

  5. Kolcraft Cloud Plus Seat Replacement: 手順 5、 1の画像 1
    • Unscrew the two, 14mm Phillips #2 screws on either side of the outside frame near the foot rest.

    • Remove the plastic washers.

  6. Kolcraft Cloud Plus Seat Replacement: 手順 6、 1の画像 1
    • Unscrew the two, 14mm Phillips #2 on the underside of the seat and repeat for the opposite side of the stroller.

    • Remove the plastic washers.

  7. Kolcraft Cloud Plus Seat Replacement: 手順 7、 2の画像 1 Kolcraft Cloud Plus Seat Replacement: 手順 7、 2の画像 2
    • Unscrew 14mm Phillips #2 screw on the underside of the stroller and repeat this process for the opposite side.

    • Remove the plastic washers.

    • These plastic washers are circular to better fit around the frame. Remember that these locations require the circular washers.

  8. Kolcraft Cloud Plus Seat Replacement: 手順 8、 1の画像 1
    • Pull the cover down the metal frame to reveal a 14mm Phillips #2 screw on either side of the inside frame.

  9. Kolcraft Cloud Plus Seat Replacement: 手順 9、 1の画像 1
    • Unscrew the 14mm Phillips #2 screws located under the cover on either side of the inside frame.

    • Remove the plastic washers.

  10. Kolcraft Cloud Plus Seat Replacement: 手順 10、 3の画像 1 Kolcraft Cloud Plus Seat Replacement: 手順 10、 3の画像 2 Kolcraft Cloud Plus Seat Replacement: 手順 10、 3の画像 3
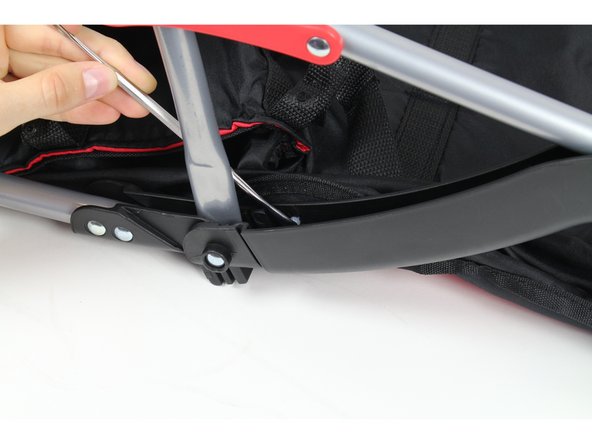
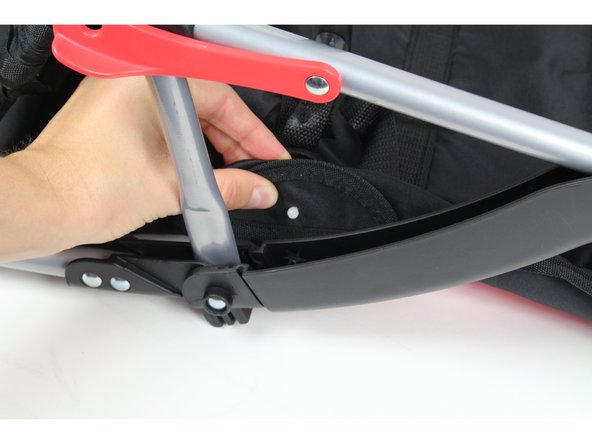
    • Using the spudger, pop out the small, white ball that's on the underside of the plastic part of the frame. Repeat this process for the opposite side.

    • Brace the spudger against the frame—it will provide the extra force needed to pop the white balls through their holes.

  11. Kolcraft Cloud Plus Seat Replacement: 手順 11、 2の画像 1 Kolcraft Cloud Plus Seat Replacement: 手順 11、 2の画像 2
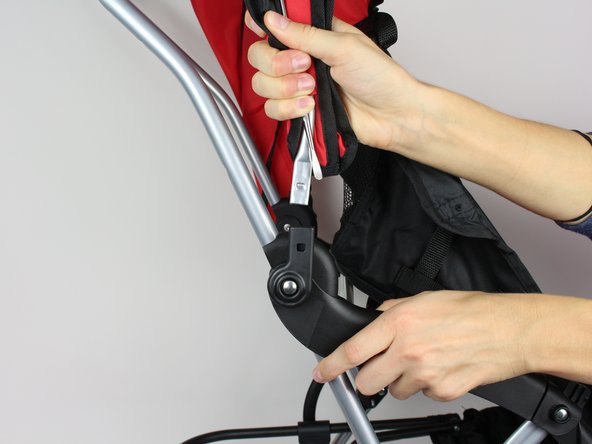
    • Place the metal spudger between the plastic connector and the metal frame of the sun shade.

    • Use the spudger to pry outwards on the plastic while simultaneously pulling straight up on the metal frame of the sun shade.

    • Repeat this process for the opposite side to completely remove the seat.

    • Use one hand to brace the frame of the stroller by firmly pushing down on the plastic part of the frame.

終わりに

To reassemble your device, follow these instructions in reverse order.

作成者

5人の作成者と共同で作成されました。

Christopher Peterson

メンバー登録日: 10/01/15

330 ポイント

3のガイドは作成済み

チーム

Cal Poly, Team 11-1, Forte Fall 2015 Cal Poly, Team 11-1, Forte Fall 2015人のメンバー

CPSU-FORTE-F15S11G1

4 メンバー

3のガイドは作成済み

0 件のコメント

コメントを追加

統計データ:

過去 24時間: 0

過去 7 日: 4

過去 30 日: 12

今までの合計 1,683