メインコンテンツにスキップ

Kodak Easyshare Z981 LCD Screen Replacement

必要な工具と部品

  1. Kodak Easyshare Z981 LCD Screen Replacement, LCD Screen: 手順 1、 2の画像 1 Kodak Easyshare Z981 LCD Screen Replacement, LCD Screen: 手順 1、 2の画像 2
    • Open the battery cover and remove batteries from the camera if any are inserted.

  2. Kodak Easyshare Z981 LCD Screen Replacement: 手順 2、 2の画像 1 Kodak Easyshare Z981 LCD Screen Replacement: 手順 2、 2の画像 2
    この手順で使用する道具:
    Phillips #00 Screwdriver
    $5.49
    購入する
    • Use a 00 Phillips-Head screwdriver to remove screws:

    • Remove the 3 mm screws from the camera

    • Four (4) screws are in the bottom of the device

    • Four (4) screws are inside the battery cover

  3. Kodak Easyshare Z981 LCD Screen Replacement: 手順 3、 1の画像 1
    • Start from a corner and gently remove the cover.

    • The cover will easily lift off, so not much pressure is required.

    • Make sure to gently remove the bottom cover in order to avoid breaking the plastic.

  4. Kodak Easyshare Z981 LCD Screen Replacement: 手順 4、 2の画像 1 Kodak Easyshare Z981 LCD Screen Replacement: 手順 4、 2の画像 2
    この手順で使用する道具:
    Phillips #00 Screwdriver
    $5.49
    購入する
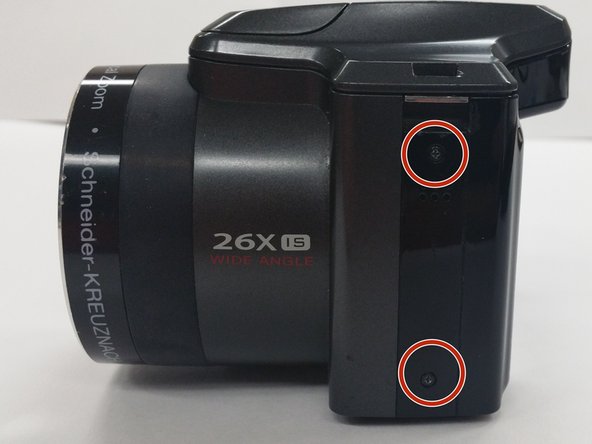
    • Use a Phillips #00 Screwdriver to remove the 4 mm screws from each side of the back cover of the camera.

    • Two (2) screws are located in the left side of the device

    • Two (2) screws are locatecd in the right side of the device

  5. Kodak Easyshare Z981 LCD Screen Replacement: 手順 5、 2の画像 1 Kodak Easyshare Z981 LCD Screen Replacement: 手順 5、 2の画像 2
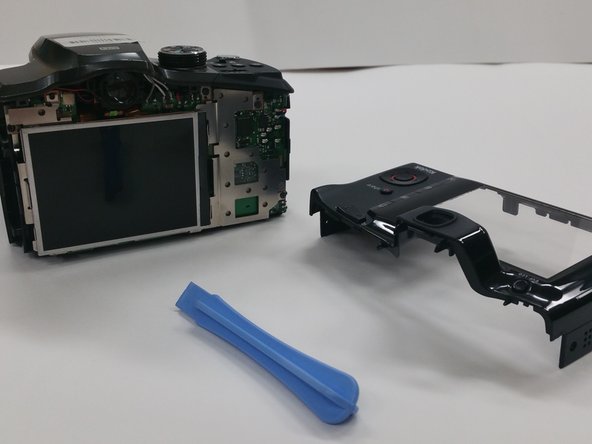
    • Insert the Plastic Opening Tool in to the crevices of back cover and gently apply pressure

    • Be gentle while removing the cover, to avoid cracking the case

  6. Kodak Easyshare Z981 LCD Screen Replacement: 手順 6、 2の画像 1 Kodak Easyshare Z981 LCD Screen Replacement: 手順 6、 2の画像 2
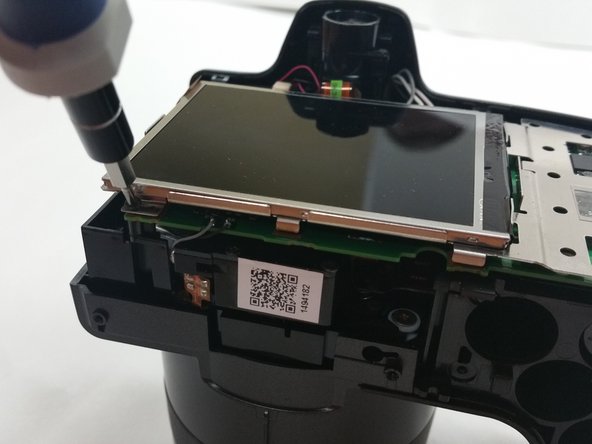
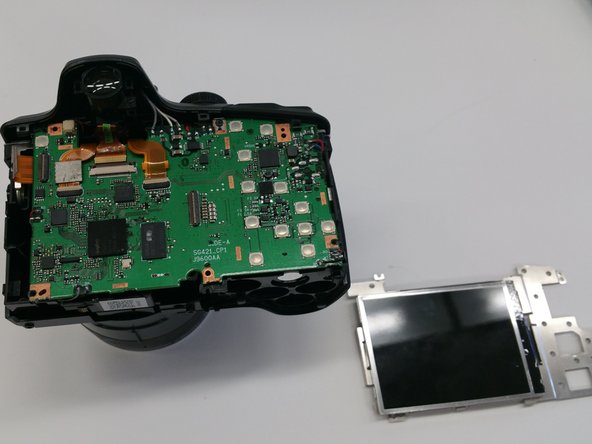
    • Once the back cover is removed locate the four 3mm screws holding the screen and the metal brace to the circuit board

  7. Kodak Easyshare Z981 LCD Screen Replacement: 手順 7、 3の画像 1 Kodak Easyshare Z981 LCD Screen Replacement: 手順 7、 3の画像 2 Kodak Easyshare Z981 LCD Screen Replacement: 手順 7、 3の画像 3
    この手順で使用する道具:
    Tweezers
    $4.99
    購入する
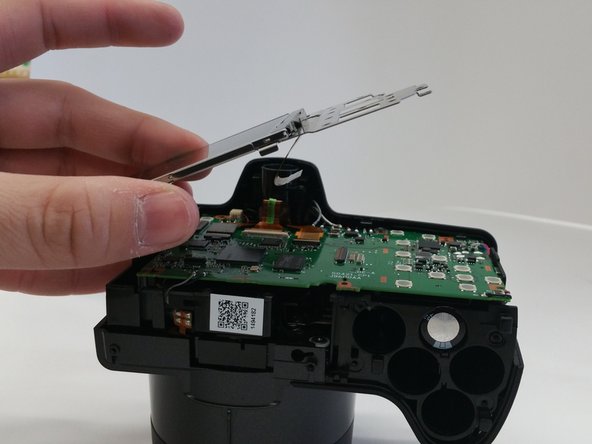
    • Gently lift up the metal brace and use a pair to disconnect the ribbon cable connecter

    • Use Tweezers to disconnect the ribbon cable connector.

    • Once disconnected remove the screen brace from the circuit board

    • Use extreme caution when removing the LCD brace pulling the brace may tear the cable

終わりに

To reassemble your device, follow these instructions in reverse order.

ある他の人がこのガイドを完成しました。

作成者

3人の作成者と共同で作成されました。

Daniel Ramirez

メンバー登録日: 03/03/15

152 ポイント

1ガイドが承認済み

チーム

Sam Houston State, Team 13-6, Blackburne Winter 2015 Sam Houston State, Team 13-6, Blackburne Winter 2015人のメンバー

SHSU-BLACKBURNE-W15S13G6

3 メンバー

10のガイドは作成済み

0 件のコメント

コメントを追加

統計データ:

過去 24時間: 0

過去 7 日: 1

過去 30 日: 1

今までの合計 574