メインコンテンツにスキップ

Kodak EasyShare M530 Control Buttons Replacement

必要な工具と部品

  1. Kodak EasyShare M530 Control Buttons Replacement, Control Buttons: 手順 1、 2の画像 1 Kodak EasyShare M530 Control Buttons Replacement, Control Buttons: 手順 1、 2の画像 2
    • Front and Back view of camera. Use a Philips Head screw driver to unscrew the sides of the camera. There are six screws total.

  2. Kodak EasyShare M530 Control Buttons Replacement: 手順 2、 2の画像 1 Kodak EasyShare M530 Control Buttons Replacement: 手順 2、 2の画像 2
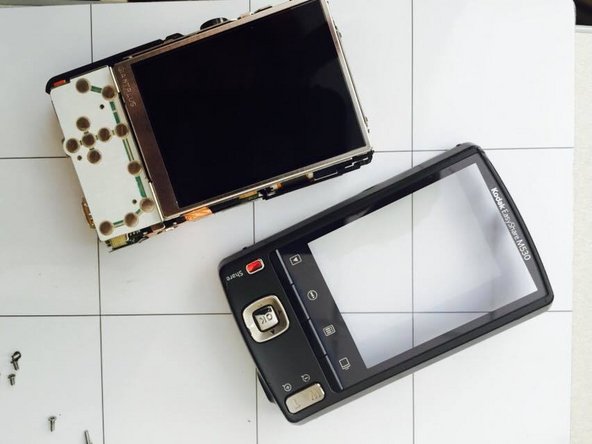
    • Use a Philips Head screw driver to unscrew the sides of the camera. There are two screws on each side except for the top of the camera. Carefully remove face plate of camera. Place alongside near screws.

  3. Kodak EasyShare M530 Control Buttons Replacement: 手順 3、 3の画像 1 Kodak EasyShare M530 Control Buttons Replacement: 手順 3、 3の画像 2 Kodak EasyShare M530 Control Buttons Replacement: 手順 3、 3の画像 3
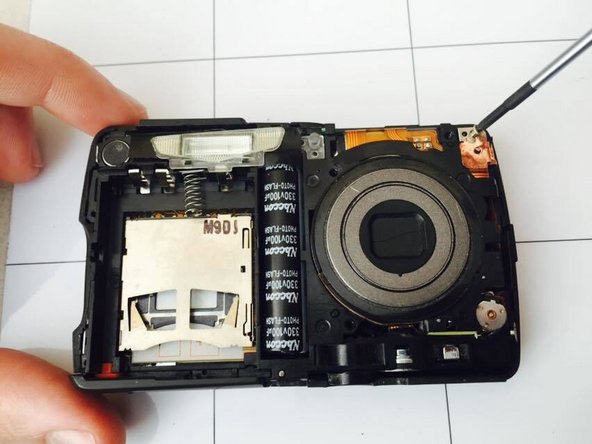
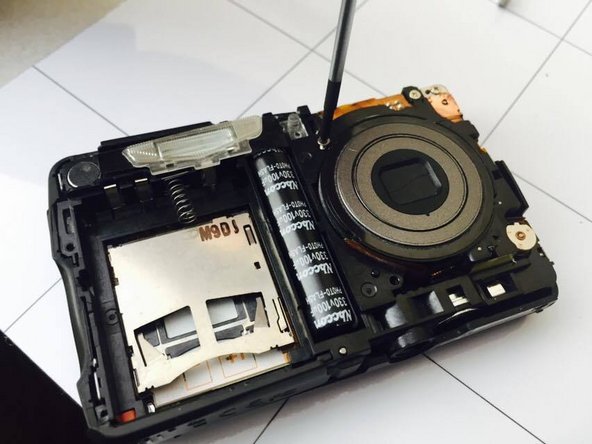
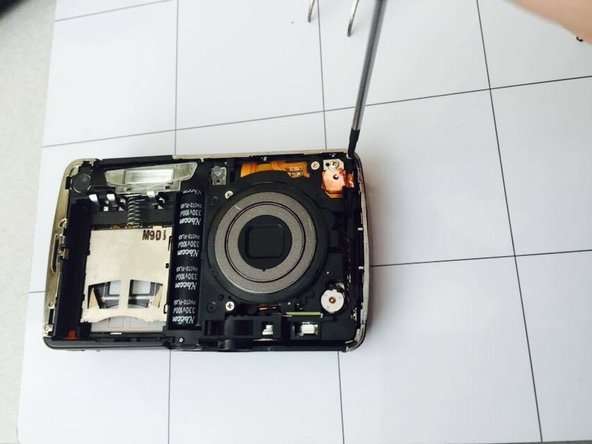
    • To get to control buttons, use a Phillips Head screw driver to unscrew the three screws near lens.

  4. Kodak EasyShare M530 Control Buttons Replacement: 手順 4、 3の画像 1 Kodak EasyShare M530 Control Buttons Replacement: 手順 4、 3の画像 2 Kodak EasyShare M530 Control Buttons Replacement: 手順 4、 3の画像 3
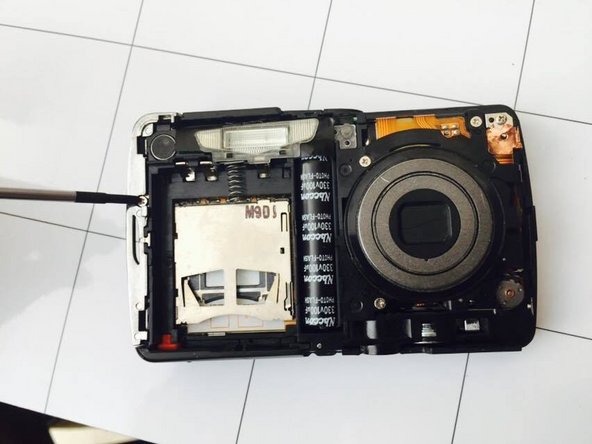
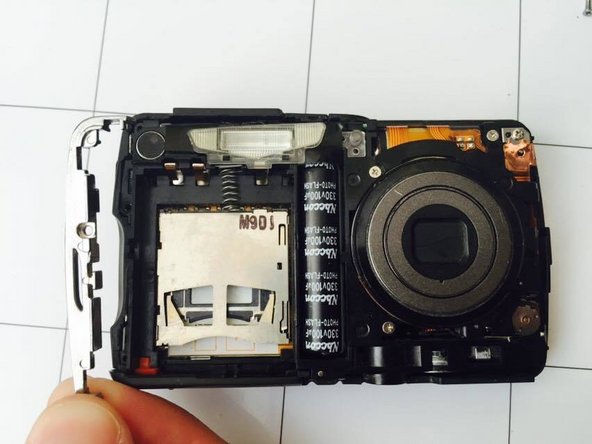
    • Unscrew the screw near the rechargeable battery compartment. The metal piece then can be removed.

  5. Kodak EasyShare M530 Control Buttons Replacement: 手順 5、 2の画像 1 Kodak EasyShare M530 Control Buttons Replacement: 手順 5、 2の画像 2
    • Remove additional screws near lens.

  6. Kodak EasyShare M530 Control Buttons Replacement: 手順 6、 2の画像 1 Kodak EasyShare M530 Control Buttons Replacement: 手順 6、 2の画像 2
    • This is what the camera should look like with all screws are removed. Flip camera over to carefully remove the screen cover.

  7. Kodak EasyShare M530 Control Buttons Replacement: 手順 7、 2の画像 1 Kodak EasyShare M530 Control Buttons Replacement: 手順 7、 2の画像 2
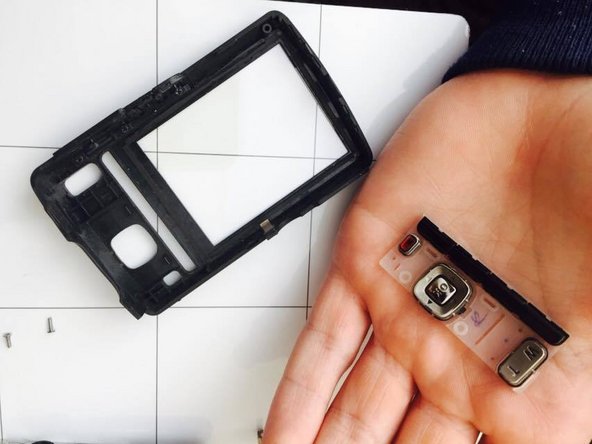
    • Remove buttons from back case of screen cover. Replace with new set of buttons.

  8. Kodak EasyShare M530 Control Buttons Replacement: 手順 8、 1の画像 1
    • Follow the steps in reverse order to reassemble the camera. Now you can take beautiful pictures again!

終わりに

Once you purchase these parts, follow the given instructions. To reassemble your device, follow these instructions in reverse order.

3 の人々がこのガイドを完成させました。

作成者

4人の作成者と共同で作成されました。

Elizabeth

メンバー登録日: 01/28/15

279 ポイント

2のガイドは作成済み

チーム

Penn State, Team 1-2, Kaschak Winter 2015 Penn State, Team 1-2, Kaschak Winter 2015人のメンバー

PSU-KASCHAK-W15S1G2

1 メンバー

4のガイドは作成済み

コメント 1 件

como cambio la tapa de la bateria y pin de carga

Dario - 返信

コメントを追加

統計データ:

過去 24時間: 0

過去 7 日: 9

過去 30 日: 12

今までの合計 607