メインコンテンツにスキップ

Kodak EasyShare M2008 Device Casing Replacement

必要な工具と部品

  1. Kodak EasyShare M2008 Device Casing Replacement, Battery: 手順 1、 2の画像 1 Kodak EasyShare M2008 Device Casing Replacement, Battery: 手順 1、 2の画像 2
    • Place thumb firmly on battery cover.

    • Slide thumb right, the cover should follow and pop up.

  2. Kodak EasyShare M2008 Device Casing Replacement: 手順 2、 2の画像 1 Kodak EasyShare M2008 Device Casing Replacement: 手順 2、 2の画像 2
    • Place thumb on orange tab and pull back towards screen.

    • The battery should pop up.

    • Gently lift battery out.

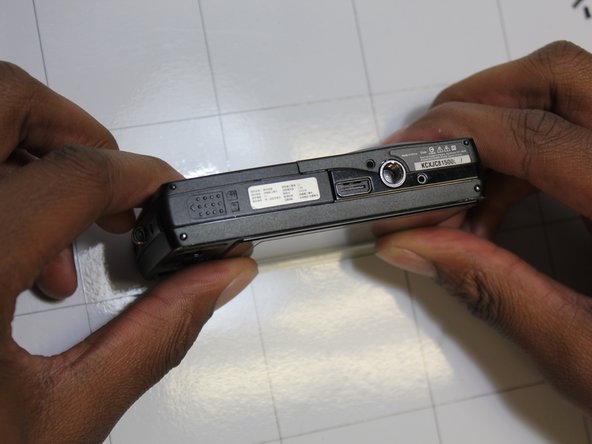
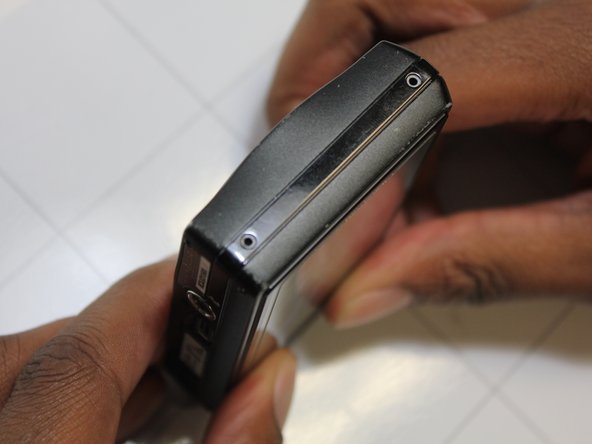
  3. Kodak EasyShare M2008 Device Casing Replacement, Device Casing: 手順 3、 3の画像 1 Kodak EasyShare M2008 Device Casing Replacement, Device Casing: 手順 3、 3の画像 2 Kodak EasyShare M2008 Device Casing Replacement, Device Casing: 手順 3、 3の画像 3
    • Remove screws from along outer edge of casing.

    • There are 6 screws in total.

    • Righty tighty, lefty loosey!

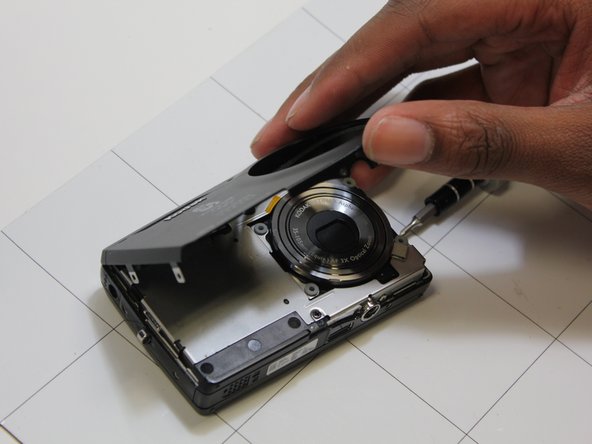
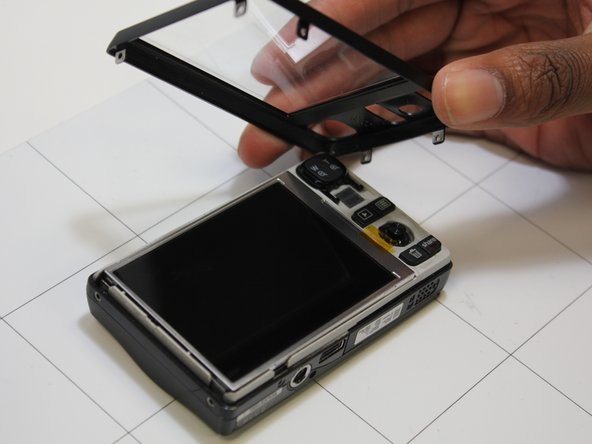
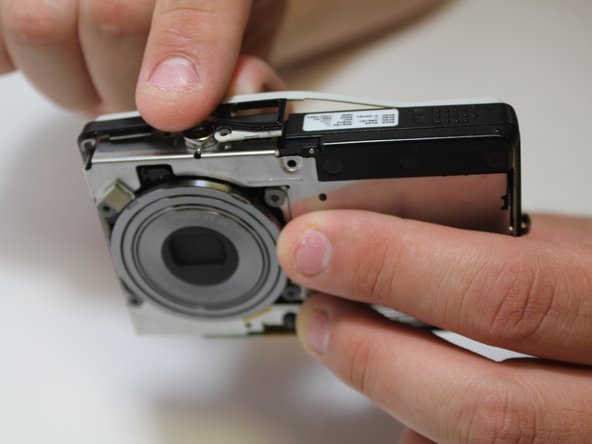
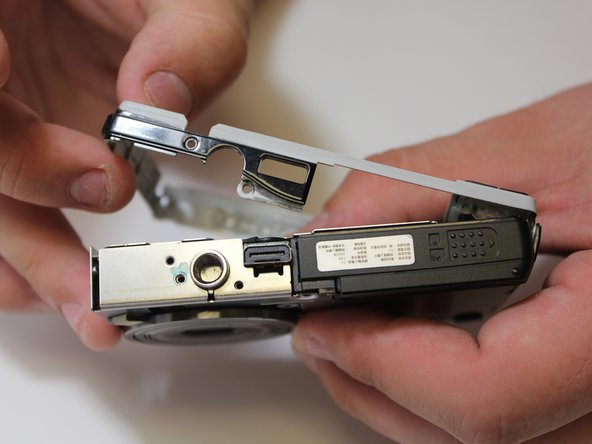
  4. Kodak EasyShare M2008 Device Casing Replacement: 手順 4、 3の画像 1 Kodak EasyShare M2008 Device Casing Replacement: 手順 4、 3の画像 2 Kodak EasyShare M2008 Device Casing Replacement: 手順 4、 3の画像 3
    • Gently lift off front and back casing.

  5. Kodak EasyShare M2008 Device Casing Replacement: 手順 5、 3の画像 1 Kodak EasyShare M2008 Device Casing Replacement: 手順 5、 3の画像 2 Kodak EasyShare M2008 Device Casing Replacement: 手順 5、 3の画像 3
    • Remove screws along side.

    • Gently peel off side casing.

終わりに

To reassemble your device, follow these instructions in reverse order.

作成者

3人の作成者と共同で作成されました。

Kyanna

メンバー登録日: 03/13/14

313 ポイント

3のガイドは作成済み

チーム

New Mexico State, Team 1-2, Easley Spring 2014 New Mexico State, Team 1-2, Easley Spring 2014人のメンバー

NMSU-EASLEY-S14S1G2

5 メンバー

10のガイドは作成済み

0 件のコメント

コメントを追加

統計データ:

過去 24時間: 0

過去 7 日: 0

過去 30 日: 0

今までの合計 151