メインコンテンツにスキップ

Kodak EasyShare C913 Front Case Replacement

必要な工具と部品

  1. Kodak EasyShare C913 Front Case Replacement, Batteries: 手順 1、 3の画像 1 Kodak EasyShare C913 Front Case Replacement, Batteries: 手順 1、 3の画像 2 Kodak EasyShare C913 Front Case Replacement, Batteries: 手順 1、 3の画像 3
    • Position the camera with the bottom facing up.

    • Slide the battery cover in the direction of the arrow with your finger gently.

    • Remove the batteries

  2. Kodak EasyShare C913 Front Case Replacement, Back Case: 手順 2、 3の画像 1 Kodak EasyShare C913 Front Case Replacement, Back Case: 手順 2、 3の画像 2 Kodak EasyShare C913 Front Case Replacement, Back Case: 手順 2、 3の画像 3
    • Remove the seven 4.5mm screws with a Phillips #00 screwdriver.

    • 2 on the left

    • 2 on the right

    • 3 on the bottom

  3. Kodak EasyShare C913 Front Case Replacement: 手順 3、 3の画像 1 Kodak EasyShare C913 Front Case Replacement: 手順 3、 3の画像 2 Kodak EasyShare C913 Front Case Replacement: 手順 3、 3の画像 3
    • Firmly grasp the back of the camera and pull the away the casing.

  4. Kodak EasyShare C913 Front Case Replacement, Front Case: 手順 4、 3の画像 1 Kodak EasyShare C913 Front Case Replacement, Front Case: 手順 4、 3の画像 2 Kodak EasyShare C913 Front Case Replacement, Front Case: 手順 4、 3の画像 3
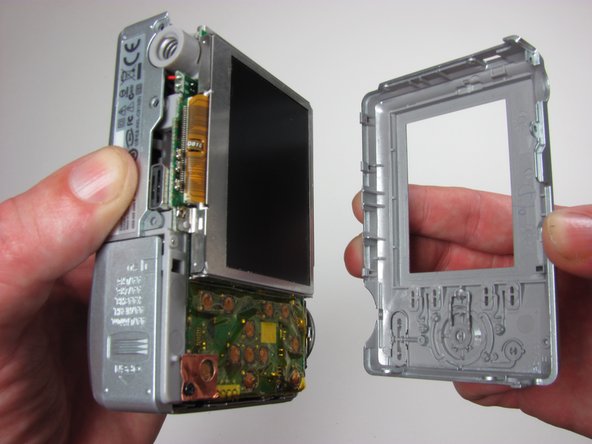
    • Keep the battery door open

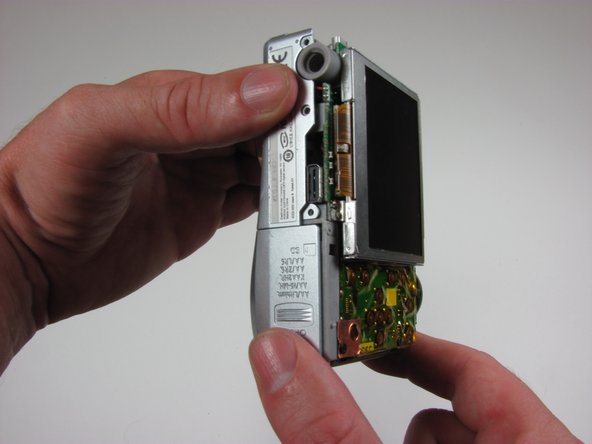
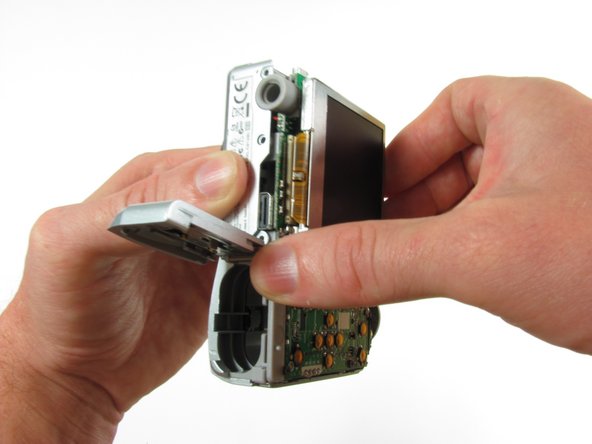
    • Firmly grasp the front casing and pull away from the camera.

終わりに

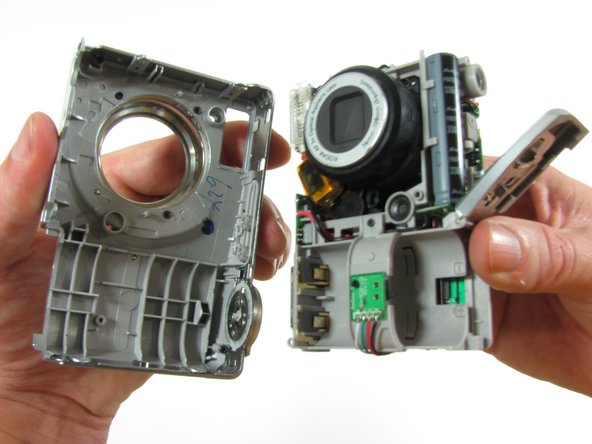
To reassemble your device, follow these instructions in reverse order.

2 の人々がこのガイドを完成させました。

作成者

9人の作成者と共同で作成されました。

Dustin Rodgers

メンバー登録日: 10/05/10

65 ポイント

4のガイドは作成済み

チーム

Cal Poly, Team 7-51, Amido Fall 2010 Cal Poly, Team 7-51, Amido Fall 2010人のメンバー

CPSU-AMIDO-F10S7G51

4 メンバー

14のガイドは作成済み

0 件のコメント

コメントを追加

統計データ:

過去 24時間: 0

過去 7 日: 1

過去 30 日: 6

今までの合計 2,955