メインコンテンツにスキップ

Kodak EasyShare C713 LCD Replacement

必要な工具と部品

  1. Kodak EasyShare C713 LCD Replacement, Batteries: 手順 1、 1の画像 1
    • Use your finger tip to slide battery cover door away from the center of the camera.

    • The battery door should spring open.

    • If this does not happen, gently open the door lifting from the outer bottom side of the camera.

  2. Kodak EasyShare C713 LCD Replacement: 手順 2、 1の画像 1
    • Remove the old batteries.

  3. Kodak EasyShare C713 LCD Replacement, Outer Case: 手順 3、 3の画像 1 Kodak EasyShare C713 LCD Replacement, Outer Case: 手順 3、 3の画像 2 Kodak EasyShare C713 LCD Replacement, Outer Case: 手順 3、 3の画像 3
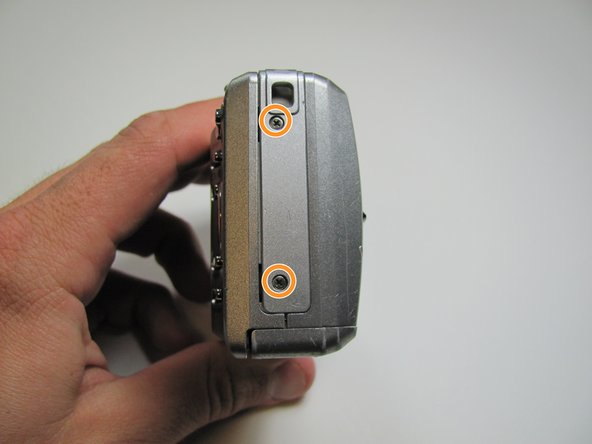
    • Remove the seven screws from the outer case with a Phillips #00.

    • All screws are 4.45mm.

    • There are 2 screws on the port side.

    • There are 2 screws on starboard side.

    • There are 3 screws on the bottom.

  4. Kodak EasyShare C713 LCD Replacement: 手順 4、 3の画像 1 Kodak EasyShare C713 LCD Replacement: 手順 4、 3の画像 2 Kodak EasyShare C713 LCD Replacement: 手順 4、 3の画像 3
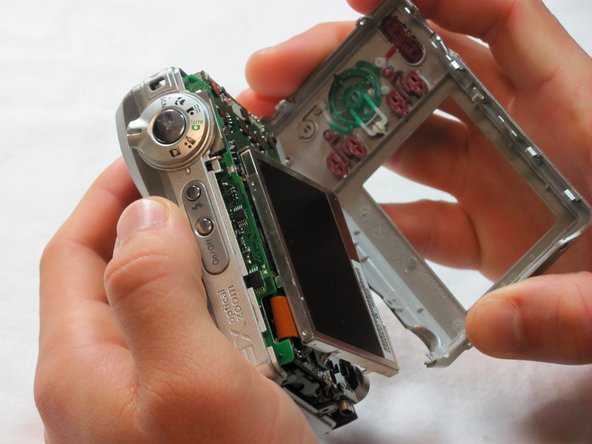
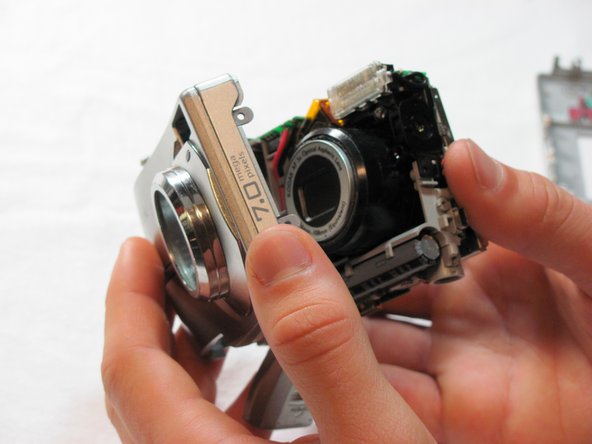
    • Make sure the battery cap is "up".

    • Pull the outer case off with your hands.

  5. Kodak EasyShare C713 LCD Replacement, LCD: 手順 5、 1の画像 1
    • The LCD screen is hinged at the bottom.

    • Put your thumb in the upper right corner of the LCD screen.

    • Pull the LCD screen out of its outer case with your thumb.

  6. Kodak EasyShare C713 LCD Replacement: 手順 6、 1の画像 1
    • Remove the screw underneath LCD screen with the Phillips #00. The screw measures 4.1mm in length.

  7. Kodak EasyShare C713 LCD Replacement: 手順 7、 2の画像 1 Kodak EasyShare C713 LCD Replacement: 手順 7、 2の画像 2
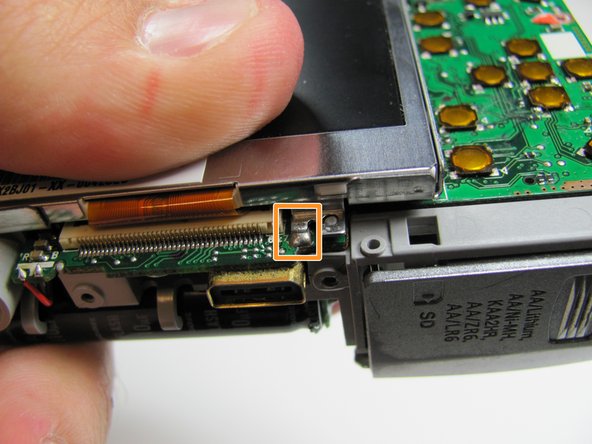
    • Desolder the two points.

    • One on the port side.

    • One on the bottom.

  8. Kodak EasyShare C713 LCD Replacement: 手順 8、 1の画像 1
    • After desoldering the LCD casing, just use your fingers to carefully remove it.

  9. Kodak EasyShare C713 LCD Replacement: 手順 9、 1の画像 1
    • Flip up the black tab on the bottom of the LCD screen with a fingertip.

  10. Kodak EasyShare C713 LCD Replacement: 手順 10、 1の画像 1
    • Remove the LCD ribbon cable from inside the black tab.

終わりに

To reassemble your device, follow these instructions in reverse order.

6 の人々がこのガイドを完成させました。

作成者

6人の作成者と共同で作成されました。

Taggart Ashby

メンバー登録日: 04/15/10

354 ポイント

4のガイドは作成済み

チーム

Cal Poly, Team 26-19, Regan Spring 2010 Cal Poly, Team 26-19, Regan Spring 2010人のメンバー

CPSU-REGAN-S10S26G19

4 メンバー

14のガイドは作成済み

2 件のコメント

Thank you... i fixed my old camera lcd.

anthoxman - 返信

hvor kan jeg kjøpe LCD skjermen til dette kamerat, og hva koster et sånn LCD-skjerm

fancy tassen - 返信

コメントを追加

統計データ:

過去 24時間: 0

過去 7 日: 3

過去 30 日: 12

今までの合計 5,243