メインコンテンツにスキップ

KitchenAid KSB5CR Motor Replacement

必要な工具と部品

  1. KitchenAid KSB5CR Motor Replacement, Removing the Back Panel Part 1: 手順 1、 3の画像 1 KitchenAid KSB5CR Motor Replacement, Removing the Back Panel Part 1: 手順 1、 3の画像 2 KitchenAid KSB5CR Motor Replacement, Removing the Back Panel Part 1: 手順 1、 3の画像 3
    • Remove the glass container and place the blender upside down on a solid surface.

    • Remove the four rubber feet using the needle nose pliers.

    • Remove the four #7.5 Phillips 25mm screws that were located underneath the rubber feet using the Phillips #2 screwdriver.

  2. KitchenAid KSB5CR Motor Replacement, Removing the Back Panel Part 2: 手順 2、 1の画像 1
    • Lift the back panel up, sliding it along the power cord.

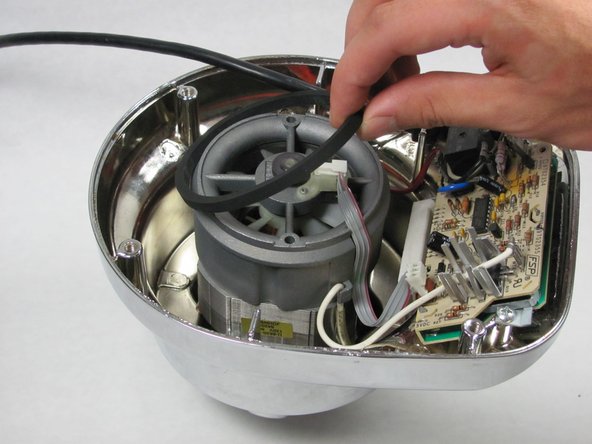
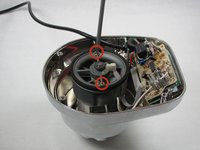
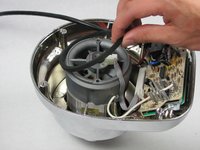
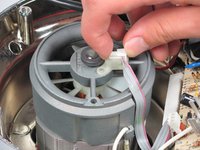
  3. KitchenAid KSB5CR Motor Replacement, Removing the Fan Chassis Part 1: 手順 3、 3の画像 1 KitchenAid KSB5CR Motor Replacement, Removing the Fan Chassis Part 1: 手順 3、 3の画像 2 KitchenAid KSB5CR Motor Replacement, Removing the Fan Chassis Part 1: 手順 3、 3の画像 3
    • Remove the two #5 Phillips 95 mm machine screws using the Phillips #2 screwdriver.

    • Remove the rubber O-ring by lifting it up.

    • Remove the ribbon cable from the chassis by lifting it up.

  4. KitchenAid KSB5CR Motor Replacement, Removing the Fan Chassis Part 2: 手順 4、 3の画像 1 KitchenAid KSB5CR Motor Replacement, Removing the Fan Chassis Part 2: 手順 4、 3の画像 2 KitchenAid KSB5CR Motor Replacement, Removing the Fan Chassis Part 2: 手順 4、 3の画像 3
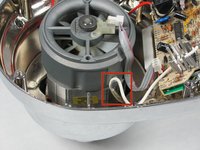
    • Unhook the white wire that is looped around the peg by pulling it out of the clip.

    • Repeat this process with the red wire on the other side of the chassis.

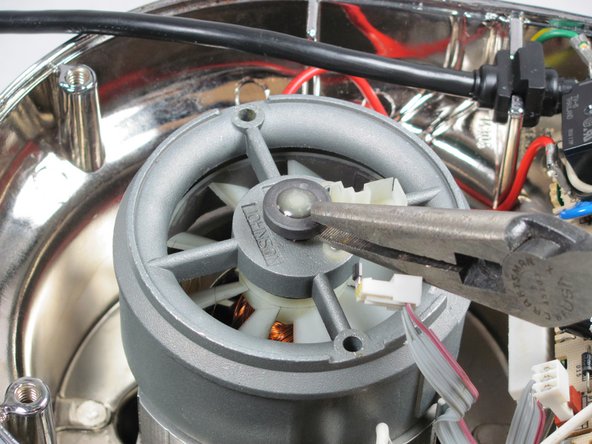
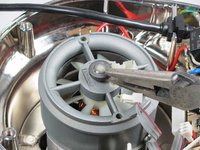
    • Remove the end cap using the 8" needle nose pliers.

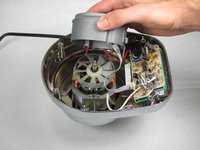
    • Pull up the fan chassis.

  5. KitchenAid KSB5CR Motor Replacement, Removing the Fan: 手順 5、 1の画像 1
    • Remove the fan by lifting it upwards.

    • This step is difficult and requires force. Use of both hands is recommended.

  6. KitchenAid KSB5CR Motor Replacement, Removing the Metal Cap: 手順 6、 1の画像 1
    • Use the needle nose pliers to turn the coupling clockwise to loosen it.

  7. KitchenAid KSB5CR Motor Replacement, Removing the Screws: 手順 7、 1の画像 1
    • Rotate the blender 90 degrees clockwise.

    • Remove the two #8 Phillips 12 mm screws using the Phillips #2 screwdriver.

  8. KitchenAid KSB5CR Motor Replacement, Detatching the Wire: 手順 8、 1の画像 1
    • Slide the knife in the metal loop holding the insulation before the white copper wire, and wiggle the knife back and forth until it loosens.

    • Pull the wire out from the metal loop that you loosened.

  9. KitchenAid KSB5CR Motor Replacement, Removing the Motor: 手順 9、 1の画像 1
    • Lift the motor up out of the chassis.

終わりに

To reassemble your device, follow these instructions in reverse order.

ある他の人がこのガイドを完成しました。

作成者

3人の作成者と共同で作成されました。

Cameron Geehr

メンバー登録日: 09/28/14

745 ポイント

6のガイドは作成済み

チーム

Cal Poly, Team 12-5, Forte Fall 2014 Cal Poly, Team 12-5, Forte Fall 2014人のメンバー

CPSU-FORTE-F14S12G5

5 メンバー

6のガイドは作成済み

0 件のコメント

コメントを追加

統計データ:

過去 24時間: 4

過去 7 日: 10

過去 30 日: 36

今までの合計 3,994