メインコンテンツにスキップ

Kitchen Sink Basket Strainer Replacement

必要な工具と部品

  1. Kitchen Sink Basket Strainer Replacement, Basket Strainer: 手順 1、 1の画像 1
    • Shut off the hot and cold water supply valves under the sink.

    • Turn the handles clockwise and make sure the water is off before moving on.

  2. Kitchen Sink Basket Strainer Replacement: 手順 2、 2の画像 1 Kitchen Sink Basket Strainer Replacement: 手順 2、 2の画像 2
    • Remove the stopper from the basket strainer by lifting it out.

  3. Kitchen Sink Basket Strainer Replacement: 手順 3、 2の画像 1 Kitchen Sink Basket Strainer Replacement: 手順 3、 2の画像 2
    • Loosen the trap adapter nut under the sink.

    • Use the pliers and turn counterclockwise to loosen the nut.

  4. Kitchen Sink Basket Strainer Replacement: 手順 4、 2の画像 1 Kitchen Sink Basket Strainer Replacement: 手順 4、 2の画像 2
    • Loosen the tailpiece nut under the basket strainer.

    • Use the pliers and turn counterclockwise to loosen the nut.

  5. Kitchen Sink Basket Strainer Replacement: 手順 5、 2の画像 1 Kitchen Sink Basket Strainer Replacement: 手順 5、 2の画像 2
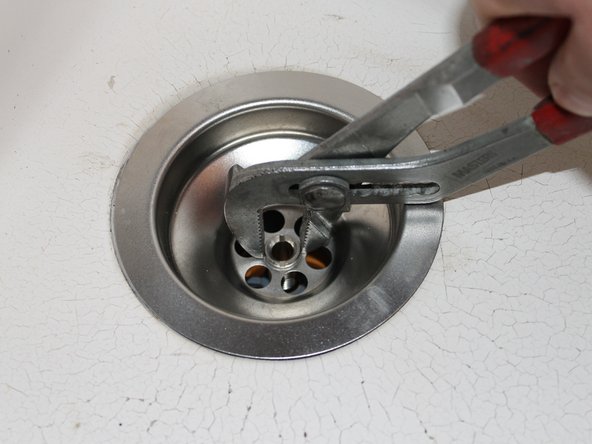
    • Loosen the nut of the basket strainer.

    • Use the pliers and turn counterclockwise to loosen the nut.

  6. Kitchen Sink Basket Strainer Replacement: 手順 6、 1の画像 1
    • Remove the basket strainer from the sink by lifting it out.

  7. Kitchen Sink Basket Strainer Replacement: 手順 7、 1の画像 1
    • Remove the tailpiece from the trap adaptor by lifting it out.

    • Keep the trap adapter nut and the nylon slip washer aside.

    • The trap adapter nut and nylon slip washer are shown in the image. The nylon slip is within the trap adaptor.

  8. Kitchen Sink Basket Strainer Replacement: 手順 8、 2の画像 1 Kitchen Sink Basket Strainer Replacement: 手順 8、 2の画像 2
    • Clean the sink opening and install a new basket strainer and the tailpiece.

    • Image 2 shows all the pieces that should be included in your new kit.

  9. Kitchen Sink Basket Strainer Replacement: 手順 9、 1の画像 1
    • Slide the old trap adaptor nut and nylon slip washer over the tailpiece.

  10. Kitchen Sink Basket Strainer Replacement: 手順 10、 1の画像 1
    • Install the tailpiece into the trap adaptor with the tailpiece washer inserted on top.

  11. Kitchen Sink Basket Strainer Replacement: 手順 11、 1の画像 1
    • Place the basket strainer on top of the tailpiece.

  12. Kitchen Sink Basket Strainer Replacement: 手順 12、 2の画像 1 Kitchen Sink Basket Strainer Replacement: 手順 12、 2の画像 2
    • Align the upper strainer to the basket under the sink and tighten it with the nut supplied.

    • Use the pliers and turn clockwise to tighten the nut.

  13. Kitchen Sink Basket Strainer Replacement: 手順 13、 1の画像 1
    • Tighten the tailpiece nut to the basket.

    • Use the pliers and turn clockwise to tighten the nut.

  14. Kitchen Sink Basket Strainer Replacement: 手順 14、 1の画像 1
    • Tighten the trap adaptor nut.

    • Use the pliers and turn clockwise to tighten the nut.

  15. Kitchen Sink Basket Strainer Replacement: 手順 15、 1の画像 1
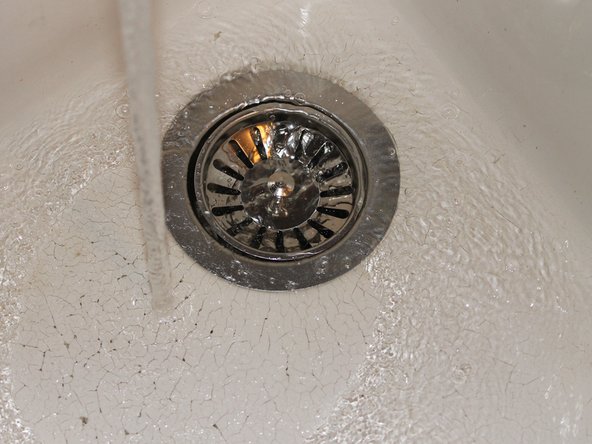
    • Insert the strainer and turn the water back on to test for any leaks.

ゴール

作成者

2人の作成者と共同で作成されました。

Daniel Mella

メンバー登録日: 09/15/21

241 ポイント

1ガイドが承認済み

チーム

York University, Team F-6, Woodhouse Fall 2021 York University, Team F-6, Woodhouse Fall 2021人のメンバー

YORK-WOODHOUSE-F21SFG6

1 メンバー

1のガイドは作成済み

0 件のコメント

コメントを追加

統計データ:

過去 24時間: 3

過去 7 日: 16

過去 30 日: 69

今までの合計 2,235