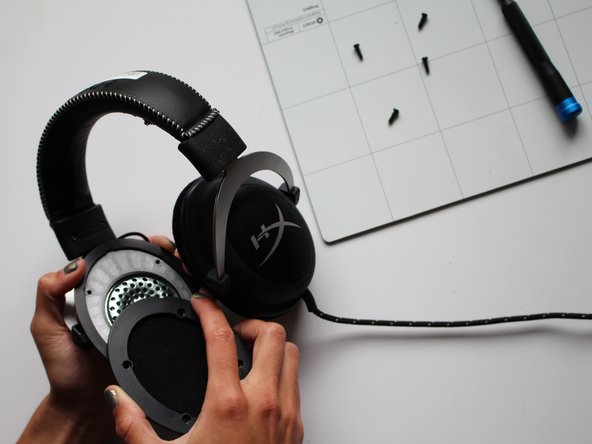
メインコンテンツにスキップ

Kingston HyperX CloudX Speaker Sponge Replacement

必要な工具と部品

  1. Kingston HyperX CloudX Speaker Sponge Replacement, Speaker Sponge: 手順 1、 1の画像 1
    • Remove the ear cushion from the earphone.

  2. Kingston HyperX CloudX Speaker Sponge Replacement: 手順 2、 2の画像 1 Kingston HyperX CloudX Speaker Sponge Replacement: 手順 2、 2の画像 2
    • Remove four 11.2 mm screws from the earpiece using a Phillips #00 screwdriver.

  3. Kingston HyperX CloudX Speaker Sponge Replacement: 手順 3、 2の画像 1 Kingston HyperX CloudX Speaker Sponge Replacement: 手順 3、 2の画像 2
    • Use a spudger to pry the top plate away from the motherboard.

    • There will be a groove in between the two plates to insert the spudger.

  4. Kingston HyperX CloudX Speaker Sponge Replacement: 手順 4、 1の画像 1
    • Use the metal spudger tool to scrape off the old foam pad and any remaining glue.

    • The plate does not have to be completely clean after removal, just clean enough to securely attach the new sponge.

  5. Kingston HyperX CloudX Speaker Sponge Replacement: 手順 5、 1の画像 1
    • Line the edge of the headphone plate where the original pad was with superglue.

    • Press the new sponge into the glue and allow it to dry fully.

    • The new sponge may need to be cut to size in order to fit on the headphone plate.

    • Make sure the glue is completely dry before reassembling your device. Failure to do this may result in damage of your device.

終わりに

To reassemble your device, follow these instructions in reverse order.

作成者

1人の作成者と共同作成されました。

Kosie

メンバー登録日: 03/01/23

121 ポイント

1ガイドが承認済み

チーム

University of Delaware, Team 12-4, McGuire Spring 2023 University of Delaware, Team 12-4, McGuire Spring 2023人のメンバー

UD-MCGUIRE-S23S12G4

5 メンバー

4のガイドは作成済み

0 件のコメント

コメントを追加

統計データ:

過去 24時間: 0

過去 7 日: 1

過去 30 日: 6

今までの合計 93