この翻訳は、ソースガイドの最新の更新を反映していない可能性があります。 翻訳の更新に協力してください。 または ソースガイドを参照してください。
はじめに
このガイドを参照して、破損したKindle 2のスクリーンを交換します。
必要な工具と部品
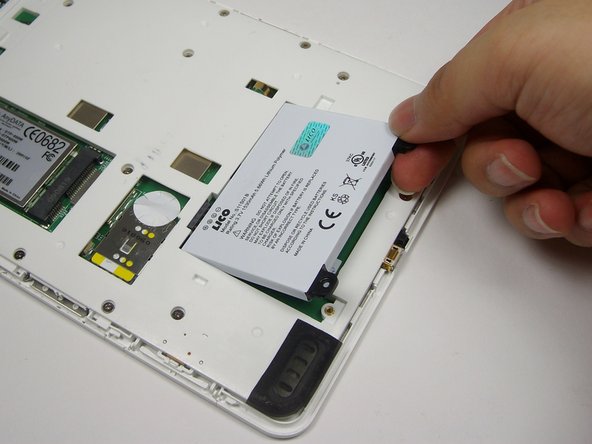
-
-
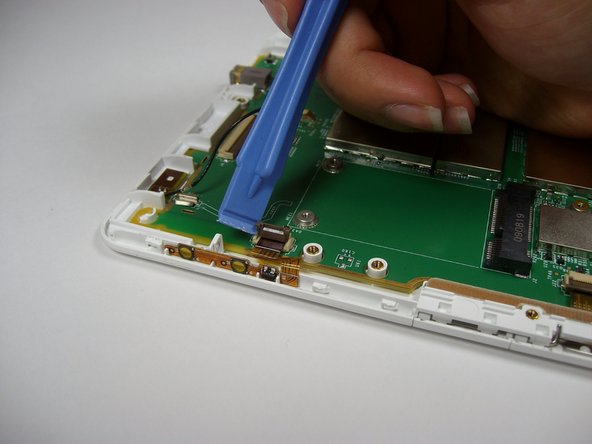
プラスチックの開口ツールを接続部分の下に差し込み、ワイヤのキャップから慎重に外します。
STEP 7.5 Remove Plastic Protector. There are 16 2.5mm screws keeping it in place. Remove them and the protector will come off easily. I used this guide a few months ago and it had a step here explaining this that now seems to be missing.
teamhudson - 返信
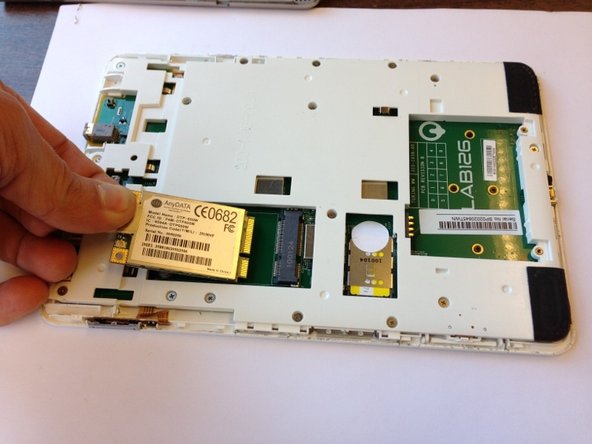
-
-
-
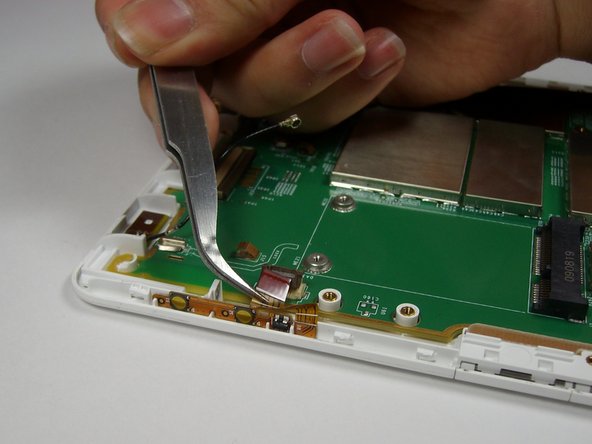
最後のプラスチックリボンを指で押し込みます。
-
コネクタから指をスライドして外し、最後のリボンを取り外します。
This cable's connector also has a hinge that must be opened to put the cable back in properly.
teamhudson - 返信
You don't have to remove this connector to look at the keyboard. Remove it only if you are looking to replace screen.
Also the black connector can be popped open like the other brown ones, before you pull out the connector cable.
-
-
-
マザーボード下側のコーナーを摘んで、Kindleから安全に取り外します。
-


デバイスを再組み立てする際は、これらの手順を逆の順番に従って作業を進めてください。
デバイスを再組み立てする際は、これらの手順を逆の順番に従って作業を進めてください。
25 の人々がこのガイドを完成させました。
以下の翻訳者の皆さんにお礼を申し上げます:
66%

Midori Doiさんは世界中で修理する私たちを助けてくれています! あなたも貢献してみませんか?
翻訳を始める ›
チーム

Cal Poly, Team 12-32, Amido Spring 2013 Cal Poly, Team 12-32, Amido Spring 2013人のメンバー
CPSU-AMIDO-S13S12G32
4 メンバー
14のガイドは作成済み
7 件のコメント
Great guide!
My replacement screen came with a spudger like the one shown, but it was pretty mangled by the time I got the back off. I had much better luck with another spudger shaped like a guitar pick.
Yeah, the step to remove the inner plastic protector is missing. It is pretty obvious that it needs to happen, but it would be good to include in the guide.
The ribbon for the screen needs to be pushed in further than the other ribbons, and took a bit of wiggling. FYI for others attempting this!
I followed this guide, but the screen is still on the "Amazon Kindle" screen that was on the replacement when it came in the mail. I opened it to ensure the ribbons are all in place. It's fully charged (green light) and the computer can see it as a hard drive. Calibre can also see all the books are still in place. Any ideas what connection I need to recheck to get the replacement screen working? I'd love to get my old Kindle 2 back in business!
Answering my own question in case it helps anyone. It turns out the ribbon for the screen (the last one removed in Step 14) wasn't far enough in the connector. I was trying it with the line about even with the "39" on the board, which wasn't far enough. After the eBay seller kindly gave me some tips, I was able to manhandle the ribbon closer to the connector, and now the screen works great!
In order to be pre-prepared, (I'm pretty sure the double-sided tape holding the screen to the motherboard will need replacement after years of service) is the tape of the fairly thick foam variety or the much thinner plastic ribbon style?
Are replacement screens still available for purchase?
Great guide. Look at the comments at step 14. If anyone is interested, If anyione is still interesed, in March 2017 I bought a replacement screen for US$15 here: https://www.aliexpress.com/item/Free-too...
A Finderle - 返信
I had a heck of time using the spudger. I have found that grabbing the corners and using my thumbs to push the plastic away worked like a champ.
teamhudson - 返信
Thanks for this tip, was successful using the thumb method :)
Rosie A. -
to help get enough grip with my thumbs, I used a piece of old yoga mat to increase friction between thumbs and the top plastic piece
Rosie A. -
For anyone still looking for this in 2020, see my comment here for how to properly remove the back.
Kindle 2 Teardown
Dave76 - 返信