はじめに
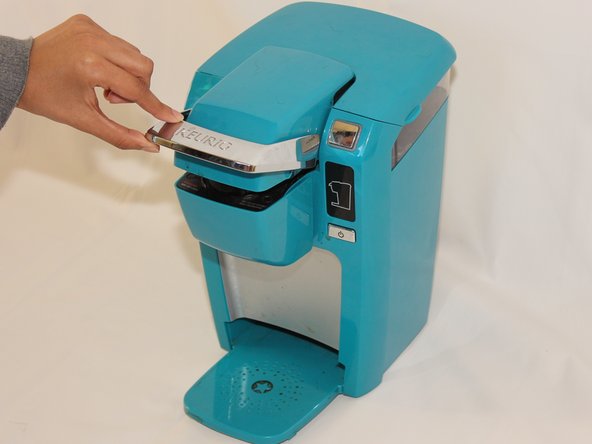
Regular usage of this device may cause the K-cup holder to clog or accidentally crack. This guide will show you how to remove a K-cup holder for either cleaning or replacement for your Keurig Mini B-31.
必要な工具と部品
-
-
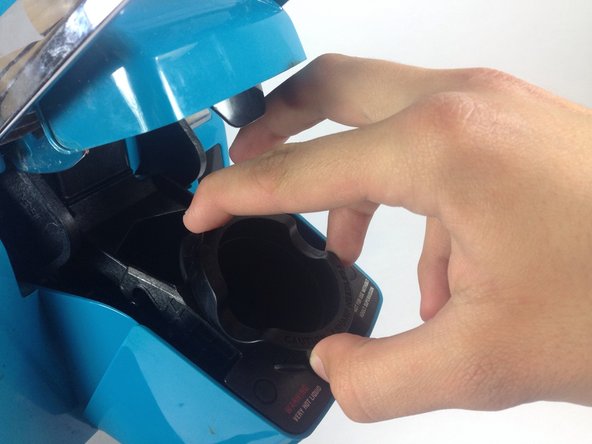
Firmly place a finger on each one of the three tabs that hold the K-cup holder into place, pushing in lightly. The tabs are difficult to see, but they are there and will make the removal easier. The top tab is located in the same location as the white triangle and the bottom two are located under the plastic bumps highlighted in the picture.
-
-


To reassemble your device, follow these instructions in reverse order.
To reassemble your device, follow these instructions in reverse order.
7 の人々がこのガイドを完成させました。
チーム

Cal Poly, Team 17-1, Forte Winter 2014 Cal Poly, Team 17-1, Forte Winter 2014人のメンバー
CPSU-FORTE-W14S17G1
5 メンバー
17のガイドは作成済み
2 件のコメント
See here for k-cup holder removal.