この翻訳は機械によって生成されたものであり、まだ人間による校正は行われていません。 日本語を話せますか? レビューはこちらから。

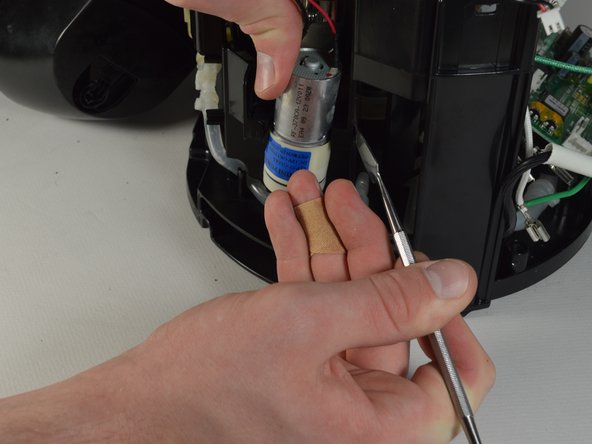
Keurig 2.0-400 ミニポンプの交換

Alec Jamosmos とその他 4 人の作成者
最終更新日: 2026年8月17日
閲覧: 1.4万
統計データ:
- 過去24時間:
- 3
- 過去7日:
- 30
- 過去30日:
- 133
- 今までの合計
- 14,034
コメント: 12
手順に関する6件のコメント, 6 guide comments.
修理ガイドのコメントへ完了済み: 9 10
9人のユーザーがこのガイドを「完了」させました。あなたも加わりませんか?
あなたを含む、10人のユーザーがこのガイドを使って修理を「完了」させました。素晴らしいです!
お気に入り: 1 2
1人のユーザーがこのガイドをお気に入りに登録しています。あなたもリストに入れませんか?
あなたを含む、2人のユーザーがこのガイドをお気に入りに登録しています。
はじめに
手順 1 に進む ↓この修理ガイドでは、ミニポンプを交換します。Keurigから水漏れがある場合や、液体が正常に排出されない場合にこの作業が必要となります。
必要な工具と部品
ツール


-
-
-
-
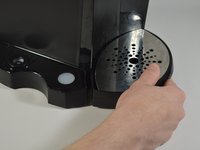
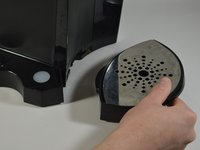
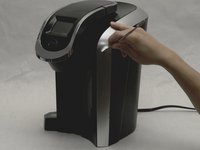
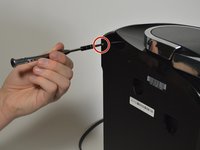
金属製スパッジャーを使用して、Keurigマシンの右側にある銀色のパネルを分離します。
-
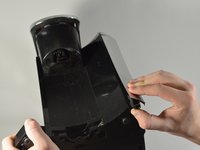
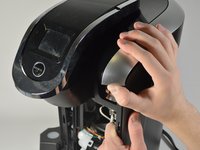
コーヒーメーカーを逆さまに傾け、銀色のパネルの下部をつかみます。
-
手を使って、Keurigマシンから銀色のパネルを剥がします。
-
-
-
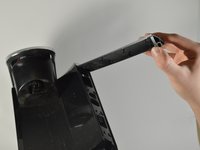
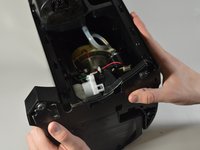
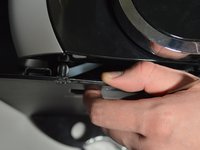
片方の指を、シルバーのパネルが取り付けられていたフレームの内側に入れ、ベースを固定します。
-
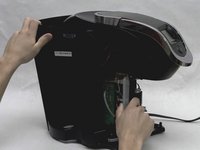
もう片方の手で下に引き、Keurigマシンのフロントハウジングを外します。
-
-
-
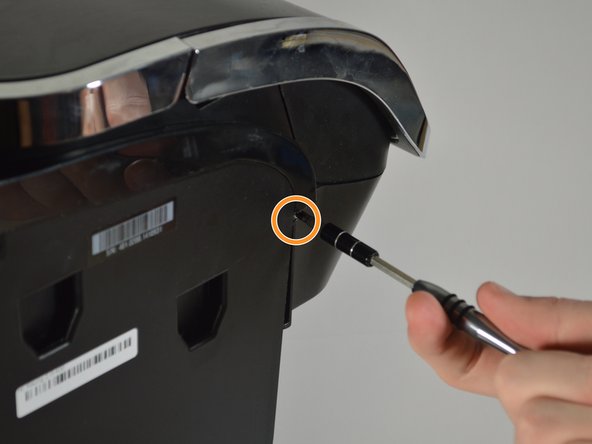
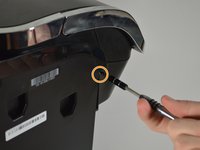
プラスドライバー #1 を使用し、水タンクがあった側の、左上隅にある 120 mm ネジを外す。
-
プラスドライバー #1 を使用し、Keurig の左側を横切る空スロットの端の下にある 140 mm ネジを外す。
-
-
-
写真のように、コーヒーメーカーを横向きに置きます。
-
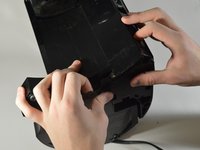
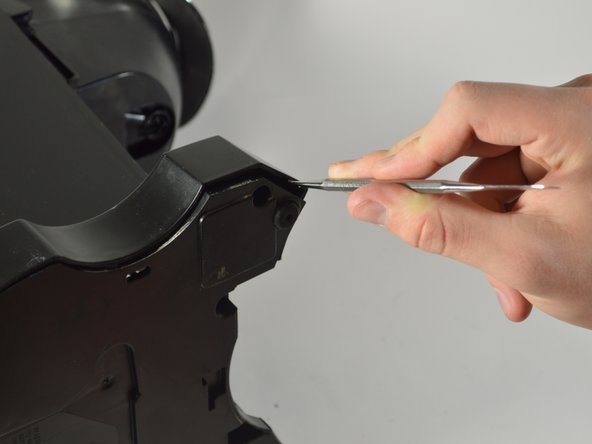
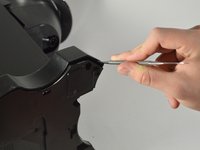
金属製スパッジャーを使い、Keurig本体の側面を囲っているハウジングを底部からこじ開けます。
-
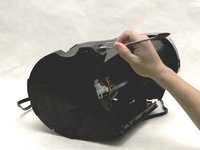
ベースの外周に沿って順に進めます。
-
-
-
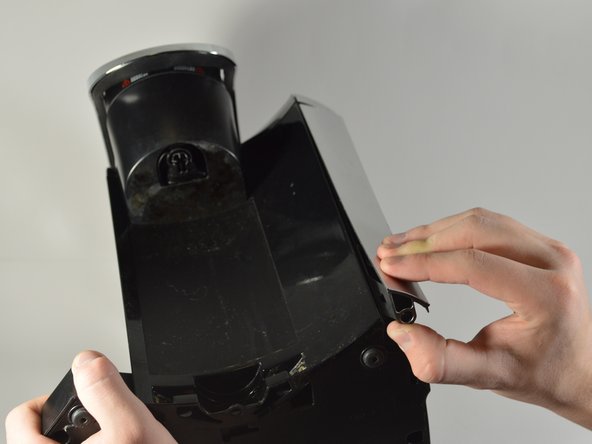
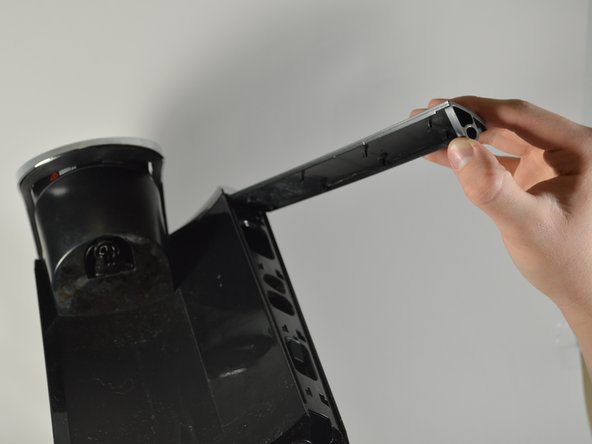
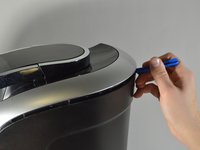
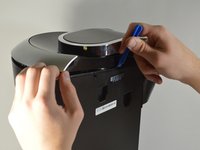
Keurigの上部にあるシルバーのフレームと背面外装を接続しているラッチを取り外し、背面外装全体を外します。その際、金属製スパッジャーを使用してラッチを上方向および外側に持ち上げてください。
-
-
-
写真のようにブリューワーの向きを変えます。
-
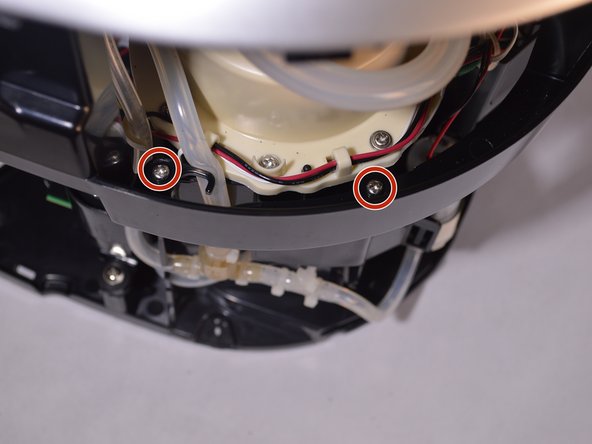
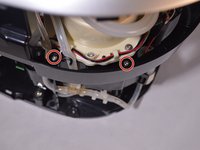
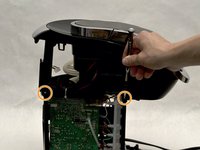
Keurigのトップフレームを固定している4本の140mmネジを確認し、プラスドライバー#1を使用してそれらのネジを取り外します。
-
2本のネジは、給湯器に近いフレームの内側にあります。
-
残りの2本のネジは、フレームの外側にあります。
-
-
-
-
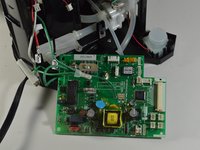
回路基板を囲むフレームの上部を取り外す。
-
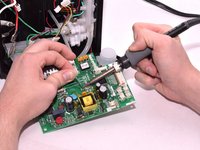
回路基板の上部に接続されているワイヤリングを取り外す。
-
マルチカラーのワイヤリングは根元を持って引き抜く。
-
黒いワイヤリングと赤いワイヤリング1本がまとまった束は、回路基板の最上部に接続されている。このワイヤリングを取り外すには、白いタブをつまみながら引き抜く。
-
-

 FixBotに聞いてみる





















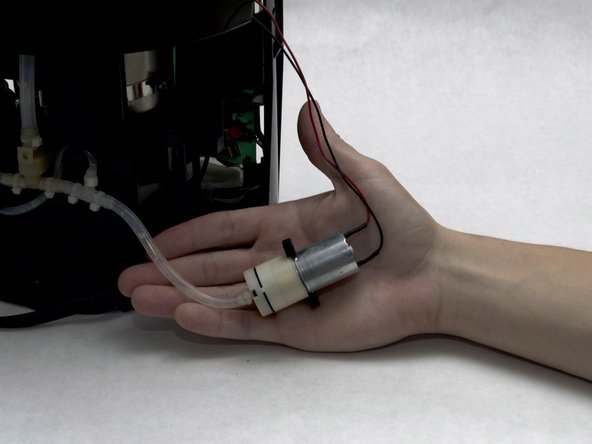


デバイスを再組み立てするには、これらのインストラクションを逆の順番に従って作業を進めてください。
9 の人々がこのガイドを完成させました。

チーム

Cal Poly, Team S24-G8, Maness Spring 2018 Cal Poly, Team S24-G8, Maness Spring 2018人のメンバー
CPSU-MANESS-S18S24G8
4 メンバー
60のガイドは作成済み
6件のガイドコメント
Why remove the circuit board?
Mel Jenkins - 返信 共有
Exactly my question ;)
Link to a new pump please
Spencer Long - 返信 共有
I agree. Why take out the circuit board. On the older Keurig models it was necessary to obtain access to the minipump, but for the 2.0 once the casing is completely removed access to the minipump is simple. However, if due to the failure of the minipump the pressure sensor ended up getting wet, then there might be a reason: to replace the sensor. There are videos claiming that 0V (0mV in this case) is the right output for the sensor. Not so, the correct output should be around 40mV when the pressure is zero. To test this, attach a voltmeter across pins 1 (-) & 3 (+) on the circuit board (pin 1 is above where the tube goes into the circuit board on the upper left side, 3 is upper right side, pins 4, 5, 6 on the bottom. Spec sheet for that device (FPN-07PG) is at https://www.fujikura.co.jp/eng/resource/.... With the tube disconnected, it will read ~.040 V. If it doesn't, try adding or subtracting pressure using a syringe--the voltage output should change.
Here is the spec sheet for the minipump: https://koge-europe.com/wp-content/uploa...
