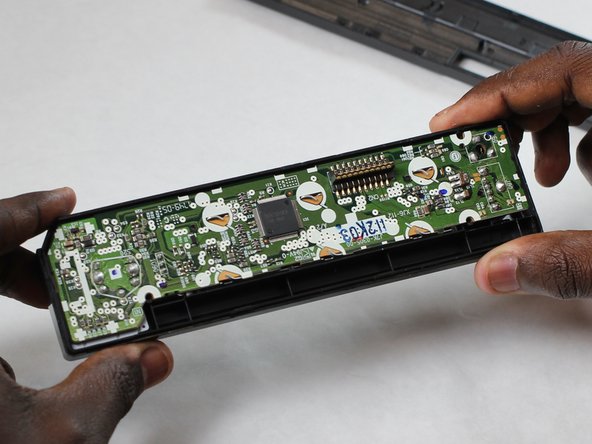
メインコンテンツにスキップ

Kenwood KMM-BT522HD Button Replacement

必要な工具と部品

  1. Kenwood KMM-BT522HD Button Replacement, Face Plate: 手順 1、 1の画像 1
    • Press the ejection button on the lower left corner of the face plate.

  2. Kenwood KMM-BT522HD Button Replacement: 手順 2、 2の画像 1 Kenwood KMM-BT522HD Button Replacement: 手順 2、 2の画像 2
    • Remove the face plate by pulling upwards and in the direction of the ejection button.

  3. Kenwood KMM-BT522HD Button Replacement, LCD Screen: 手順 3、 1の画像 1
    • Remove the three 7.5mm Phillips #1 screws.

  4. Kenwood KMM-BT522HD Button Replacement: 手順 4、 2の画像 1 Kenwood KMM-BT522HD Button Replacement: 手順 4、 2の画像 2
    • Separate the two halves of the housing by prying along the length of the device with a plastic opening tool.

  5. Kenwood KMM-BT522HD Button Replacement: 手順 5、 1の画像 1
    • Remove the motherboard from the housing.

  6. Kenwood KMM-BT522HD Button Replacement, Buttons: 手順 6、 2の画像 1 Kenwood KMM-BT522HD Button Replacement, Buttons: 手順 6、 2の画像 2
    • Remove the 5.5 mm Phillips #00 screw.

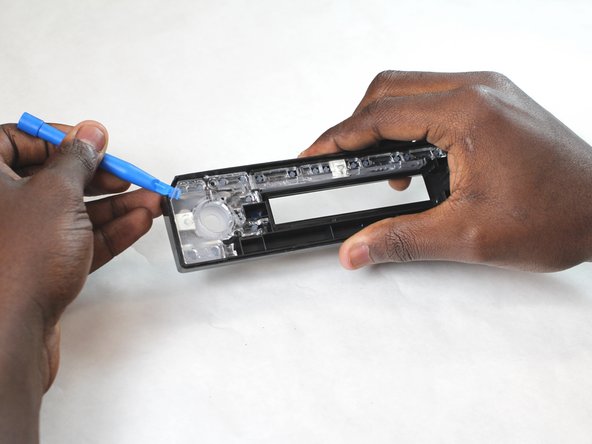
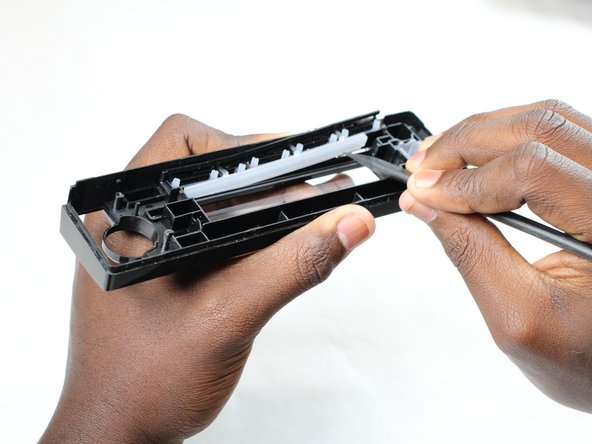
    • Remove the clear plastic piece by carefully prying it away from the plastic housing.

  7. Kenwood KMM-BT522HD Button Replacement: 手順 7、 2の画像 1 Kenwood KMM-BT522HD Button Replacement: 手順 7、 2の画像 2
    • Remove the gray rubber piece by pulling it upwards and away from the plastic housing.

    • Use the pointed end of a spudger to pry out the buttons.

終わりに

To reassemble your device, follow these instructions in reverse order.

作成者

2人の作成者と共同で作成されました。

Andrew Waldon

メンバー登録日: 07/05/18

265 ポイント

3のガイドは作成済み

チーム

IUPUI, Team S2-G4, Harley Summer 2018 IUPUI, Team S2-G4, Harley Summer 2018人のメンバー

IUPUI-HARLEY-SU18S2G4

3 メンバー

3のガイドは作成済み

0 件のコメント

コメントを追加

統計データ:

過去 24時間: 0

過去 7 日: 1

過去 30 日: 5

今までの合計 228