はじめに
If the CD drive is malfunctioning, or perhaps a CD is stuck and won't come out with a simple hard reset, you may need to replace/disassemble the KDC-BT565U in order to get the unit in proper working condition.
Note: this requires the KDC-BT565U to be separated from the car. If the unit is currently in an automobile, it needs to be unmounted. This may require specialist assistance.
必要な工具と部品
-
-
Grasp the outer metal sleeve with one hand and the front of the unit with the other.
-
Slide the sleeve back until it comes off the unit.
-
-
-
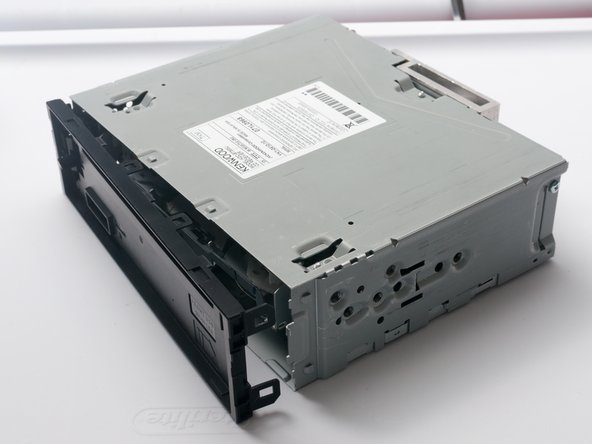
Remove the thin frame from the front of the device. This can be done by first unsnapping the top pegs and then the bottom ones.
-
-
-
-
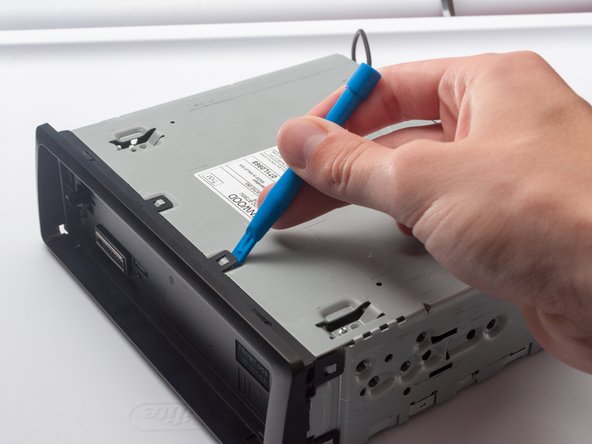
Remove the 7.5mm Phillips #0 screw in between the red and white RCA inputs.
-
Remove the two 13.5mm Phillips #0 screws towards the top of the aluminum block.
-
Remove the 10mm Phillips #0 screw towards the bottom of the aluminum block.
-
Remove the two 6mm Phillips #0 screws found above the microphone mount and below the circular port.
-
Remove the 7.5mm Phillips #0 screw next to the large rectangular power connector.
-
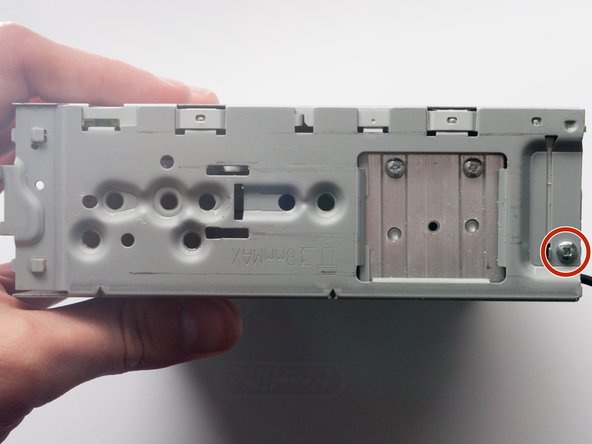
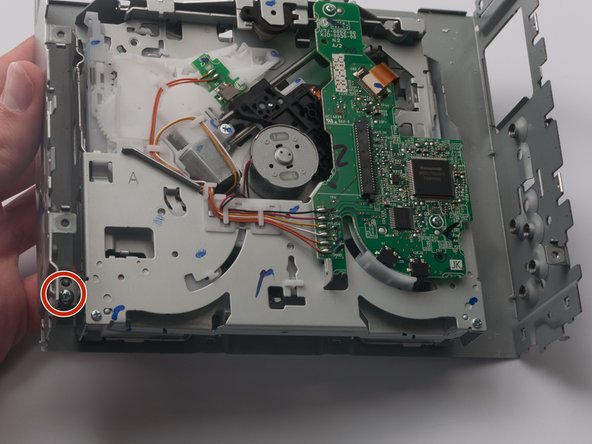
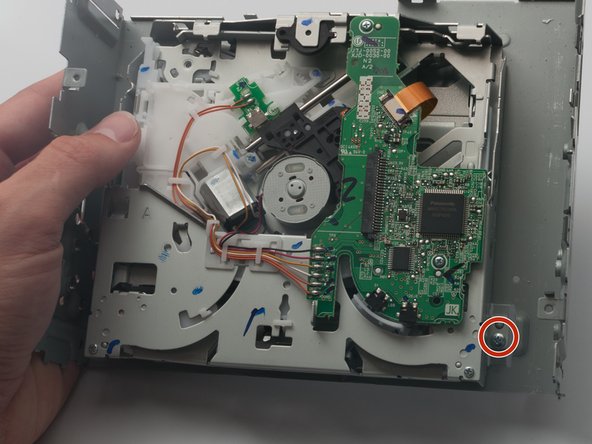
Remove the 10mm Phillips #0 screw that resides above the aluminum block.
-
-
-
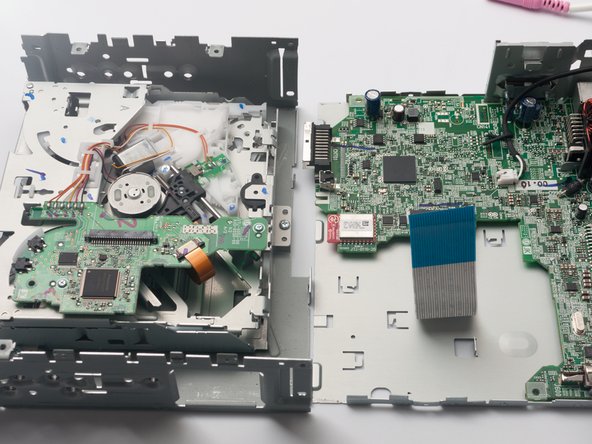
Carefully pull the ribbon out of the connector found on the bottom half of the unit (the bottom half has the CD drive).
-
To remove the ribbon, grip the black base connector with one hand and the base of the ribbon with the other. The ribbon will have a blue, reinforced section close to the base (seen in second picture) which makes it easier to pull.
-


To reassemble your device, follow these instructions in reverse order. Be careful when reattaching the new CD drive's ribbon to the motherboard. The ribbon can be bent easily.
To reassemble your device, follow these instructions in reverse order. Be careful when reattaching the new CD drive's ribbon to the motherboard. The ribbon can be bent easily.
3 の人々がこのガイドを完成させました。
チーム

USF Tampa, Team S2-G5, Lacy Spring 2017 USF Tampa, Team S2-G5, Lacy Spring 2017人のメンバー
USFT-LACY-S17S2G5
4 メンバー
11のガイドは作成済み