はじめに
This guide will explain the proper procedures on how to replace a faulty camera in this Kenwood device.
This may be necessary if you are receiving no signal from the camera, or if the proximity alert function of the dashcam is not working properly as it uses data from the camera.
必要な工具と部品
-
-
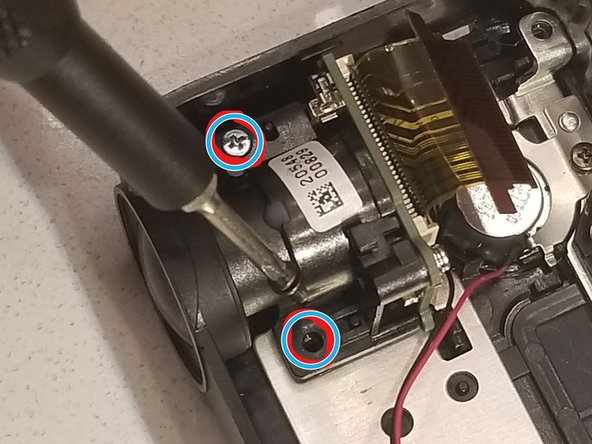
Remove the four 3mm screws from the back of the device using a Phillips #0 screwdriver.
-
Use a plastic opening tool to pry the back cover off of the device.
-
Remove four more 3mm screws from the copper plate immediately inside the device, also using a Phillips #0 screwdriver.
-
-


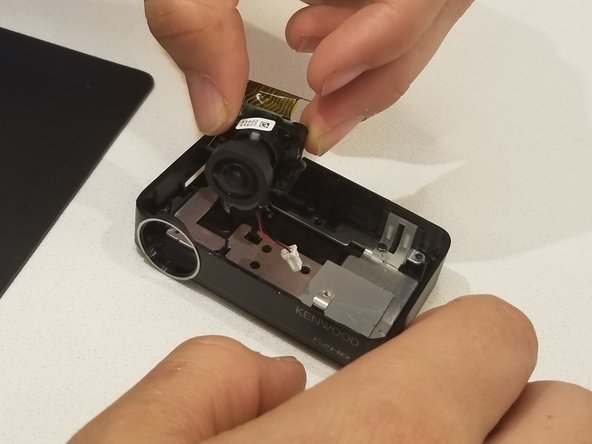
By the end of this guide you will be able to know how to replace your camera dashcam. For any other questions ,please refer to the troubleshooting page.
By the end of this guide you will be able to know how to replace your camera dashcam. For any other questions ,please refer to the troubleshooting page.
チーム

Embry-Riddle Aeronautical University, Team S14-G1, Lamothe Spring 2020 Embry-Riddle Aeronautical University, Team S14-G1, Lamothe Spring 2020人のメンバー
ERAU-LAMOTHE-S20S14G1
1 メンバー
2のガイドは作成済み