-
-
Turn off the stereo and remove from the vehicle before starting.
-
Unscrew the four 3.5mm side screws with a Phillips #1 screwdriver.
-
There are two screws per side.
-
-
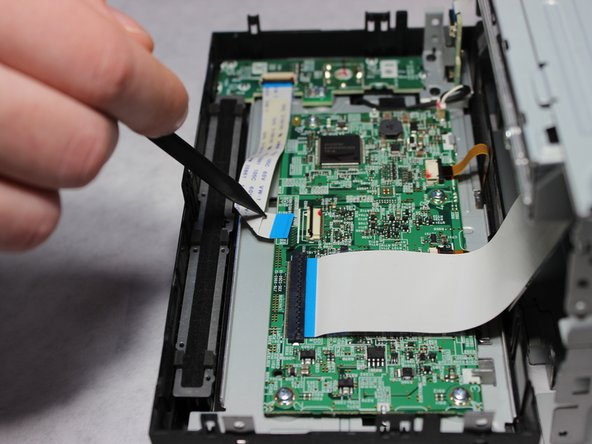
Use a spudger to unhook the plastic clips on the sides and top of the front panel. There are two clips on each side and one clip on the top.
-
Place the spudger between the plastic tab and the metal case and gently lift the spudger away from the case.
-
-
-
-
-
-
-
-
![: 手順 9、 2の画像 1]()
![: 手順 9、 2の画像 2]()

この手順で使用する道具:
Tweezers
$4.99
購入する
-
-
-
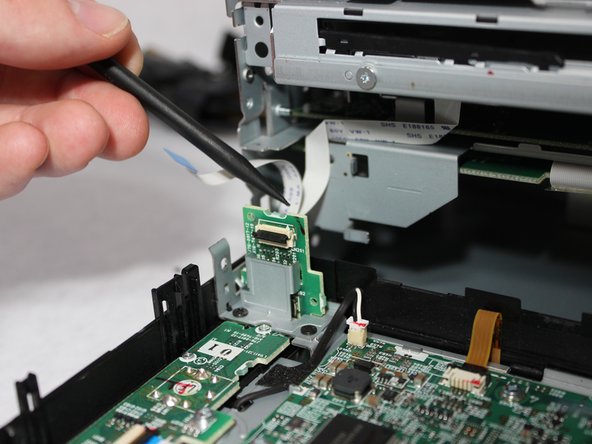
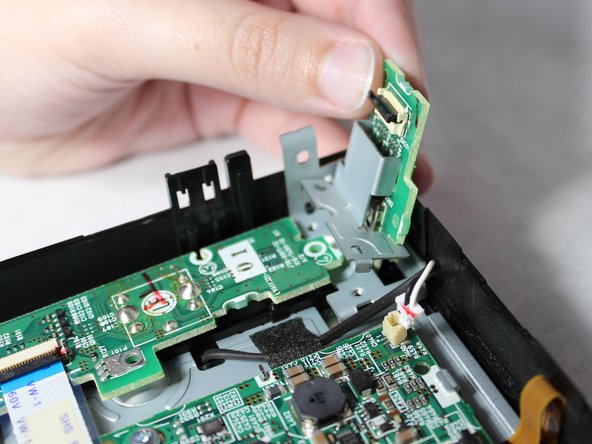
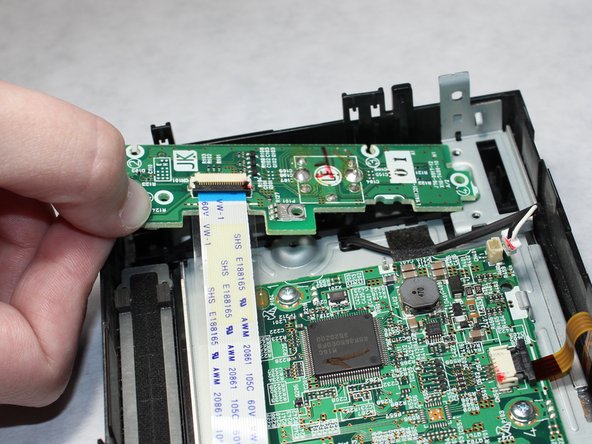
Unscrew the four 5.5mm screws with a JIS #00 screwdriver.
-
Unscrew the 4mm screw with a Phillips #1 screwdriver.
-
Remove the disconnected circuit board.
-
-
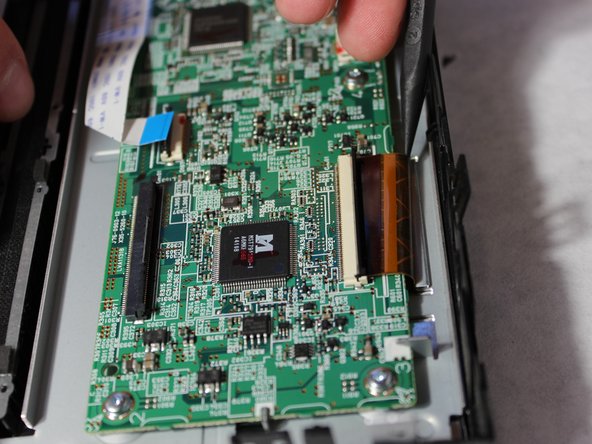
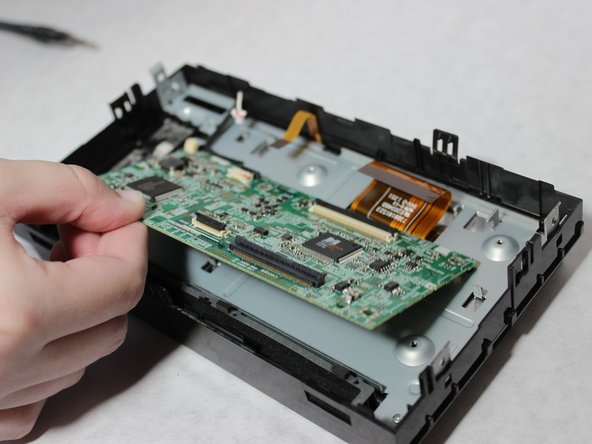
Unscrew the four 4mm screws on the main board with a Phillips #1 screwdriver.
-
Gently lift the board out of the casing.
-
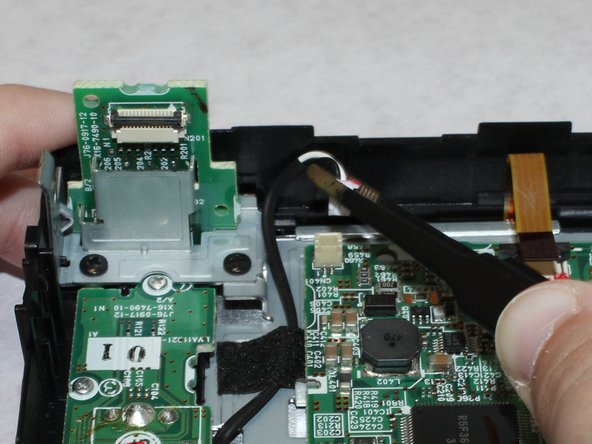
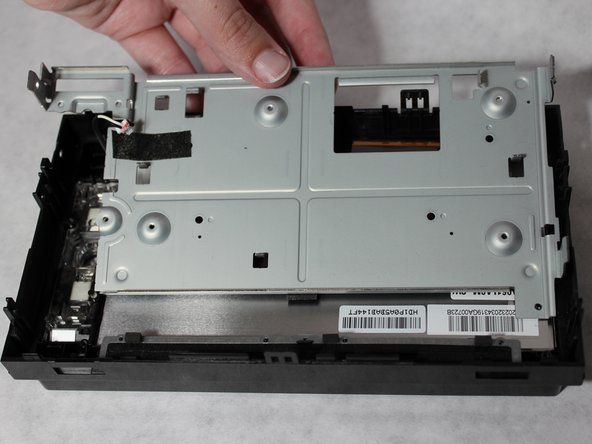
Unscrew the 5.5mm screw on the metal plate with a JIS #00 screwdriver.
-
-
-
Use the spudger to unhook the metal tabs and detach the metal plate from the plastic housing.
-
Place the spudger between the metal tab and the plastic case and gently lift the spudger away from the case.
-
-
Gently press the front of the screen to detach it from the plastic housing.
-
When removing the screen, gently flex out the plastic housing to help get the display past the plastic latch.
このガイドを埋め込む
サイズを選択し、以下のコードをコピーして、このガイドを小さなウィジェットとしてサイト/フォーラムに埋め込みます。
プレビュー