メインコンテンツにスキップ

Karcher Carpet Cleaner 10066730 2014 Switch Replacement

必要な工具と部品

  1. Karcher Carpet Cleaner 10066730 2014 Switch Replacement, Remove the screws securing the front panel: 手順 1、 1の画像 1
    • Before beginning repairs, disconnect the device from power, disconnect all hoses, drain and depressurize the system, and let the device cool if the heater was recently used.

    • Use a Phillips screwdriver to remove the six screws securing the front panel.

  2. Karcher Carpet Cleaner 10066730 2014 Switch Replacement, Tilt the front panel down: 手順 2、 2の画像 1 Karcher Carpet Cleaner 10066730 2014 Switch Replacement, Tilt the front panel down: 手順 2、 2の画像 2
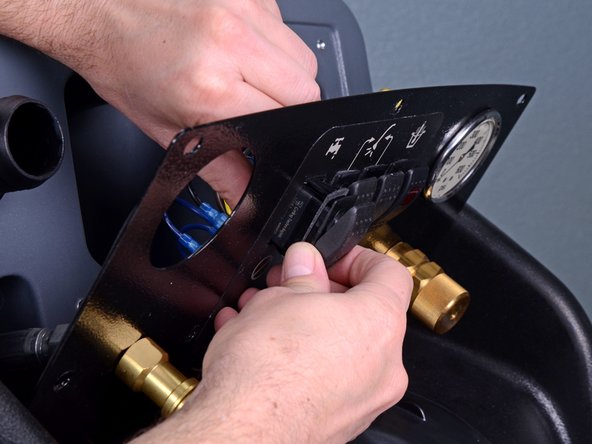
    • Grip the front panel at the top and tilt down to reveal the switch electronics.

    • The front panel will stay attached to the device with the flexible tubing.

  3. Karcher Carpet Cleaner 10066730 2014 Switch Replacement, Remove the wires from the switch: 手順 3、 2の画像 1 Karcher Carpet Cleaner 10066730 2014 Switch Replacement, Remove the wires from the switch: 手順 3、 2の画像 2
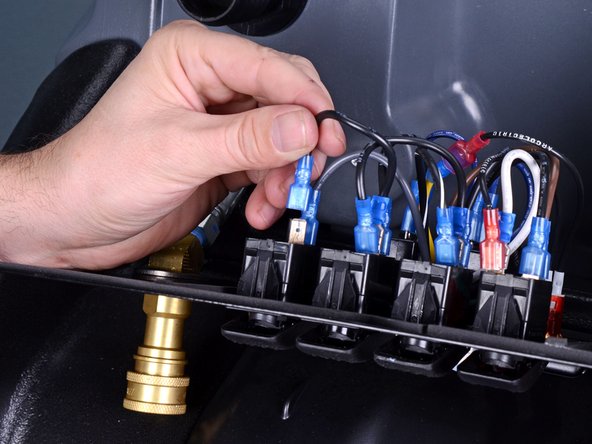
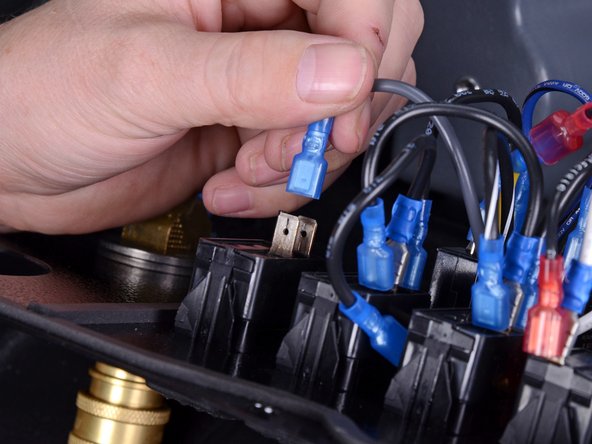
    • Grip the black ground wire by its blue connector and pull directly away from the switch to remove it.

  4. Karcher Carpet Cleaner 10066730 2014 Switch Replacement: 手順 4、 2の画像 1 Karcher Carpet Cleaner 10066730 2014 Switch Replacement: 手順 4、 2の画像 2
    • Remove the grey wire from the switch.

  5. Karcher Carpet Cleaner 10066730 2014 Switch Replacement, Depress the retaining clips: 手順 5、 2の画像 1 Karcher Carpet Cleaner 10066730 2014 Switch Replacement, Depress the retaining clips: 手順 5、 2の画像 2
    • Pinch the retaining clips on the back of the switch housing.

    • There are four retaining clips, two on the top and two on the bottom. All four will need to be depressed so the switch can slide out of the front panel.

  6. Karcher Carpet Cleaner 10066730 2014 Switch Replacement, Remove the switch: 手順 6、 3の画像 1 Karcher Carpet Cleaner 10066730 2014 Switch Replacement, Remove the switch: 手順 6、 3の画像 2 Karcher Carpet Cleaner 10066730 2014 Switch Replacement, Remove the switch: 手順 6、 3の画像 3
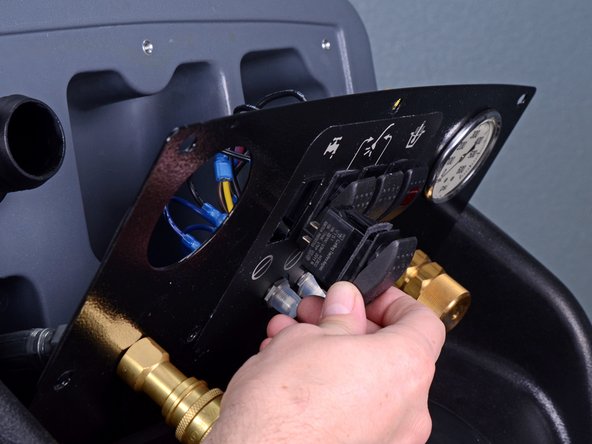
    • With all four retaining clips depressed, push the switch through and off of the front panel.

    • The switch will slide out of the front panel without much force.

    • Remove the switch.

終わりに

To reassemble your device, follow these instructions in reverse order.

ある他の人がこのガイドを完成しました。

Carsten Frauenheim

メンバー登録日: 03/10/20

115,591 ポイント

339のガイドは作成済み

チーム

iFixit iFixit人のメンバー

Staff

137 メンバー

17,457のガイドは作成済み

0 件のコメント

コメントを追加

統計データ:

過去 24時間: 0

過去 7 日: 6

過去 30 日: 16

今までの合計 446