メインコンテンツにスキップ

Kano Computer Kit Complete Raspberry Pi Replacement

  1. Kano Computer Kit Complete Raspberry Pi Replacement, Raspberry Pi: 手順 1、 2の画像 1 Kano Computer Kit Complete Raspberry Pi Replacement, Raspberry Pi: 手順 1、 2の画像 2
    • Take off the clear backing of the computer and set it aside.

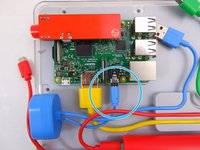
    • The Raspberry Pi is located in the top right corner of the case.

  2. Kano Computer Kit Complete Raspberry Pi Replacement: 手順 2、 3の画像 1 Kano Computer Kit Complete Raspberry Pi Replacement: 手順 2、 3の画像 2 Kano Computer Kit Complete Raspberry Pi Replacement: 手順 2、 3の画像 3
    • Unplug the battery from the power button.

  3. Kano Computer Kit Complete Raspberry Pi Replacement: 手順 3、 3の画像 1 Kano Computer Kit Complete Raspberry Pi Replacement: 手順 3、 3の画像 2 Kano Computer Kit Complete Raspberry Pi Replacement: 手順 3、 3の画像 3
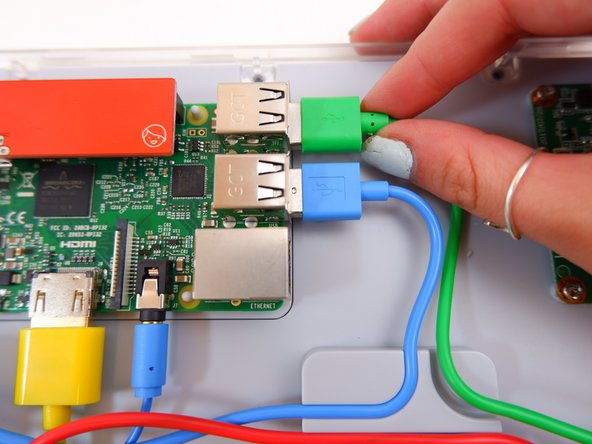
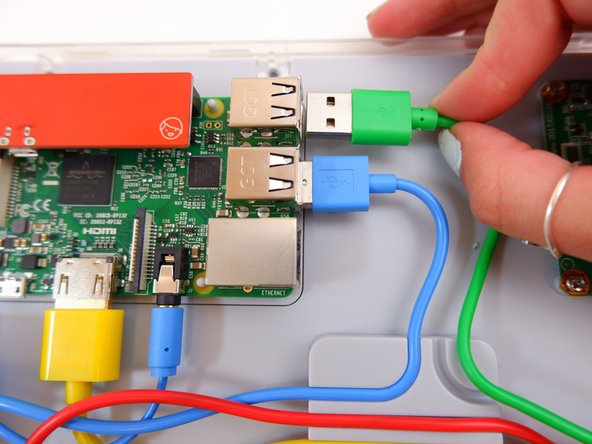
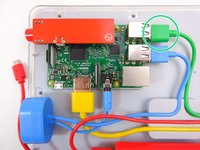
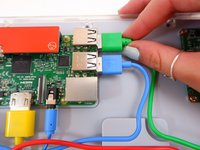
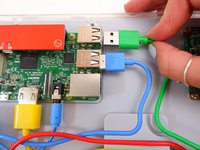
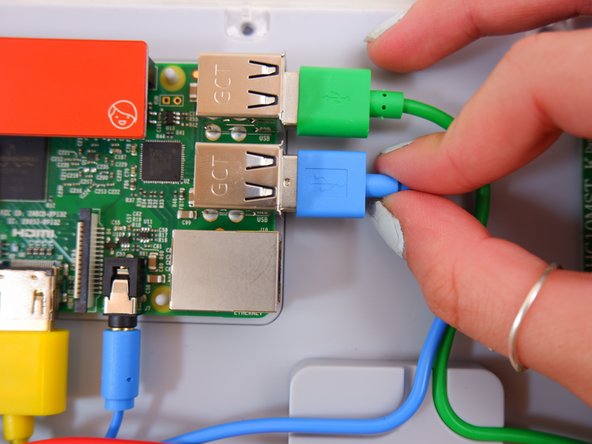
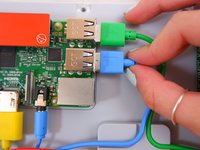
    • Unplug the green cable

  4. Kano Computer Kit Complete Raspberry Pi Replacement: 手順 4、 3の画像 1 Kano Computer Kit Complete Raspberry Pi Replacement: 手順 4、 3の画像 2 Kano Computer Kit Complete Raspberry Pi Replacement: 手順 4、 3の画像 3
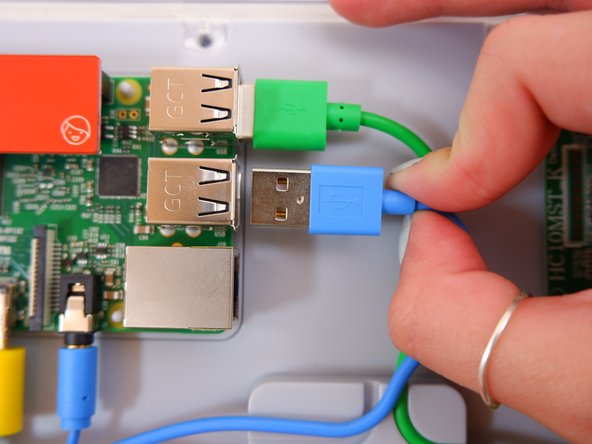
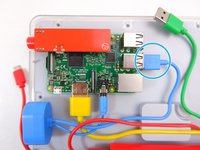
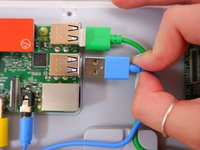
    • Unplug the blue USB cable.

  5. Kano Computer Kit Complete Raspberry Pi Replacement: 手順 5、 3の画像 1 Kano Computer Kit Complete Raspberry Pi Replacement: 手順 5、 3の画像 2 Kano Computer Kit Complete Raspberry Pi Replacement: 手順 5、 3の画像 3
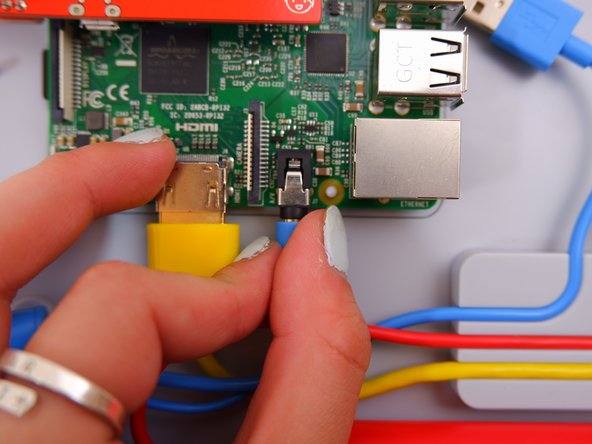
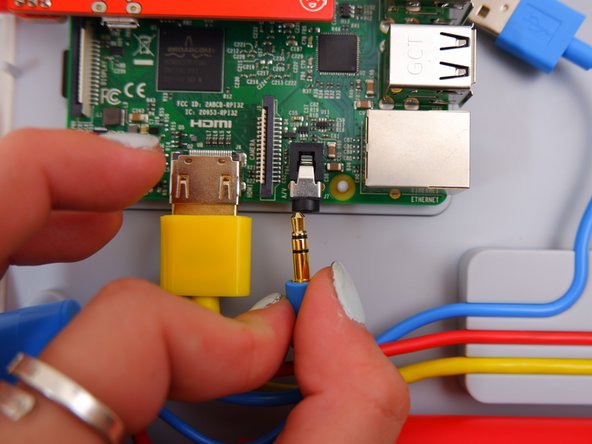
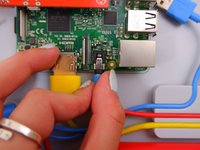
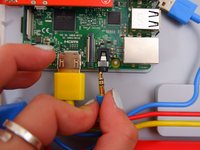
    • Unplug the blue audio jack.

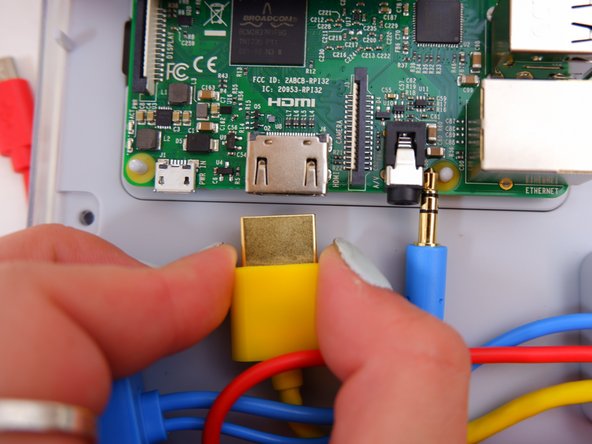
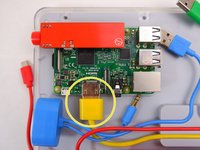
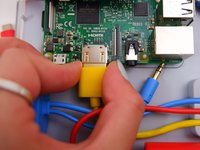
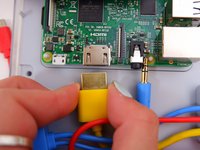
  6. Kano Computer Kit Complete Raspberry Pi Replacement: 手順 6、 3の画像 1 Kano Computer Kit Complete Raspberry Pi Replacement: 手順 6、 3の画像 2 Kano Computer Kit Complete Raspberry Pi Replacement: 手順 6、 3の画像 3
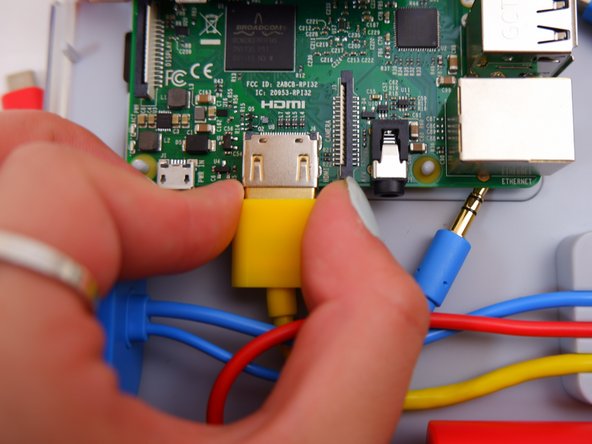
    • Unplug the yellow cable.

  7. Kano Computer Kit Complete Raspberry Pi Replacement: 手順 7、 2の画像 1 Kano Computer Kit Complete Raspberry Pi Replacement: 手順 7、 2の画像 2
    • Pop off the entire board from of the back of the screen.

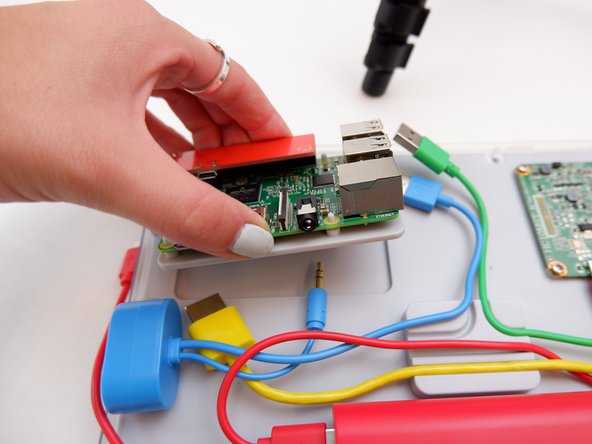
  8. Kano Computer Kit Complete Raspberry Pi Replacement: 手順 8、 1の画像 1
    • Remove the backing off the Raspberry Pi.

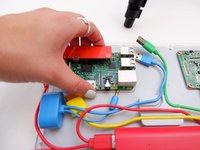
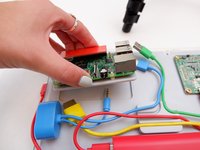
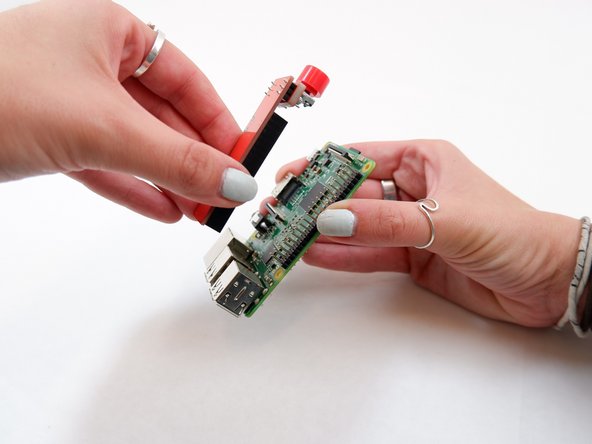
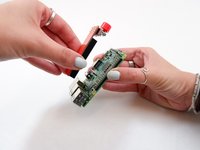
  9. Kano Computer Kit Complete Raspberry Pi Replacement: 手順 9、 2の画像 1 Kano Computer Kit Complete Raspberry Pi Replacement: 手順 9、 2の画像 2
    • Remove the power button from the Raspberry Pi.

終わりに

To reassemble your device, follow these instructions in reverse order with the new Raspberry Pi.

ある他の人がこのガイドを完成しました。

作成者

3人の作成者と共同で作成されました。
Julia Sherrill

メンバー登録日: 09/20/19

735 ポイント

5のガイドは作成済み

チーム

0 件のコメント

コメントを追加

統計データ:

過去 24時間: 2

過去 7 日: 5

過去 30 日: 30

今までの合計 1,143