はじめに
If your KYVOL CYBOVAC E20 is having issues picking up trash off the floor or is moving but not vacuuming the floor, use this guide to replace the main motor.
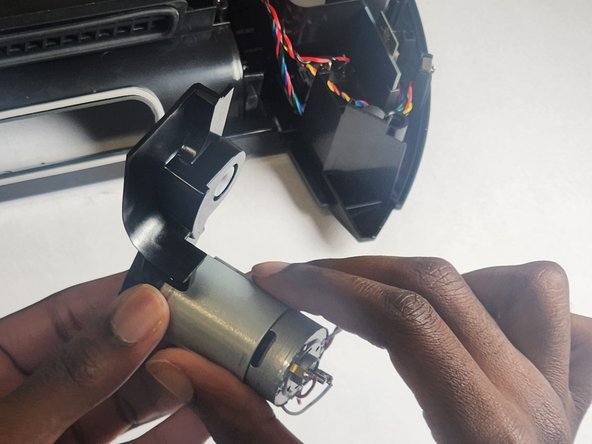
The main motor is responsible for rotating the main brush of the KYVOL CYBOVAC E20, so a broken main motor will result in the device not operating as it should, leaving dust and small trash on the ground.
Before using this guide, make sure to take out the main brush of the device and see if it was out of place or needed replacement prior to using this guide.
This guide requires the removal of the battery and disconnecting ports from the motherboard, so it is advised to power off the device prior to following the instructions of this guide.
必要な工具と部品
-
-
Start by laying the device on a flat surface with the logo facing up.
-
Flip the device over.
-
-
-
-
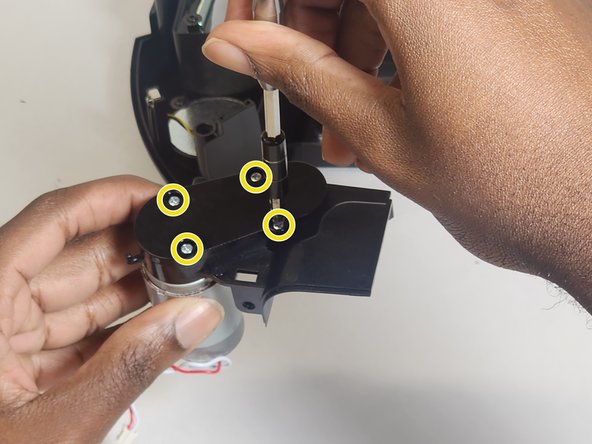
Remove the nine 15 mm screws using a Phillips #2 screwdriver.
-
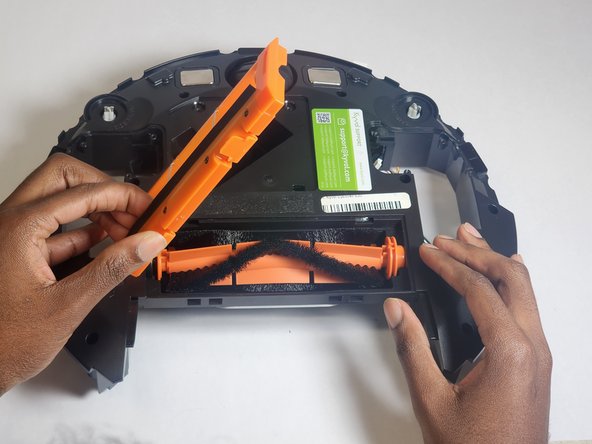
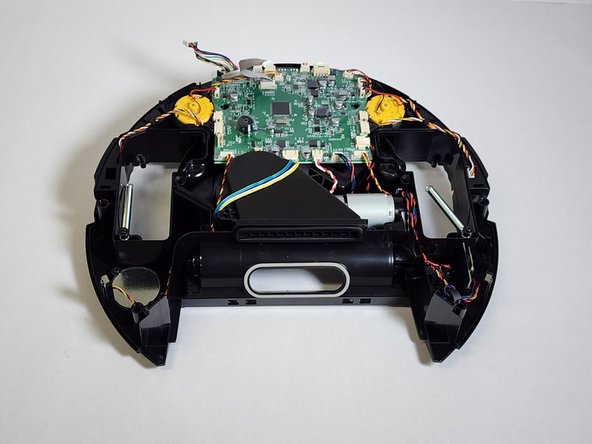
Remove the upper casing of the vacuum.
-
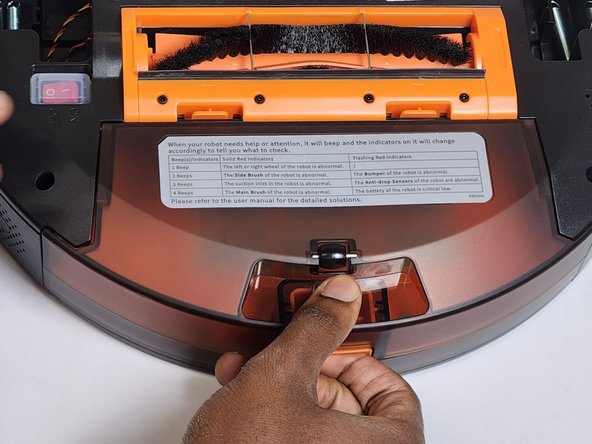
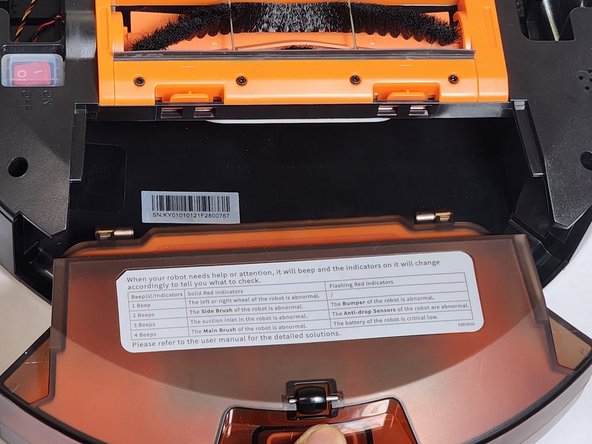
Remove the dust chamber.
-


To reassemble your device, follow these instructions in reverse order.
To reassemble your device, follow these instructions in reverse order.
ある他の人がこのガイドを完成しました。
チーム

IUPUI, Team 1-1, Harley Summer 2023 IUPUI, Team 1-1, Harley Summer 2023人のメンバー
IUPUI-HARLEY-SU23S1G1
4 メンバー
4のガイドは作成済み
コメント 1 件
Génial !
j'ai cherché depuis longtemps un tuto sur mon Kyvol E30 et celui-là est très bien fait !
(Le E30 est sensiblement le même que le E20, il a 1 side brush en moins, le reste est identique)
Mon E30 se mettait à faire un grand bruit, comme une vibration.
J'ai ouvert et démonté tout ce que je pouvais pour nettoyer et contrôler, après remontage, c'était pareil !
En fait le problème était au bout de la brosse, le roulement était coincé par un enroulement de cheveux (!) et le cabochon du roulement s'est usé, générant la vibration de la brosse ...
Merci pour votre aide bienvenue !