はじめに
Does your keyboard no longer function the way it used to? Keyboard malfunction such as certain keys not functioning as intended when pressed is a common and easy fix that can be done by anyone. One of the main reasons to what is causing this problem is a defective or malfunctioning circuit board. Think of the circuit board as the heart of your keyboard; everything connects to it and is the communication link between you pressing a key and it being displayed on your device. This guide will show how to take apart a KBD65 mechanical keyboard to do a circuit board replacement.
必要な工具と部品
-
-
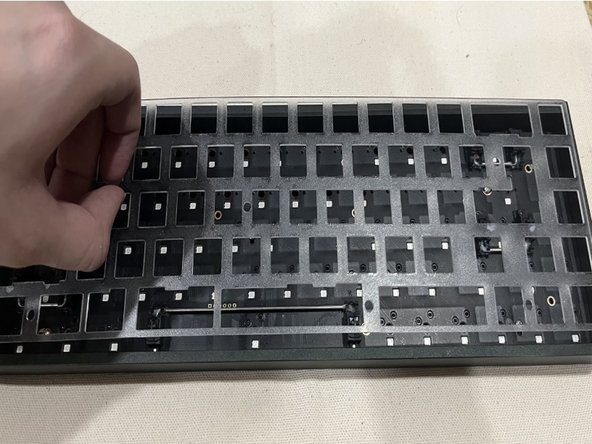
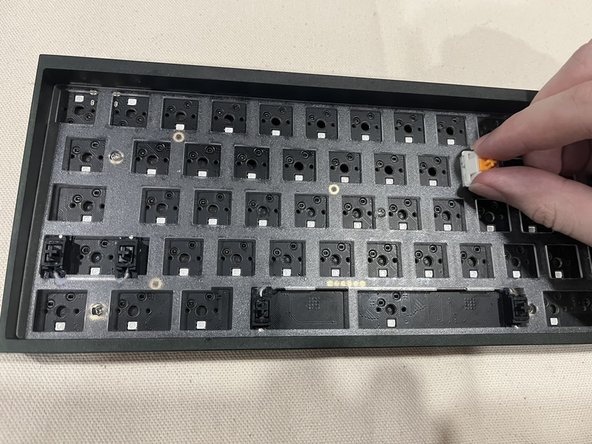
Place the silver brackets of the keycap removal tool under the keycap and pull up to remove it from the keyboard.
-
-


Once the keyboard has been reassembled, plug it into your device and test the keys to see if they are functioning as they should.
Once the keyboard has been reassembled, plug it into your device and test the keys to see if they are functioning as they should.
チーム

York University, Team 1-17, O'Regan Winter 2024 York University, Team 1-17, O'Regan Winter 2024人のメンバー
YORK-O'REGAN-W24S1G17
1 メンバー
1のガイドは作成済み