はじめに
The flowmeter can have several faults: often the thin inlet channel is dirty or the water stops further down the line, e.g. because the heater is calcified. The sensor may be defective, in which case you have to replace the flowmeter. This guide shows how to remove the flowmeter, open it and replace it.
必要な工具と部品
-
-
The instructions are suitable for nearly every model of Jura and similar ones e.g. AEG and Krups.
-
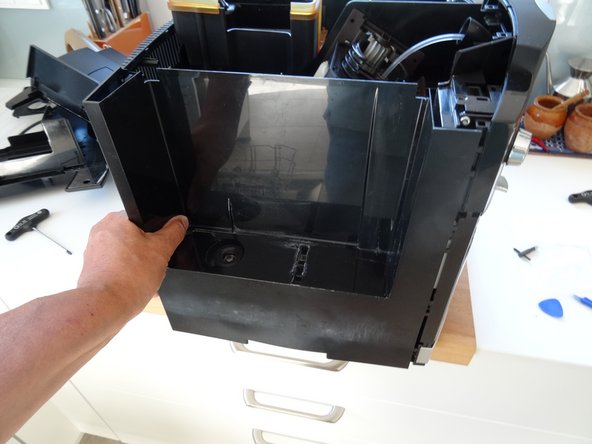
Remove the water reservoir.
-
-
-
Using an oval head bit you can screw them out. If you haven´t got one you can carefully use pliers. It is a good idea to later change the screws for normal ones.
-
Beneath both top side covers are two Torx T15 screws. Remove those. Now lift off the whole top cover. Sometimes it jams and you have to use a bit of force.
-
The side covers must be pushed backwards by about 1 cm. Sometimes this is a little bit difficult to move. If necessary, wedge a plastic opening tool into the gap between the side covers and the front panel. The rear cover can be easily removed.
-
-
-
-
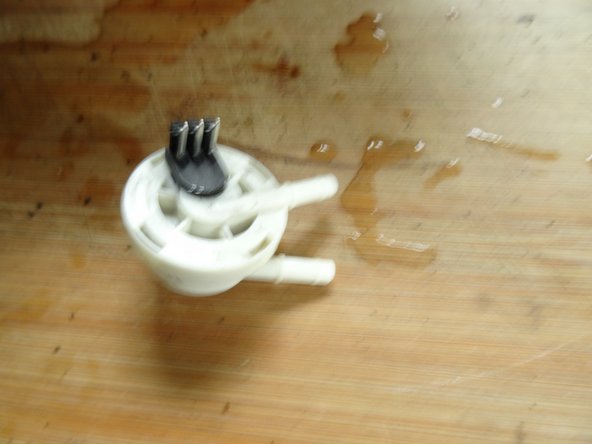
The flowmeter is the white round box in the back of the unit. It has to be removed for revision, but that won’t be difficult.
-
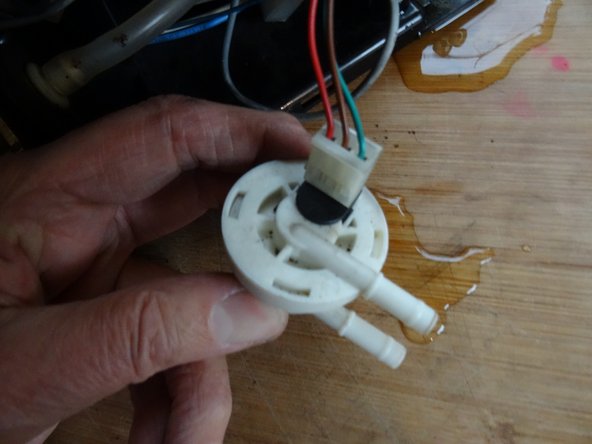
Slide the two silicone tubes off the flowmeter.
-
-
-
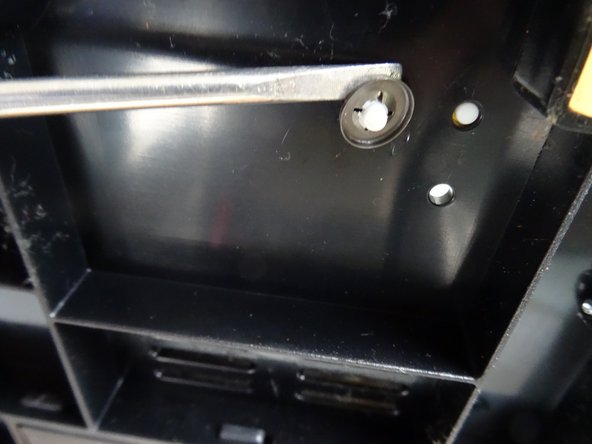
Tilt the unit to the side so that you can reach the base plate. The flowmeter has a pin on the bottom that is attached to the base plate with a clamping ring.
-
A second pin fixes the position of the flowmeter.
-
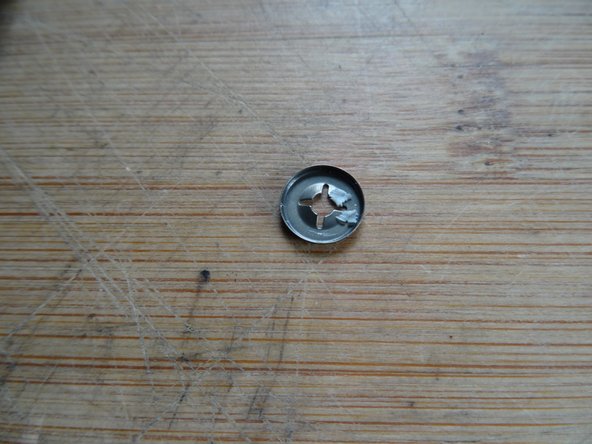
Gently prise off the clamping ring with a flathead screwdriver or spudger. When levering, start at different points.
-
-
-
Blow into the flowmeter at the lower nozzle. Air should flow easily and you should hear the turbine whirring.
-
The upper half of the flowmeter is locked in place with a bayonet catch. Turn the upper part slightly counterclockwise.
-
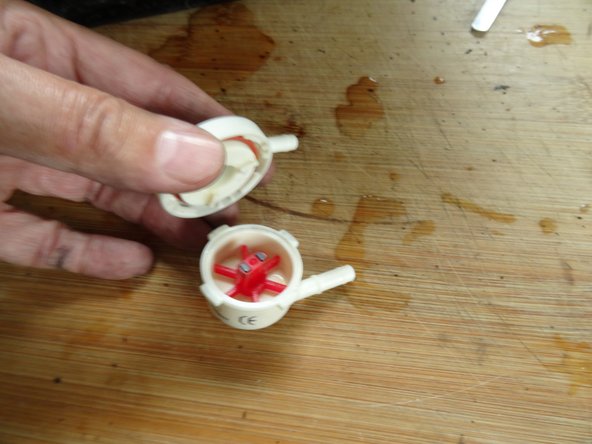
Lift off the upper half. Watch out for the sealing ring. The turbine can be lifted out easily.
-
Now you can clean and decalcify everything well. In particular, clean the inlet spout, e.g. with a needle or other suitable thin object as the opening is quite narrow.
-
If the turbine does not run easily now, the flowmeter must be replaced. The sensor itself may also be defective.
-


Follow the steps in reverse order to reassemble your device.
Follow the steps in reverse order to reassemble your device.
以下の翻訳者の皆さんにお礼を申し上げます:
100%

carlotremoladaさんは世界中で修理する私たちを助けてくれています! あなたも貢献してみませんか?
翻訳を始める ›
チーム
