必要な工具と部品
-
この手順は未翻訳です。 翻訳を手伝う。
-
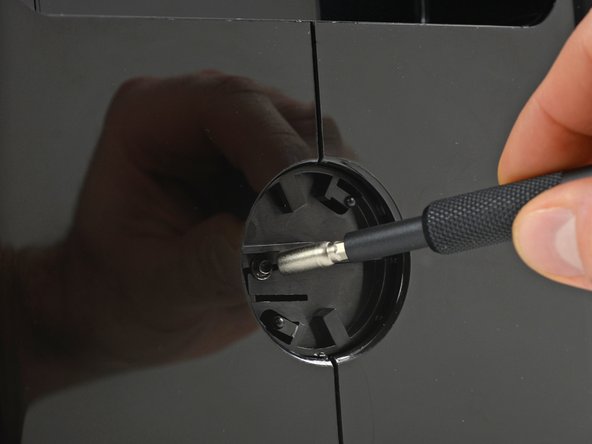
Next up, we remove the Jura cover plate with a quick counterclockwise twist and find ourselves in an awkward situation...
-
This oval-headed screw isn't unique, but it's a rarity for sure. We had to dig through our 64 Bit and Macro Bit Kit before finding the right Oval bit in our Universal Bit Kit. If you just need the single Oval bit we have it here.
-
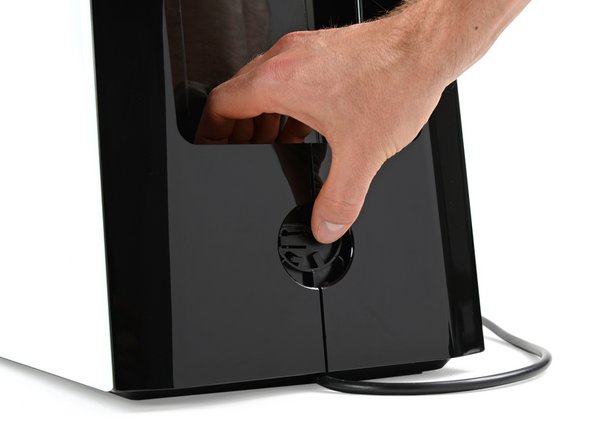
With the security screw defiantly removed, we slide up the side-panel locking latch and move right along.
-
-
この手順は未翻訳です。 翻訳を手伝う。
-
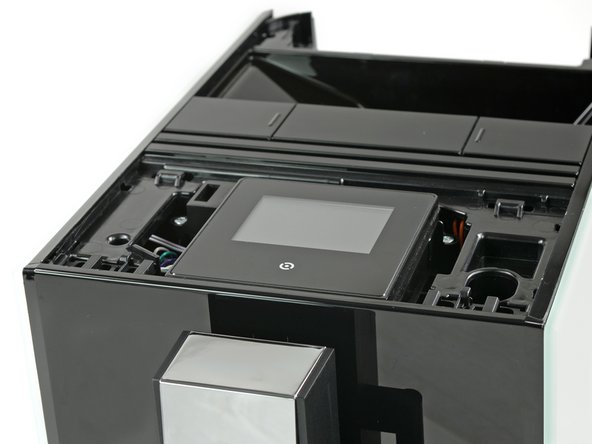
As a short intermezzo we take a look at the display which seems to have some kind of service port to gather information in case of a malfunction.
-
We flip it over, unscrew two small Phillips screws and discover the brains of this piece of modern coffee technology:
-
Renesas R5S72660W144FP 32-bit microcontroller
-
Macronix MX25L12835F 128Mb serial multi I/O NOR flash memory
-
Unisonic Technology MC34063A DC-DC converter
-
STMicroelectronics L7805CV 1.5 A voltage regulator
-
Oscillator
-
-
この手順は未翻訳です。 翻訳を手伝う。
-
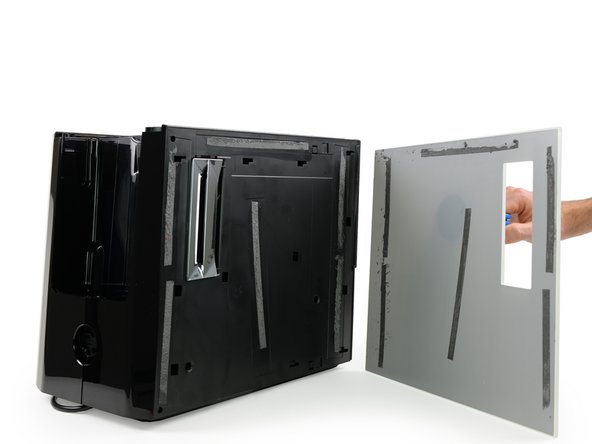
Now all we have to do is simply grab a hold on the machine, poke the top latch, release the lower clasp, then slide the side panel out to the back. Right?
-
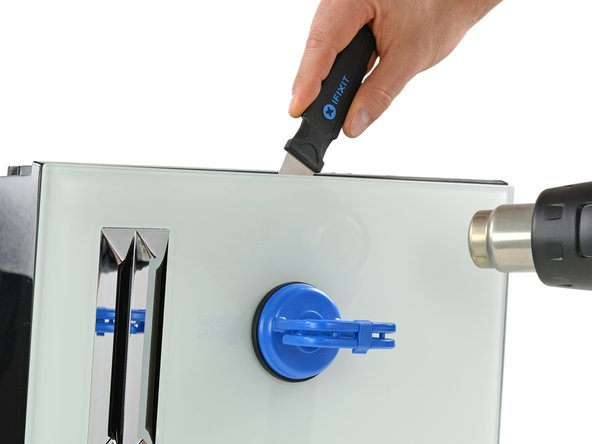
Left with few options, we bring out the big guns to help negotiate our way inside.
-
With the right application of heat and strength, we finally manage to muscle the glass panel off the machine.
-
-
-
この手順は未翻訳です。 翻訳を手伝う。
-
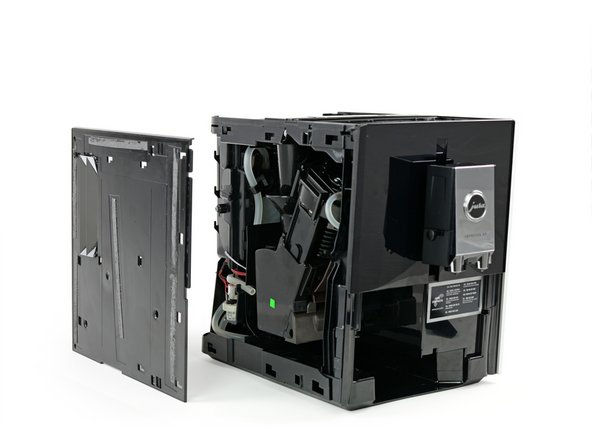
Finally, with no glass panel to obfuscate its clip-in mechanism, we can see exactly where to focus our efforts.
-
The second time around our four-handed effort pays off and … et voilà, off comes the side panel.
-
No more heat gun drama on the other side—we can safely add this to the list of teardown skills we've mastered.
-
-
この手順は未翻訳です。 翻訳を手伝う。
-
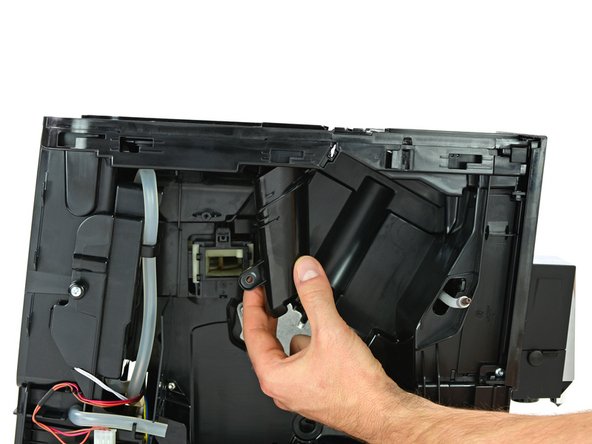
Having found the brain behind the display, this would be the heart of the machine, providing power to every component.
-
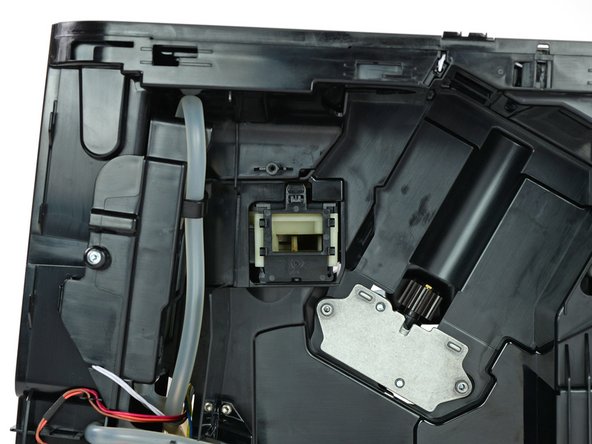
Removing those colorful connectors and three Torx screws lets us get our hands on this junction.
-
STMicroelectronics L7805CV 1.5 A / 5 V regulator
-
ON Semiconductor (formerly Fairchild Semiconductor) MOC3062M triac driver optocoupler
-
-
この手順は未翻訳です。 翻訳を手伝う。
-
With the bulk of the modules spread across our teardown table, the remaining guts are just a few hoses and pipes. We've earned a cup of coffee and the Impressa A9 has earned a repairability score of 7 out of 10 (10 is the easiest to repair):
-
The coffee maker is built with modular components that can be maintained separately. All screws inside are standard Torx.
-
There are no adhesives or one-way-clips used inside the machine. However the side panels with their glass front and tiny, invisible hooks are a major drag (even authorized technicians might struggle at this point).
-
The oval head screw behind the logo plate is one proprietary screw too many. The sole purpose of it is to keep you out.
-
There is no official documentation for repairs of internal components.
-


チーム

13 件のコメント
I agree that its an oscillator / clock. The X1 screen printed on the PCB next to the item outlined in green, usually denotes X for Xtal (Crystal)
Thanks, we fixed it!
Amazing work, but I have the Jura ena9 model. Is it a similar rigmarole?
Vielen Dank für die sehr schöne und detailierte Beschreibung. Sie hat mit heute sehr dabei geholfen, die Brüheinheit auszubauen und zu reinigen.Im Wesentlichen, ihr überhaupt durch die Seitenwände 'auf die Pelle zu rücken'. Hätte ich ohne die Anleitung wohl nicht geschafft bzw. gewagt!!!
Hallo Bernd,
freut uns zu hören, dass dir der Teardown helfen konnte.