はじめに
Follow this guide to open the casing of a Jura J5.
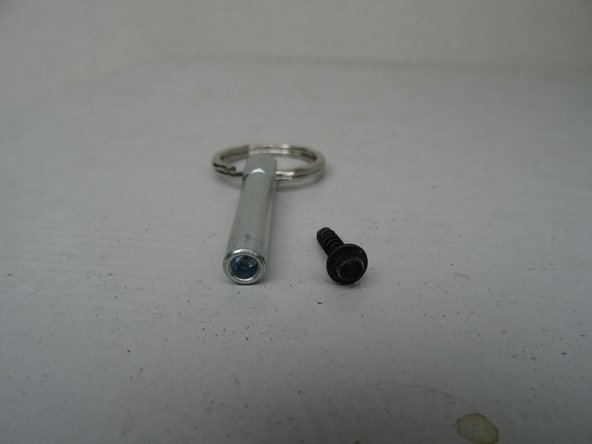
必要な工具と部品
-
-
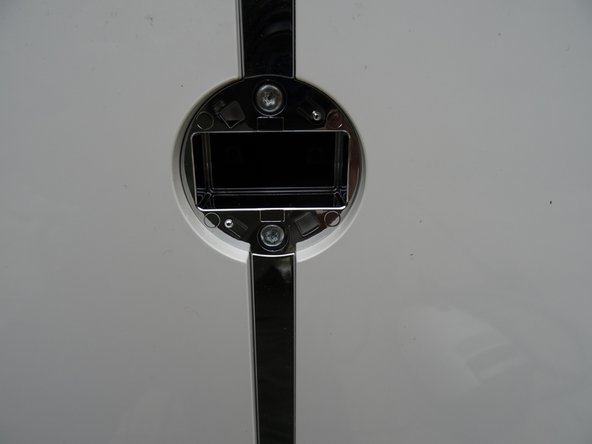
Remove the water tank and the drip tray. Remove all coffee beans from the storage container.
-
-


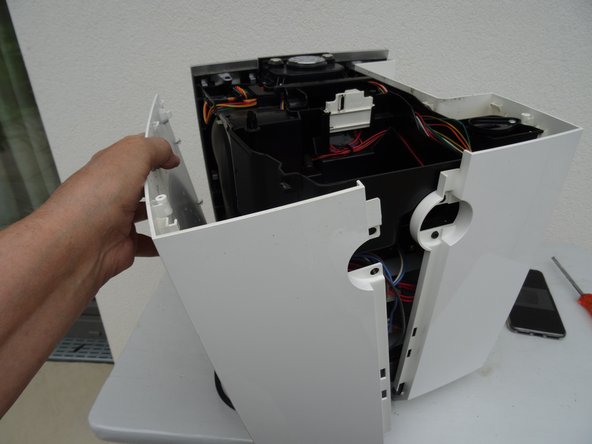

もう少しです!
Follow the steps in reverse order to reassemble your device.
終わりに
Follow the steps in reverse order to reassemble your device.
2 の人々がこのガイドを完成させました。
以下の翻訳者の皆さんにお礼を申し上げます:
de en
100%


これらの翻訳者の方々は世界を修理する私たちのサポートをしてくれています。 あなたも貢献してみませんか?
翻訳を始める ›
チーム
