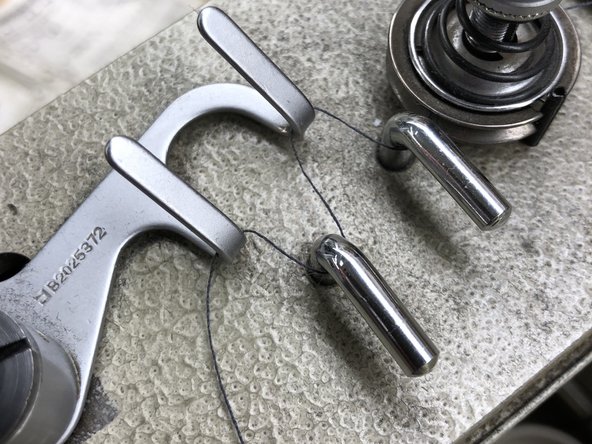
メインコンテンツにスキップ

Juki Chainstitch Machine Thread and Needle Replacement

必要な工具と部品

  1. Juki Chainstitch Machine Thread and Needle Replacement, Thread and Needle: 手順 1、 1の画像 1
    • Pass the thread through the needle eye.

  2. Juki Chainstitch Machine Thread and Needle Replacement: 手順 2、 1の画像 1
    • Loop the threading through the two tension posts, making sure you stay in the grooves of the wheels.

  3. Juki Chainstitch Machine Thread and Needle Replacement: 手順 3、 1の画像 1
    • Continue the threading, weaving through the pull-off lever.

  4. Juki Chainstitch Machine Thread and Needle Replacement: 手順 4、 2の画像 1 Juki Chainstitch Machine Thread and Needle Replacement: 手順 4、 2の画像 2
    • Adjust the thread pull-off lever as well as adjust the position of the nipper bar block to the left or the right.

  5. Juki Chainstitch Machine Thread and Needle Replacement: 手順 5、 1の画像 1
    • Tighten the thread on the top loop near the nipper releasing knurled thumb nut.

  6. Juki Chainstitch Machine Thread and Needle Replacement: 手順 6、 1の画像 1
    • Weave threading through the working arm and have it ready to insert through the eye of the needle.

  7. Juki Chainstitch Machine Thread and Needle Replacement: 手順 7、 1の画像 1
    • Again, keep the thread along the groove of the wheel before slipping it through the eye of the needle.

  8. Juki Chainstitch Machine Thread and Needle Replacement: 手順 8、 1の画像 1
    • Using the flathead screwdriver, slide the needle up into the slot, with the indented side facing in and tighten until the needle cannot shift.

  9. Juki Chainstitch Machine Thread and Needle Replacement: 手順 9、 1の画像 1
    • Insert the thread through the eye of the needle, and you are ready for sewing.

終わりに

To reassemble your device, follow these instructions in reverse order.

ある他の人がこのガイドを完成しました。

作成者

1人の作成者と共同作成されました。

Connor Cherry

メンバー登録日: 02/04/19

196 ポイント

1ガイドが承認済み

チーム

0 件のコメント

コメントを追加

統計データ:

過去 24時間: 0

過去 7 日: 2

過去 30 日: 4

今までの合計 123