On the back of the camcorder, the side opposite of the flip-out screen, there is a section of grooved plastic with a small arrow.
Press down on the grooved plastic with your thumbs.
Push the back cover in the direction indicated by the small arrow on the grooved plastic. The back cover should slide right off.
Once you have the back cover off, the camcorder should look like this.
Look on the battery for a model number to assure that you acquire the correct replacement part.
The camcorder model number is located in the red box. Verify that you have a Jazz HDV178.
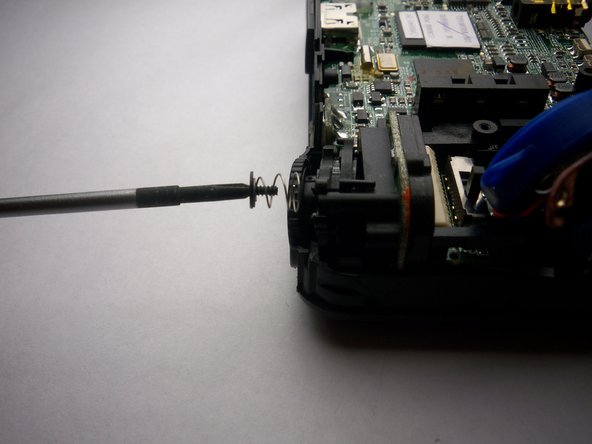
Break the glue that attaches the lens cover to the camcorder by sliding the plastic prying tool beneath the circumference of the part.
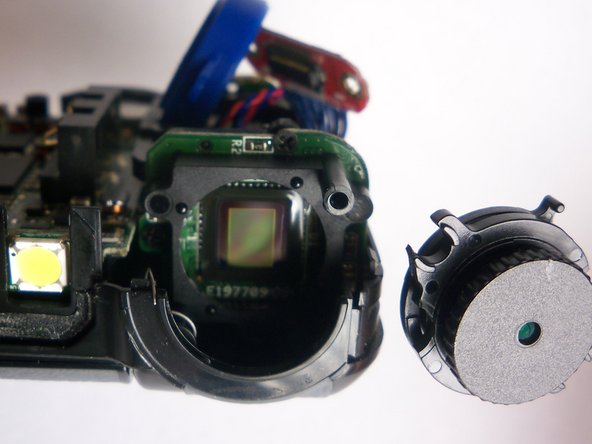
After the glue is broken, remove the lens cover.
Locate the side of the camcorder beneath the lens and on the opposite side of the wrist strap.
Remove the silver strip using the same process as the previous step.
Remove the two 4 mm screws that were hidden under the cover.
Pry off the rubbery cap, which covers the buttons. Use the same process as the previous two steps.
Slide your prying tool underneath the entire cover to ensure that the glue breaks cleanly and the cover does not snap.
Using a firm hold on both sides of the camcorder, gently pull apart the two halves. Pressure should be evenly distributed across the entire device.
If the camcorder does not come apart easily, double check that all of the screws are removed. Return to the previous steps for screw removal if you find a screw that is still attached.
このガイドを埋め込む
サイズを選択し、以下のコードをコピーして、このガイドを小さなウィジェットとしてサイト/フォーラムに埋め込みます。
1つの手順
全ガイド
小サイズ - 600px
中サイズ - 800px
大サイズ - 1200px
プレビュー