はじめに
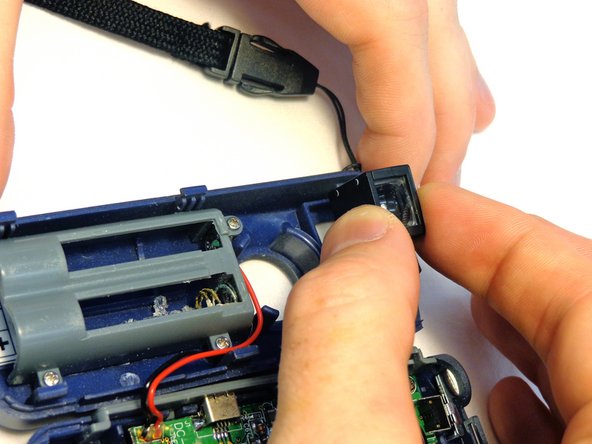
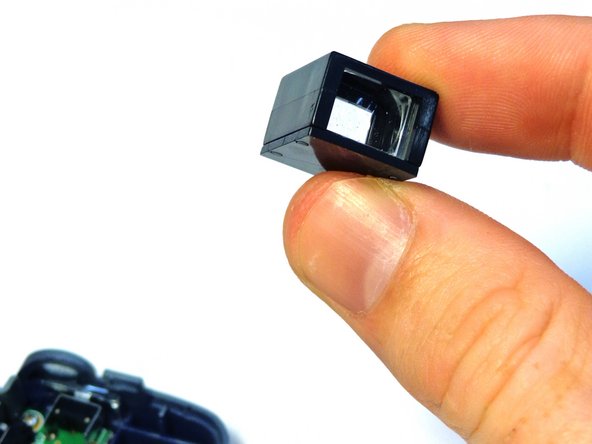
This guide will aid the user in the installation of the viewer for this device. The viewer is eyepiece that the user looks through in order to take a photograph. This guide will need to be used if the viewer is scratched or cracked. Be sure to put the viewer in the correct way when putting the new part in.
必要な工具と部品
-
-
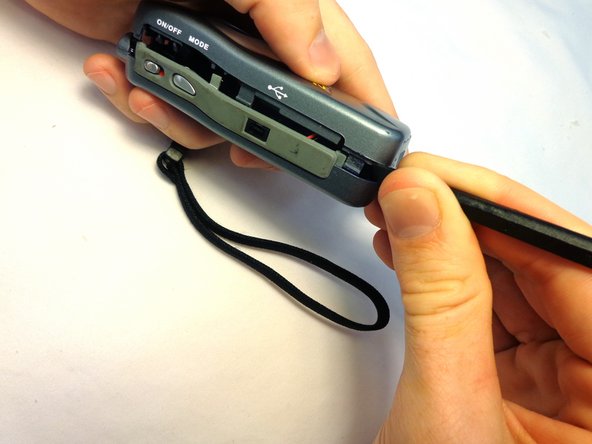
Flip the device so that the bottom is facing upwards. Using thumb, push the tab on the bottom in the direction indicated by the arrow and then lift the unhinged part of the tab.
-
-
-
-
Carefully insert spudger into the seam on the top side of the device and tilt and twist the spudger to open the device. Work it around the device until the two case halves separate.
-
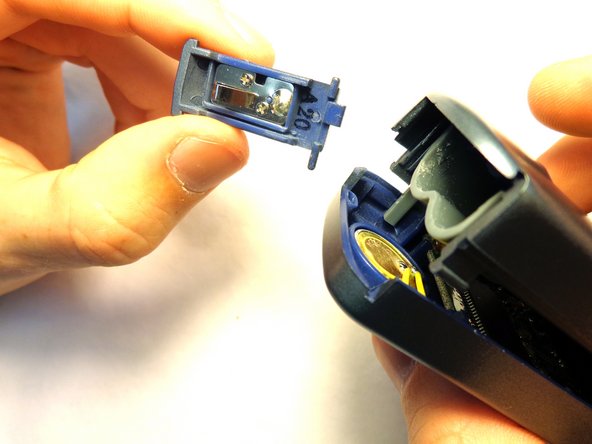
Before completely separating the two halves, grab the tab on the bottom of the device and pull the two halves of the case away from the hinged part of the tab so as not to break the plastic rods.
-


To reassemble your device, follow these instructions in reverse order.
To reassemble your device, follow these instructions in reverse order.
チーム

Clemson, Team 12-3, Benson Spring 2013 Clemson, Team 12-3, Benson Spring 2013人のメンバー
CLEM-BENSON-S13S12G3
3 メンバー
7のガイドは作成済み