このバージョンは誤った内容を含んでいる可能性があります。最新の承認済みスナップショットに切り替えてください。
必要な工具と部品
-
この手順は未翻訳です。 翻訳を手伝う。
-
With the Jawbone logo facing towards you and with correct orientation, place the Jambox with the left end cap facing upward.
-
Unscrew indicated T6 9.7 mm screws.
-
Gently loosen the tabs from their anchor points so the bottom may be removed.
-
Flip the Jambox so the other end cap is facing up. The USB cable is on this side (metal grounding clip, indicated in orange). Repeat the above two steps.
-
-
-
この手順は未翻訳です。 翻訳を手伝う。
-
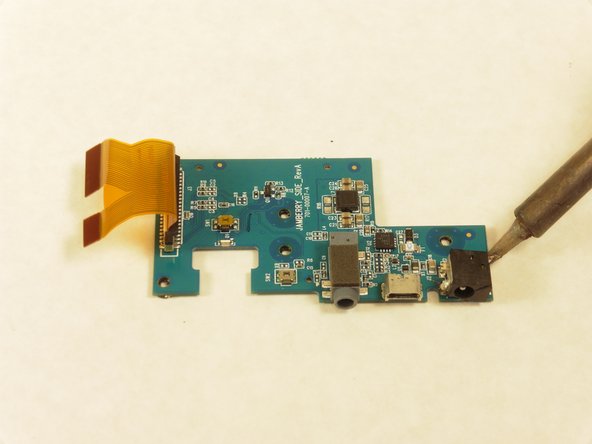
With a multimeter, test all 3 PCB contacts to determine which are positive, negative and ground. Similarly, ascertain each terminal of your "new" charger port and its corresponding PCB contact. Your "new" port can be a brand-new, identical replacement or a salvaged one of approximate size, post thickness and terminal orientation.
-
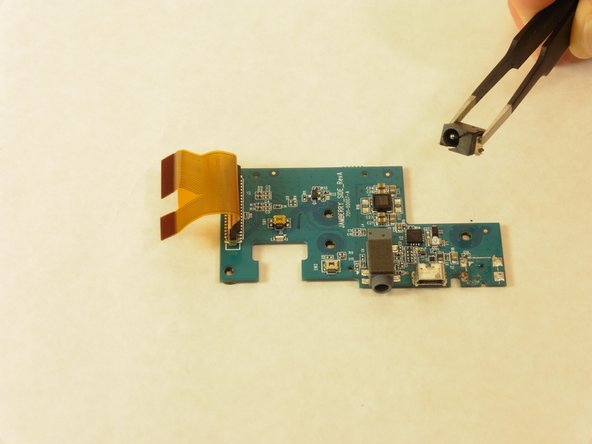
Unless an identical part replacement, you may have to bend your ports terminals in order to make proper contact and'or enlarge the panel opening for the AC plug as I did. To avoid repeat part failure, I hot-glued my charger port onto my PCB after reinforcing my port's terminals with thicker wire and generous solder.
-


21 の人々がこのガイドを完成させました。
チーム

Cal Poly, Team 24-5, Lancaster Spring 2015 Cal Poly, Team 24-5, Lancaster Spring 2015人のメンバー
CPSU-LANCASTER-S15S24G5
4 メンバー
9のガイドは作成済み
11 件のコメント
Good instruction!
Problem is that the C14 got snapped off too! Not sure if it is really needed. Possible to get the complete board?
I lost C14 as well, anyone have a good replacement number for that?
Jason -
FYI the device will charge and power on without this capacitor. Not sure if it is needed for USB or 3.5mm output, but I don't really care about either of those scenarios.
Jason -