はじめに
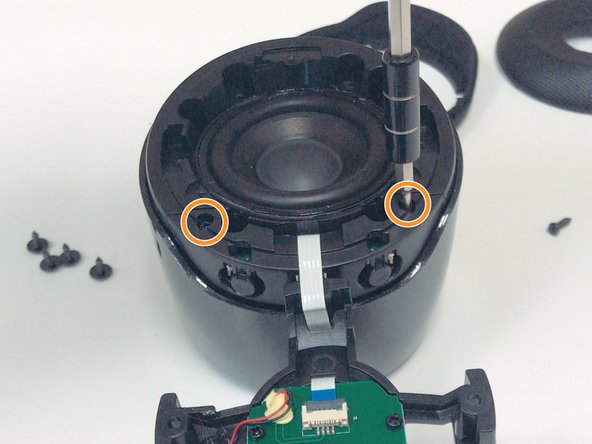
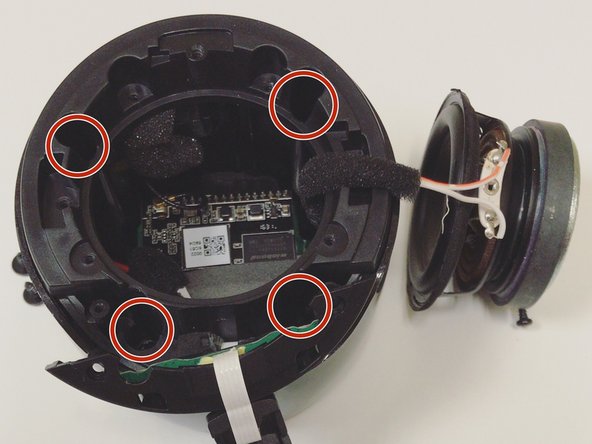
Replacement of the motherboard located inside the Jam Voice will be achieved by dismantling the device. The speaker and battery must be disconnected.
必要な工具と部品


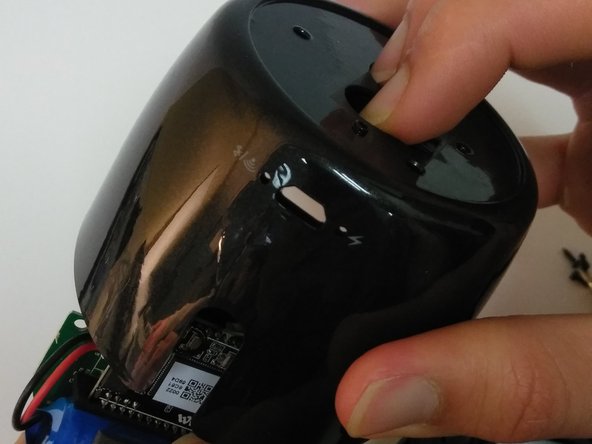
もう少しです!
To reassemble your device, follow these instructions in reverse order.
終わりに
To reassemble your device, follow these instructions in reverse order.
チーム

Linn Benton Community College, Team S1-G1, Johnson Spring 2018 Linn Benton Community College, Team S1-G1, Johnson Spring 2018人のメンバー
LBCC-JOHNSON-S18S1G1
4 メンバー
3のガイドは作成済み