はじめに
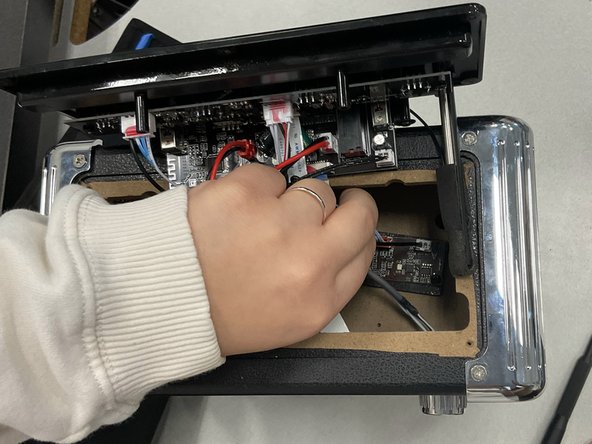
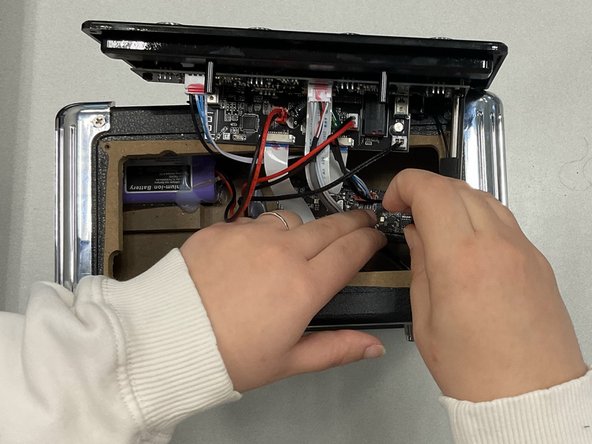
If your JYX-S55 speaker isn't turning on despite charging, or if multiple features of the device are not working, use this guide to replace the motherboard.
The motherboard allows the device to turn on and enable different features.
Before using this guide, inspect the charging cable of the device and attempt to turn the device on using other charging cables that fit into the USB-C charging port located on the top panel of the device. Additionally, check to see how many features are not functioning. This will confirm whether or not the motherboard is faulty within the device.
To reduce risk while completing the replacement, make sure the battery is completely discharged by leaving the device on until it turns off. This will signal the battery is not carrying any charge, and it is safer to replace any component of the device. Keep the device off and unplugged from all external power sources at all times while replacing any component.
必要な工具と部品
-
-
Remove the six screws around the perimeter of the top panel of the machine using a 2.5 mm flathead screwdriver.
-
-
To reassemble your device, follow these instructions in reverse order.
To reassemble your device, follow these instructions in reverse order.
ある他の人がこのガイドを完成しました。


