この修理ガイドは変更されています。最新の未承認バージョンに切り替えます。
はじめに
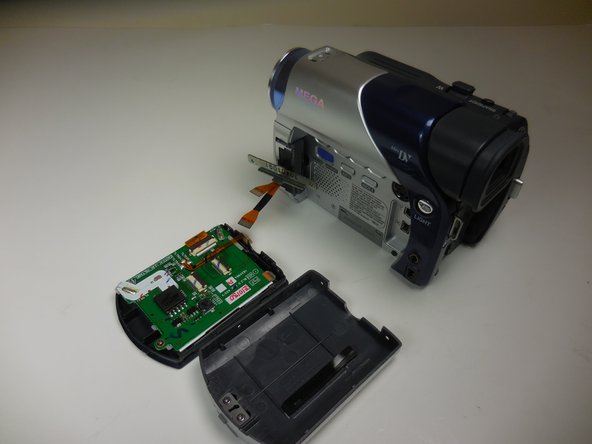
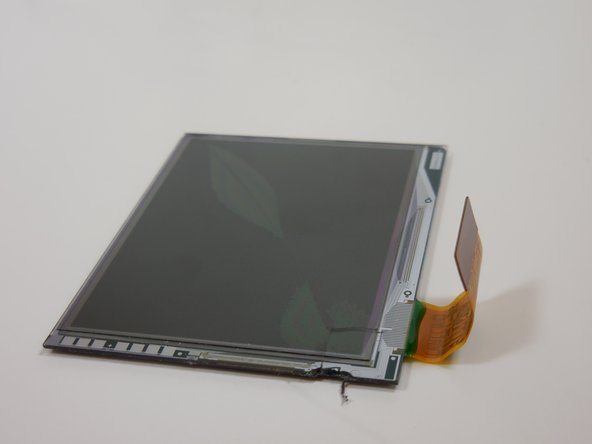
The LCD Screen on the GR-D93U is where the viewer can see the video that is being recorded and is where the playback is displayed. It is important to have the screen and can be frustrating if the screen is cracked or won't display content. The process of replacing the screens involves unscrewing a lot of screws so have a place that you will be able to keep the screws.
必要な工具と部品
-
-
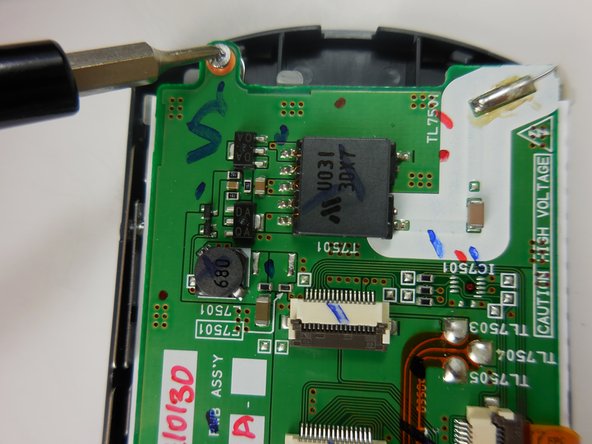
Unscrew 3 mm Phillips #0 screws around the LCD Screen. You will have to turn the screen to get the screws on the bottom of the screen.
-
-


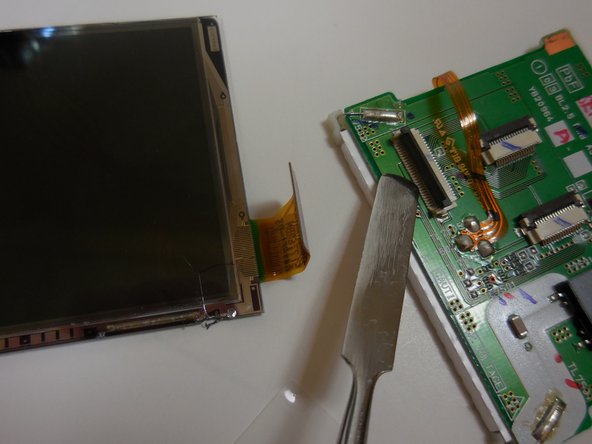
To reassemble your device, follow these instructions in reverse order.
To reassemble your device, follow these instructions in reverse order.
チーム

Colorado Springs, Team 1-5, May Spring 2015 Colorado Springs, Team 1-5, May Spring 2015人のメンバー
UCCS-MAY-S15S1G5
4 メンバー
3のガイドは作成済み