メインコンテンツにスキップ

JBL Pulse Motherboard Replacement

必要な工具と部品

  1. JBL Pulse Motherboard Replacement, Button Board: 手順 1、 1の画像 1
    • Use a plastic opening tool to pry around the edges of the circular rubber panel.

  2. JBL Pulse Motherboard Replacement: 手順 2、 1の画像 1
    • Once the edges are loose, pull off the rubber button panel completely.

    • New adhesive will have to be applied when reassembling.

  3. JBL Pulse Motherboard Replacement: 手順 3、 1の画像 1
    • Use your plastic opening tool to pry the button board loose by lifting the edges.

  4. JBL Pulse Motherboard Replacement: 手順 4、 1の画像 1
    • Lift the button board, exposing the attached cable.

    • New adhesive will have to be applied when reassembling.

  5. JBL Pulse Motherboard Replacement: 手順 5、 1の画像 1
    • Pull black piece on top of socket away from board to loosen, then detach the cable.

  6. JBL Pulse Motherboard Replacement, Outer Casing: 手順 6、 3の画像 1 JBL Pulse Motherboard Replacement, Outer Casing: 手順 6、 3の画像 2 JBL Pulse Motherboard Replacement, Outer Casing: 手順 6、 3の画像 3
    • Take out the four 9mm black PH0 screws from the top and bottom of the device.

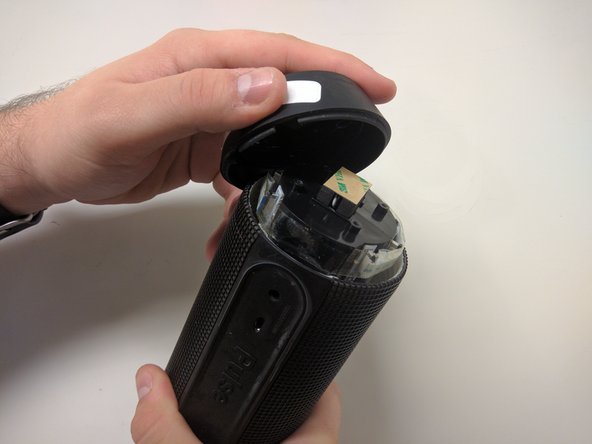
    • Pull off cap by hand.

    • The outer casing can now be removed.

  7. JBL Pulse Motherboard Replacement, JBL Pulse LED Lights Disassembly: 手順 7、 2の画像 1 JBL Pulse Motherboard Replacement, JBL Pulse LED Lights Disassembly: 手順 7、 2の画像 2
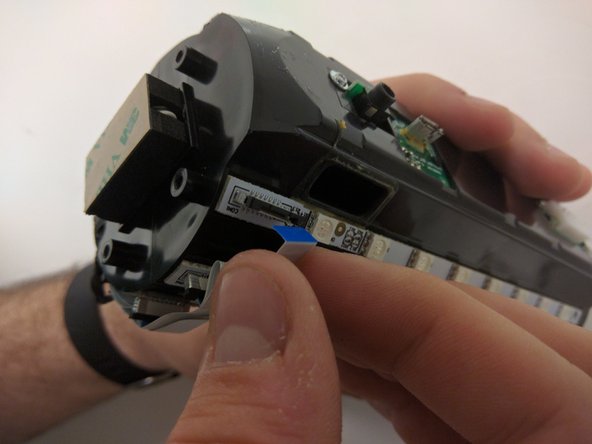
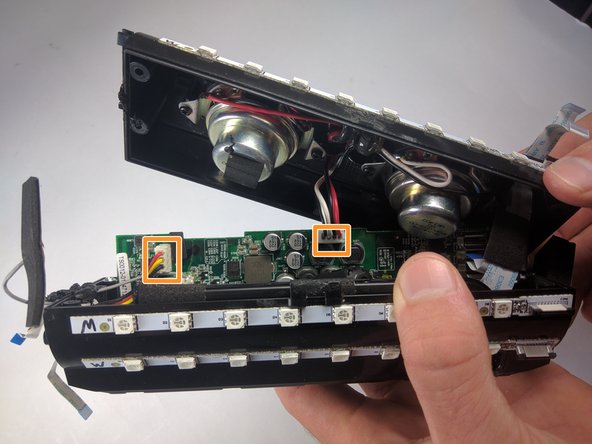
    • Remove the tape around the cables on the top of the device.

    • Remove the cables by lifting up on the black bracket and then pulling the cable out.

  8. JBL Pulse Motherboard Replacement, JBL Pulse Disassembly: 手順 8、 1の画像 1
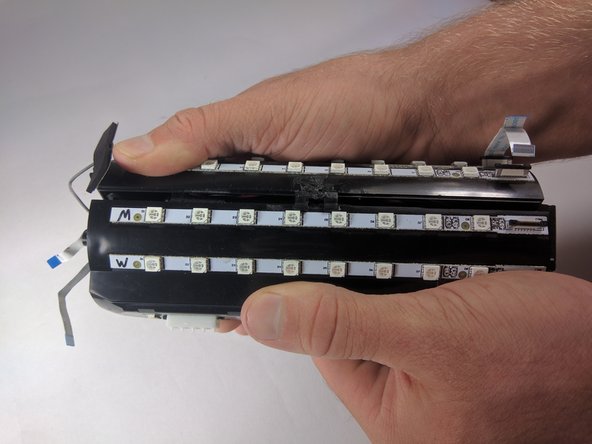
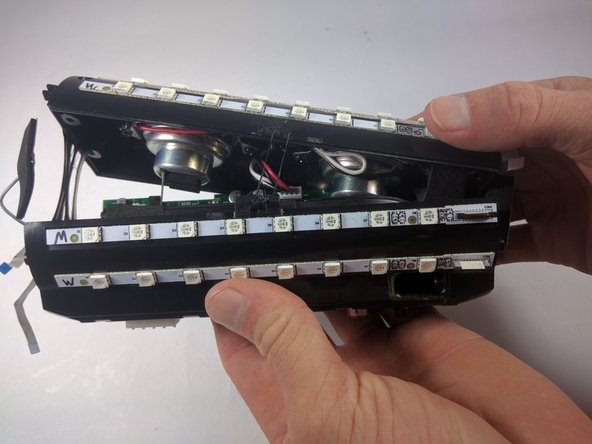
    • Remove two black 9mm PH0 screws from outside of inner casing on each side.

  9. JBL Pulse Motherboard Replacement: 手順 9、 3の画像 1 JBL Pulse Motherboard Replacement: 手順 9、 3の画像 2 JBL Pulse Motherboard Replacement: 手順 9、 3の画像 3
    • Use your metal spudger to unhook the bracket holding the case together.

    • Pull apart the casing with your hands.

  10. JBL Pulse Motherboard Replacement: 手順 10、 2の画像 1 JBL Pulse Motherboard Replacement: 手順 10、 2の画像 2
    • Remove the cables by lifting up on the black bracket and then pulling the cable out.

    • Remove cables by pulling firmly.

  11. JBL Pulse Motherboard Replacement, Motherboard: 手順 11、 1の画像 1
    • Once all of the cables are removed, grip the motherboard and slide it out.

終わりに

To reassemble your device, follow these instructions in reverse order.

3 の人々がこのガイドを完成させました。

作成者

2人の作成者と共同で作成されました。

Maxwell Busenbarrick

メンバー登録日: 09/15/16

1,353 ポイント

7のガイドは作成済み

チーム

USF Tampa, Team 18-6, Blackwell Fall 2016 USF Tampa, Team 18-6, Blackwell Fall 2016人のメンバー

USFT-BLACKWELL-F16S18G6

3 メンバー

8のガイドは作成済み

3 件のコメント

Excelente, funcionó perfectamente la guia. Compré la bateria y el armado funcionó perfecto. Muchas gracias.

Angel Pérez - 返信

my usb port is damaged. Do I have to replace the whole motherboarD?

dinosdabi - 返信

Hey I need JBL pulse motherboard Where can I buy. Please help

kashyapvikas228vk1070301 - 返信

コメントを追加

統計データ:

過去 24時間: 0

過去 7 日: 3

過去 30 日: 18

今までの合計 9,337