この修理ガイドは変更されています。最新の未承認バージョンに切り替えます。
はじめに
This guide will provide information on how to disassemble an Intel NUC8i7BEH or similar.
必要な工具と部品
-
-
Start by using a Phillips head #2 screw driver to remove the lower screws on the lower case door.
-
These screws are held in with retainers, so they won't fall out when you flip the lid.
-
-
-
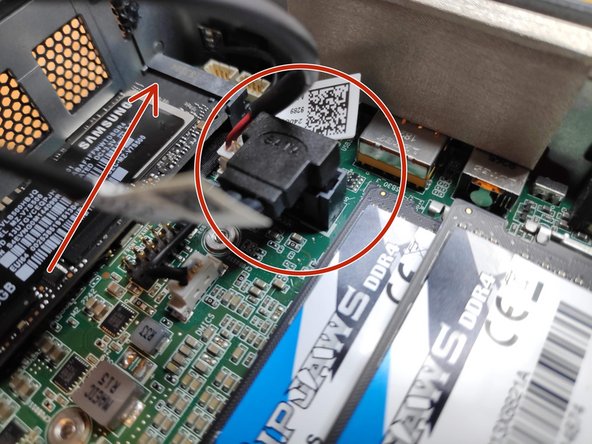
Lift the door, and keep an eye on the cables that connect to the NUC's motherboard. These cables are the power and data cables for the 2.5" hard drive bay.
-
Carefully unplug the cables from the motherboard, and set the bracket aside.
-
In the last photo, the slot for a blade SSD is marked with a red arrow. This is where you would install the blade SSD, and use a screw to hold it in place.
-
-
-
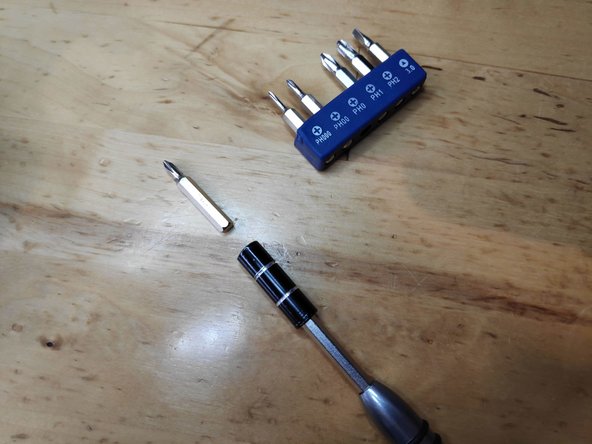
Change the screw driver bit to the PH1 one.
-
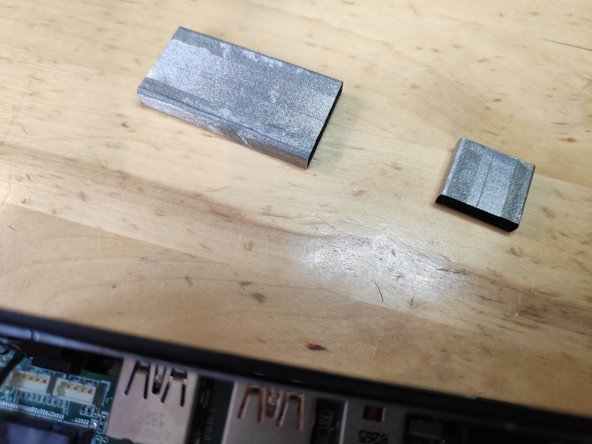
Unscrew the V-NAND SSD and carefully slide it out of its connector.
-
-
-
-
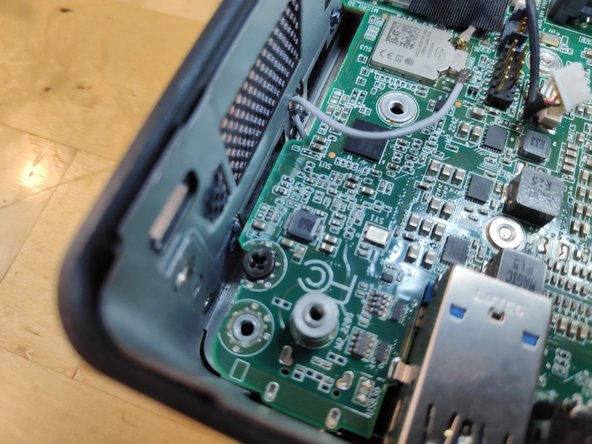
Unscrew the screws marked in red circles
Hello, may I know what is the screw size? I already stripped mine so I'm trying to get a replacement screw when I have the stripped out. Mine was stripped and cannot get it out. Can you please help me? I've already used the rubber and glue method but no luck.
-
-
-
Remove the WiFi and Bluetooth antenna cables (be extremely careful when doing this otherwise you risk to rip the base contact terminal off the PCB)
-
Remove the stereo mic cable from the motherboard connector.
-
Pay attetion to the WiFi cable hidden under a black piece of tape
Remove WiFi an Bluetooth antenna Cable very carefully. Terminals can be ripped of easily.
very true, I’ll add it to the guide
Added to the step in the guide, thanks for pointing that out!
Note that the WiFi and Bluetooth antenna cables lift/pull off vertically (not slide off horizontally, as I presumed from the photo). They are circular connectors with a pin in the middle. Getting them off was okay (I actually used tweezers), but it was fiddly work trying to push them back on.
-
-
-
Not all are necessary only the two depicted.
Hallo, kann man den Lüfter auswechsel. Bei mir ist er nach ca. 15-20 min sehr laut.Ich glaube das das Lager defekt ist . Wenn ja, wo bekomme ich einen neuen her?.Für eine ausführliche Nachricht wäre ich sehr Dankbar.
Mit freundlichen Grüßen
Joachim Arndt, j.a.50@web.de
-
-
-
Use a pry tool to lift the motherboard from the casing
-
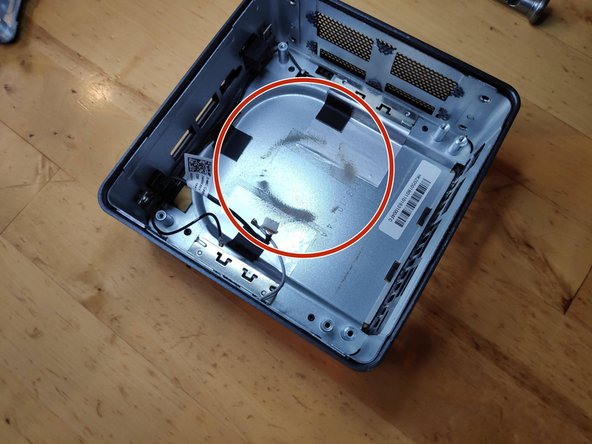
Marked with red circles the dust signs evident on first sight
Amazing! Could replace the fan. Have also removed the 4 screws of the heatsink , and renewed the thermal paste underneath it. That was necessary. It was dried out. THANKS!! It works like new: no overheating anymore. A lot faster.
The key for getting the motherboard is to move apart very firmly the two opposite sides of the metal casing, so as to let the connectors move down.
Thank you Jan for that tip!
I spent 20 minutes trying to jiggle it out before I read that!
Yes, pull it apart somewhat and it comes out (relatively) easily.
-


To reassemble your device, follow these instructions in reverse order.
To reassemble your device, follow these instructions in reverse order.
31 の人々がこのガイドを完成させました。
11 件のコメント
I’ve awarded the 30 points because these how to in steps are just great. One little critic, having read other stuff I understood the later models had greater risks of breaking things because of the more complicated wifi and mic cables, and these steps could have been better explained, like do the wifi cables plug in or slide off a splade like connection, and what can I use as a pry tool from around the house. These are the frightening steps to someone who has not done this unit before, while just about everything else isn’t much different to opening and taking parts out of a laptop.
Thank You, I was having fan noise issues with my NUCi7BEH and was trying to figure out how to pop the MOBO from the case.
This guide was fantastic, loads of dust collected on the heat sink, clean air and it seems to be running great now.
Ave temp before this clean out was 65ºC but would spike from 90-100ºC under any load at all, even the VMs just spinning up.
Now after clean, all is good, temps idle sitting at around 35ºC now and under load about 70º C. Huge difference.
Big Thanks to Vladimir for making this wonderful guide.
Thanks, Vladimir Knobel, for putting together this excellent instruction with video and pictures. I used it to remove and replace my fan. I greatly appreciate it!!
merci, ça m’a bien aidé et j’espère avoir résolu ce pb de ventirad, j’ai pu dépoussiérer. encore merci.
Thanks Vladimir, very clear.
I love my NUC. About 6 years old and trouble free; except now. Going down with the message overheating.
It will boot OK and heats up quickly and goes down in 10 to 15 minutes.
Hoping its something simple like dead fan.
Regards, Robert
I can't fix things like that. My machines broke down when I touched them.
hello, I also cleaned everything, I disassembled everything, replaced the thermal paste, it was dry after two years and I cleaned the fan, the housing has already gathered dust and now the computer is like new from the factory, all processors at rest are 33 Celsius. INTEL NUC 8I7BEH
Regards
Mateo
Hi Vladimir Knobel, thank you for the video.
I have a different issue, hope you can shed some light. My BOXNUC8i7BEH suddenly went off while running and no matter what I try it wont start, the power LED wont even light-up. I have cleaned the CPU fan, changed the thermal paste... any suggestions ?
I accidentally ripped the base contact terminal off the PCB on Step 8; how can I fix it? I used the tape to hold them now, but the WiFi sometimes disconnects.