はじめに
このガイドを使って、Mid2011のMac miniのiFixitのデュアルハードドライブキットをインストールましょう。
必要な工具と部品
-
-
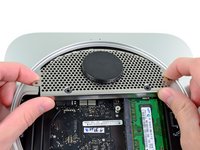
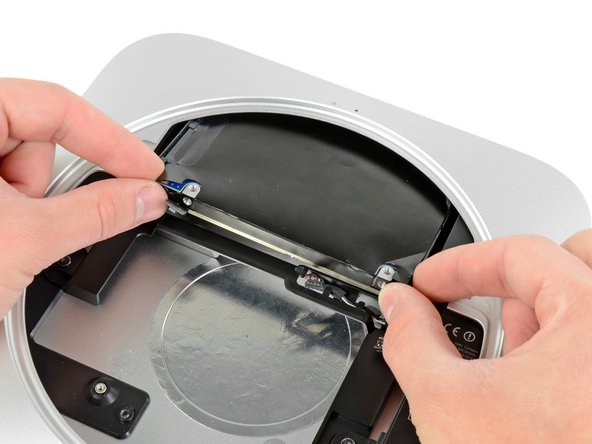
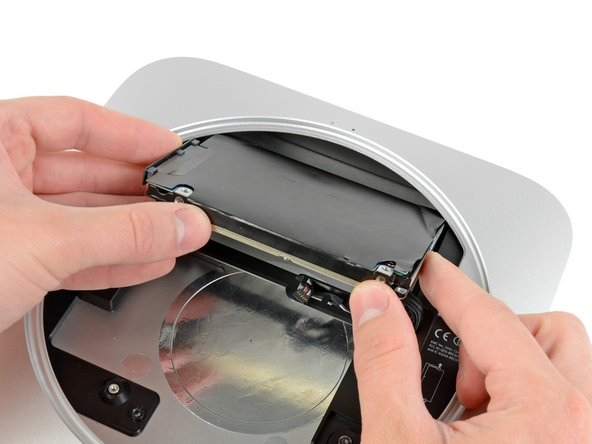
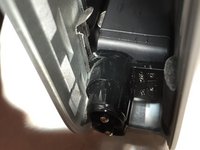
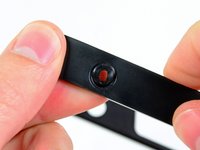
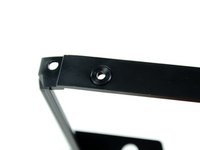
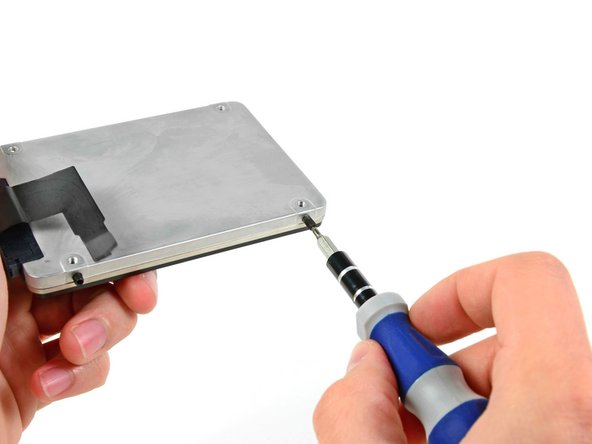
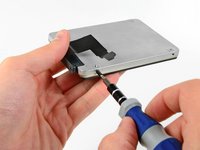
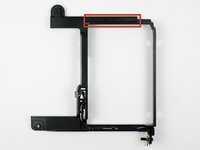
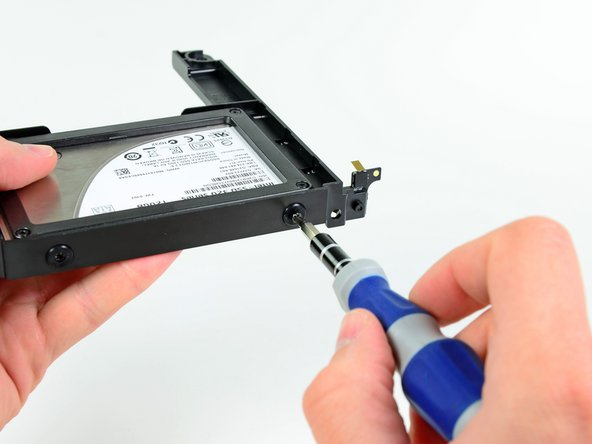
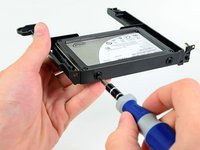
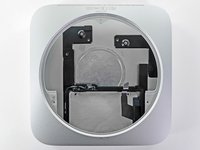
下記のアンテナプレートを固定している次のネジを外します:
-
2本の6.6 mm T8 トルクスネジ
-
2本の5.0 mm T8 トルクスネジ(スクリュードライバーでも可)
-
再組み立ての際には:
-
-
-
この手順で使用する道具:Mac mini Logic Board Removal Tool$4.99
-
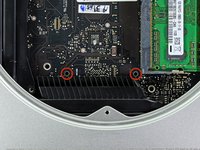
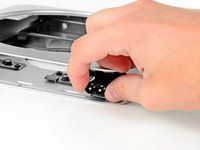
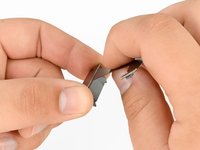
Mac Mini Logic Board Removal Tool を赤でハイライトされた穴に挿入してください。工具が基盤の下のアウターケースに到達しているか確認してください。
-
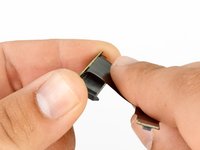
慎重に工具をI/Oボード側に引っ張ります。基板とI/Oボードアセンブリはアウターケース外側にわずかに動きます
-
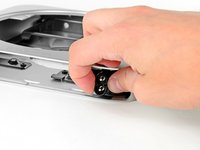
Mac mini Logic Board Removal toolを取り出します。
-
-
-
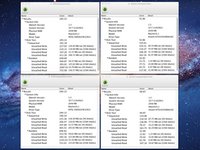
マシンを起動すると、miniに両方のドライブが認識されます。
-
Xbenchスコアで確認すると、上と下のいずれにハードドライブを取り付けても、速度は変わらないことが分かります。
-
元通りに組み立てたら、miniをLion Recoveryモードで起動し、ディスクユーティリティからSSDを消去します。次にLionをSSDにインストールし、再起動後にシステム設定>起動ディスクへと進み、起動ディスクにSSDを選択します。
-


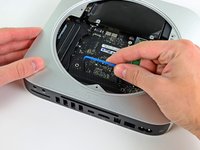
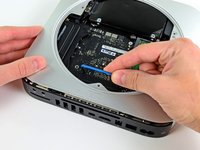


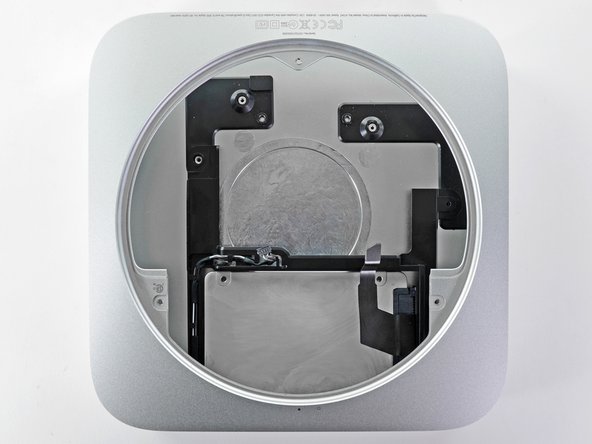
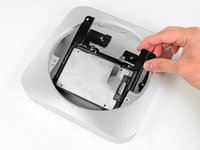


デバイスを組み立て直すには、こういった手順と逆の順序に従ってください。
661 の人々がこのガイドを完成させました。
以下の翻訳者の皆さんにお礼を申し上げます:
100%


これらの翻訳者の方々は世界を修理する私たちのサポートをしてくれています。 あなたも貢献してみませんか?
翻訳を始める ›

46件のガイドコメント
When adding second drive, be sure that the power supply cables are secured out of the way to allow drive to be seated correctly. If cables are in the way, screw holes do not quite line up with antenna plate.
This should be part of the main guide, I read this after completing my fix and I wish I had read this before. Spent about 20 mins figuring this one out. thanks. Great guide though.
When re-inserting the power supply make certain the left side screw is seated in the secondary drive tray and
fulled secured to the metal casing frame then turn the entire housing upside down and slide the power supply into
place (careful of cables etc.)
There are two metal anchor points on the power supply, one on the very tip
that is inserted into the Mac Mini housing and the other is on the right side of the power supply that sits
into a plastic slot up against the side of the metal housing. Tried everything to get the points home so the right
secondary hard drive tray screw holes would line up with the power supply anchor holes. This worked the first try.
This didn't go so well. I did manage to assemble everything according to the manual, but it was one !%!$ of a fight, and now the machine boots, but the SSD I installed is nowhere to be found.
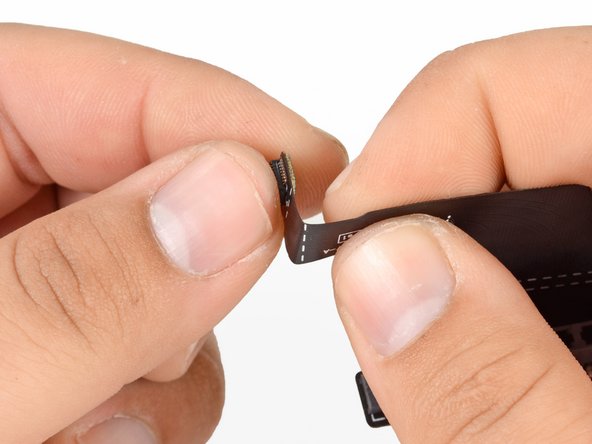
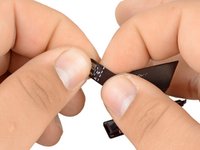
One thing I noticed is that the cable supplied to connect the second drive to the mainboard, is slightly too long. I had to bend it quite a bit so that it would line up with the connector on the mainboard, otherwise the cable would extend about 5 mm into the mainboard and not line up. I'm afraid now that I might have broken some of the wired on the adapter while bending it. However, without bending it there was no way to attach the connector.
What to do?
Same here, I have slightly damaged the ribbon cable and now the SSD is invisible to the OS :-/