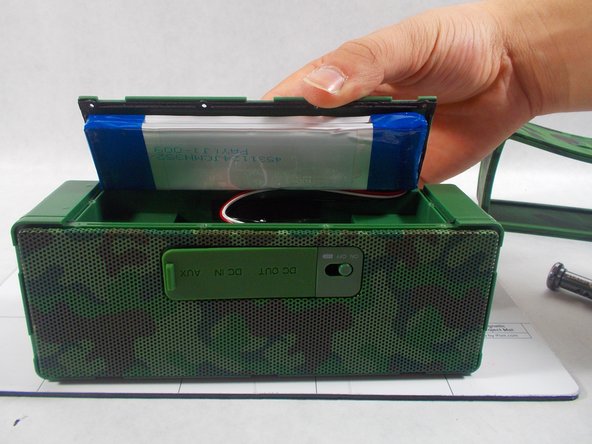
メインコンテンツにスキップ

Insignia NS-SPBTBRICK-CM Auxiliary Port Replacement

必要な工具と部品

  1. 注意: 手順 1-4 は、作業進行中としてマークされている ガイド から引用されています。

    Insignia NS-SPBTBRICK-CM Auxiliary Port Replacement, Battery: 手順 1、 1の画像 1
    • Remove the rubber sleeve.

  2. Insignia NS-SPBTBRICK-CM Auxiliary Port Replacement: 手順 2、 1の画像 1
    • Use the specified screwdriver to unscrew the ten screws on the back cover.

  3. Insignia NS-SPBTBRICK-CM Auxiliary Port Replacement: 手順 3、 2の画像 1 Insignia NS-SPBTBRICK-CM Auxiliary Port Replacement: 手順 3、 2の画像 2
    • Remove the back cover. Be careful to not lose any of the screws because they are extremely small and can be easily lost.

  4. Insignia NS-SPBTBRICK-CM Auxiliary Port Replacement: 手順 4、 3の画像 1 Insignia NS-SPBTBRICK-CM Auxiliary Port Replacement: 手順 4、 3の画像 2 Insignia NS-SPBTBRICK-CM Auxiliary Port Replacement: 手順 4、 3の画像 3
    • The battery will be attached to the back cover with sticky tape. Unplug the wires connecting the battery to the speaker.

  5. Insignia NS-SPBTBRICK-CM Auxiliary Port Replacement, Auxiliary Port: 手順 5、 1の画像 1
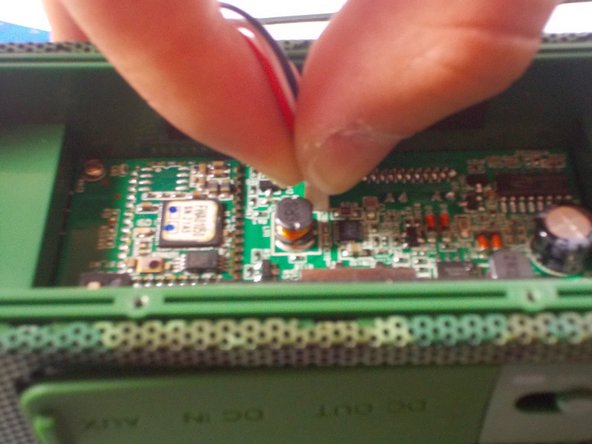
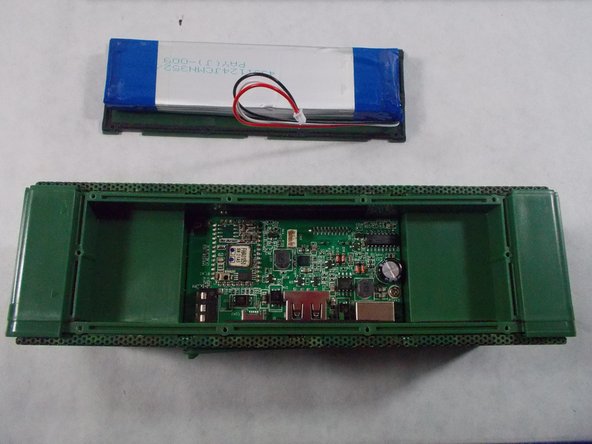
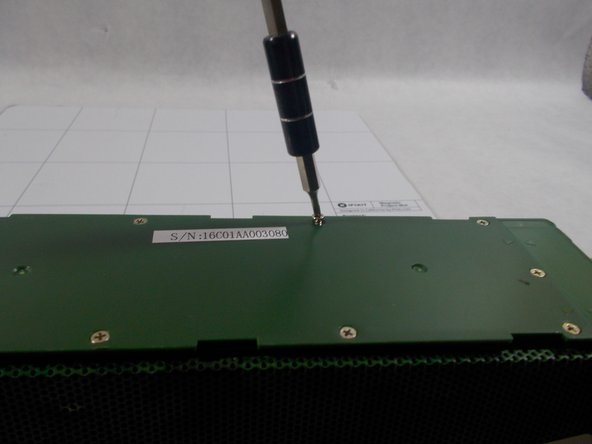
    • Once the battery and back cover have been successfully removed, use the sauter by placing the soldering iron on one side of the auxiliary port button.

  6. この手順で使用する道具:
    Tweezers
    $4.99
    購入する
    • Once the metal is heated, use a pair of tweezers to grab the part and pull it off of the circuit board. Be careful not to alter the circuit board in any way with the heat. Also, be careful when removing the part because the metal will be very hot.

  7. Insignia NS-SPBTBRICK-CM Auxiliary Port Replacement: 手順 7、 1の画像 1
    • Once the switch has been removed from the circuit board, place the new switch in the same spot as the old one.

  8. Insignia NS-SPBTBRICK-CM Auxiliary Port Replacement: 手順 8、 1の画像 1
    • Use the sauter to melt the new switch onto where the old switch was located.

  9. Insignia NS-SPBTBRICK-CM Auxiliary Port Replacement: 手順 9、 3の画像 1 Insignia NS-SPBTBRICK-CM Auxiliary Port Replacement: 手順 9、 3の画像 2 Insignia NS-SPBTBRICK-CM Auxiliary Port Replacement: 手順 9、 3の画像 3
    • After the new piece is properly melted into place, put the battery and back cover onto the device and screw the cover back on using the specified screwdriver and the ten screws.

  10. Insignia NS-SPBTBRICK-CM Auxiliary Port Replacement: 手順 10、 2の画像 1 Insignia NS-SPBTBRICK-CM Auxiliary Port Replacement: 手順 10、 2の画像 2
    • Place the rubber sleeve back on the device. Be sure to line up the sleeve with the proper functions for a correct fit.

終わりに

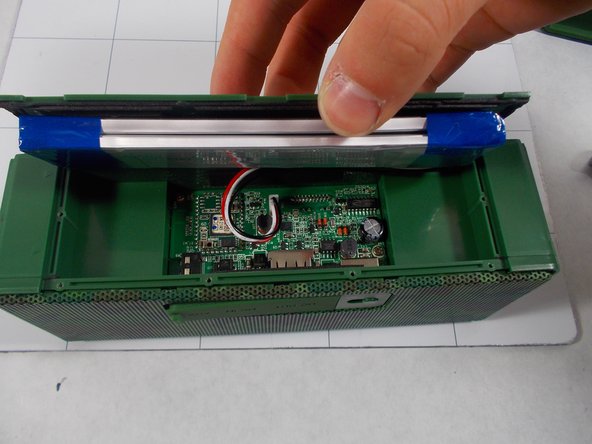
To reassemble your device, follow these instructions in reverse order.

作成者

4人の作成者と共同で作成されました。

Erin Steele

メンバー登録日: 03/08/17

649 ポイント

5のガイドは作成済み

チーム

UMass Dartmouth, Team S5-G2, Botvin Spring 2017 UMass Dartmouth, Team S5-G2, Botvin Spring 2017人のメンバー

UMASSD-BOTVIN-S17S5G2

2 メンバー

6のガイドは作成済み

0 件のコメント

コメントを追加

統計データ:

過去 24時間: 0

過去 7 日: 0

過去 30 日: 3

今までの合計 165