はじめに
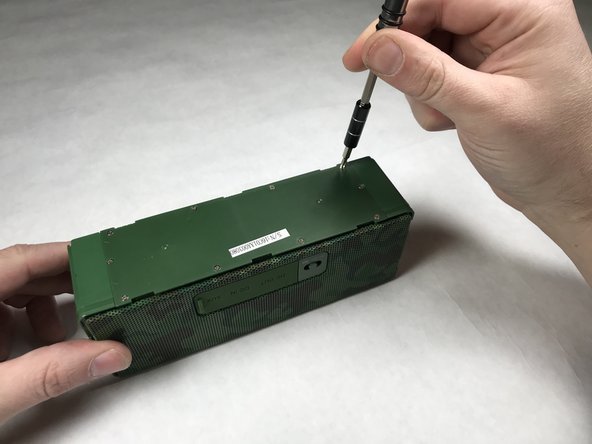
This replacement guide covers how to remove the bottom panel from the device for battery replacement or further repair. All batteries have a finite lifespan, if you find that your speaker is falling significantly short of the 30-hour operational time frame between charges it may be time to replace it.
必要な工具と部品
-
-
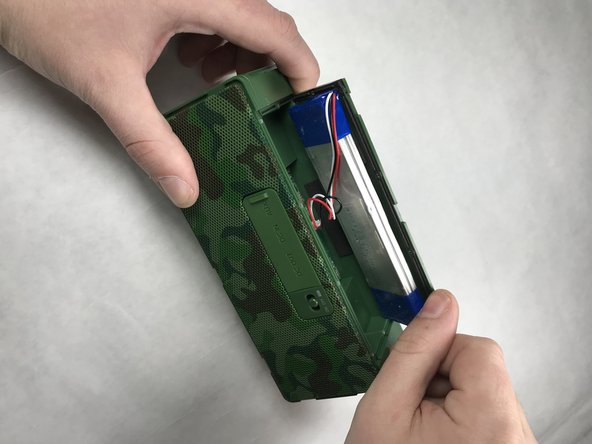
Run your hand around the device where the sleeve connects, lifting lightly up until the edges detach from the device case.
-
-


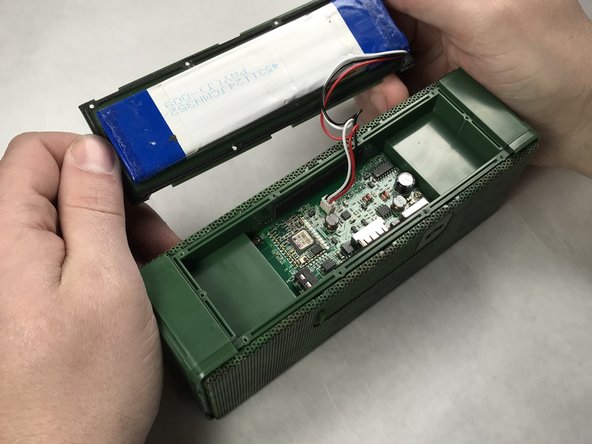

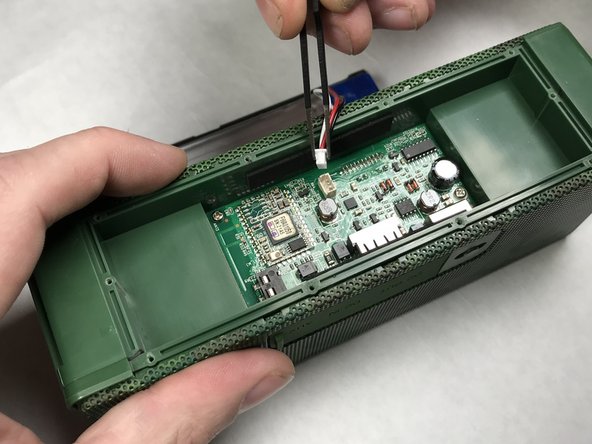
After detaching, you can replace with a new panel and battery, or detach the battery from the panel adhesive and replace the battery on the existing panel. To reassemble your device, follow these instructions in reverse order.
After detaching, you can replace with a new panel and battery, or detach the battery from the panel adhesive and replace the battery on the existing panel. To reassemble your device, follow these instructions in reverse order.
2 の人々がこのガイドを完成させました。
チーム

IUPUI, Team S2-G6, Harley Spring 2018 IUPUI, Team S2-G6, Harley Spring 2018人のメンバー
IUPUI-HARLEY-S18S2G6
3 メンバー
2のガイドは作成済み