はじめに
You will need knowledge of how to use a soldering iron station. For more information regarding soldering visit: Soldering Skills
Take caution with the wires. Do not tug and pull on them with excess force.
Ensure that the hand held monitor is off and unplugged prior to starting this guide.
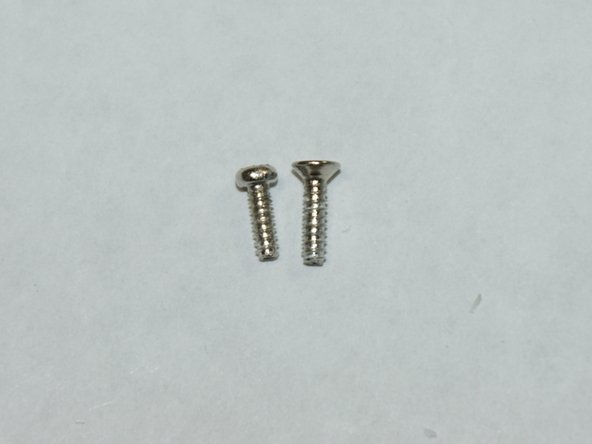
Secure screws to avoid losing them.
Screws are small and can pose a possible choking hazard for small children.
必要な工具と部品
-
-
-
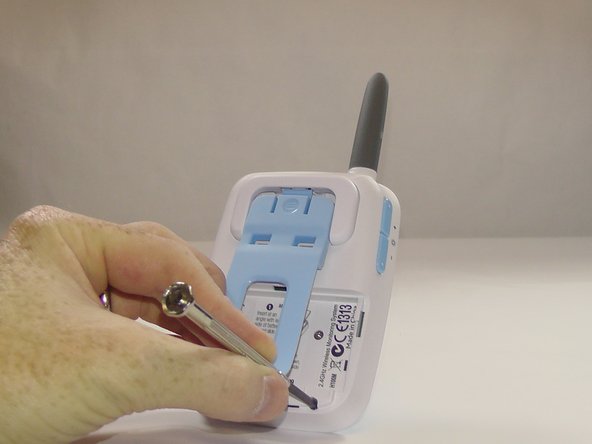
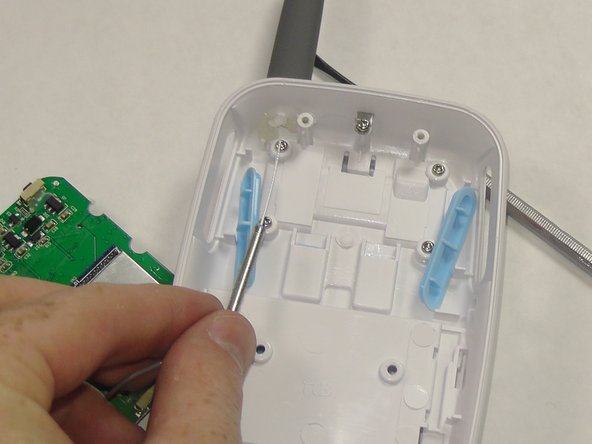
Remove the four 6.0 mm Phillips screws located on the back of the hand held monitor using a Phillips #2 screwdriver.
-
-
-
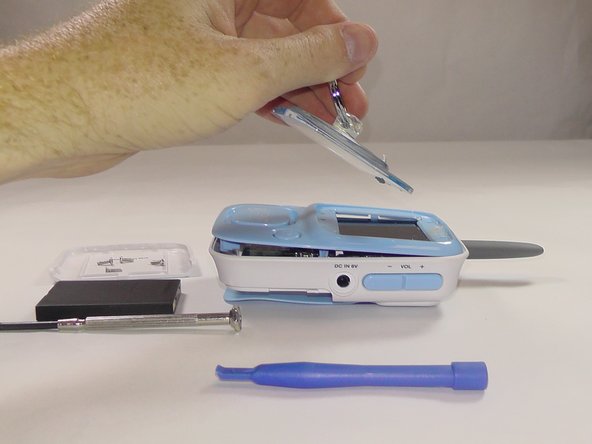
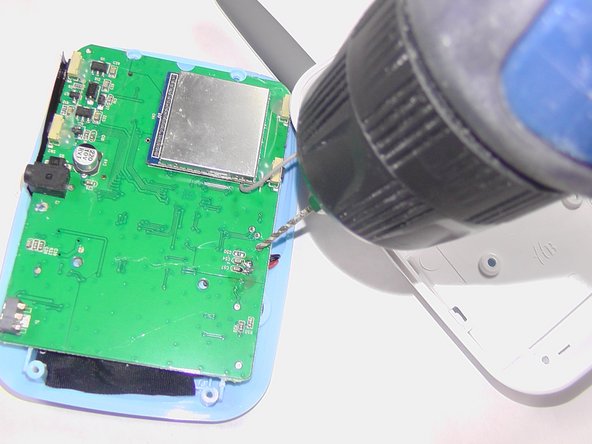
Using a soldering iron remove the leads from the speaker on the front plate of the hand held monitor.
-


To reassemble your device, follow these instructions in reverse order.
To reassemble your device, follow these instructions in reverse order.
3 の人々がこのガイドを完成させました。
チーム

USF Tampa, Team 6-2, Remmell Fall 2015 USF Tampa, Team 6-2, Remmell Fall 2015人のメンバー
USFT-REMMELL-F15S6G2
5 メンバー
5のガイドは作成済み
コメント 1 件
Great pictures! They enabled me to find the two hidden screws. I removed them (and the other obvious screws) and then bent charging pin back to intended position. The monitor is now charging again! Thanks!!