はじめに
Ensure that the hand held monitor is off and unplugged prior to starting this guide.
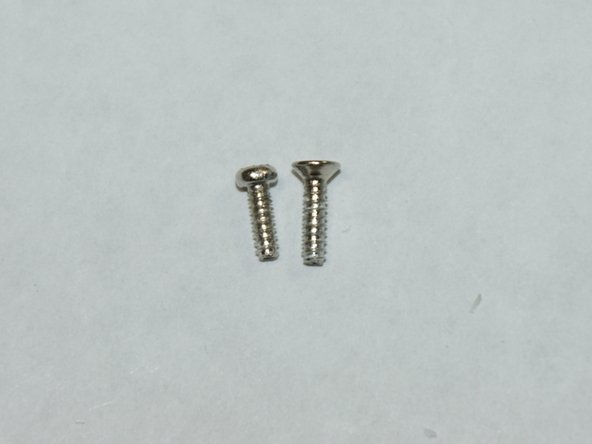
Secure screws to avoid losing them.
Screws are small and can pose a possible choking hazard for small children.
必要な工具と部品
-
-
-
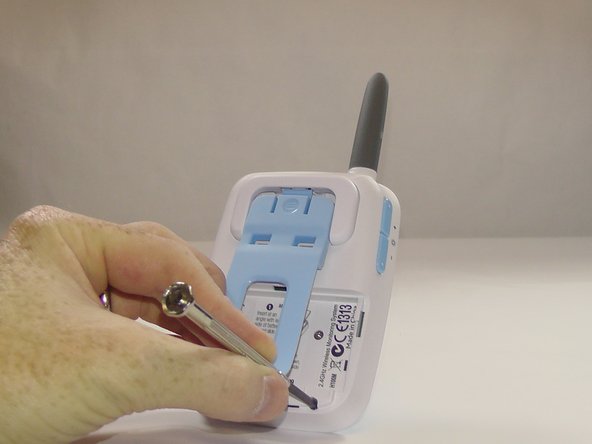
Remove the four 6.0 mm Phillips screws located on the back of the hand held monitor using a Phillips #2 screwdriver.
-


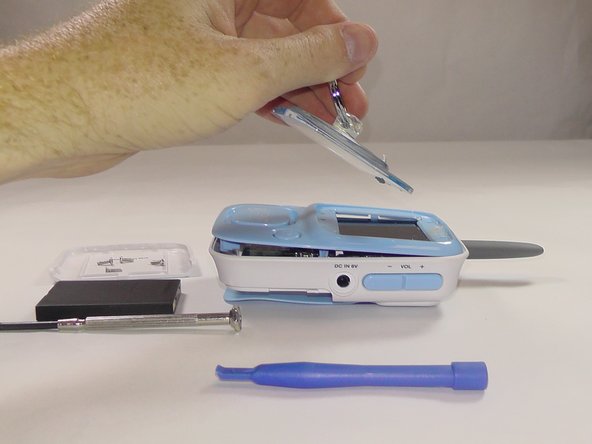


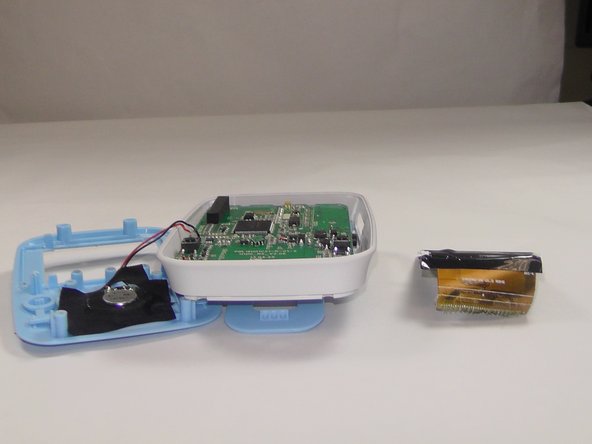
To reassemble your device, follow these instructions in reverse order.
To reassemble your device, follow these instructions in reverse order.
ある他の人がこのガイドを完成しました。
チーム

USF Tampa, Team 6-2, Remmell Fall 2015 USF Tampa, Team 6-2, Remmell Fall 2015人のメンバー
USFT-REMMELL-F15S6G2
5 メンバー
5のガイドは作成済み