はじめに
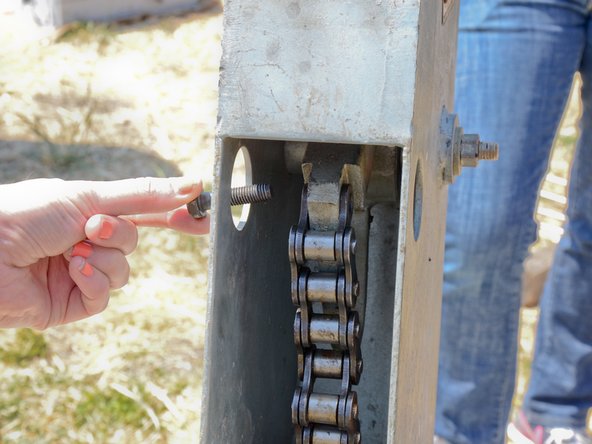
Follow this guide to remove the pump rod from the pump in order to replace or repair it.
必要な工具と部品
-
-
-
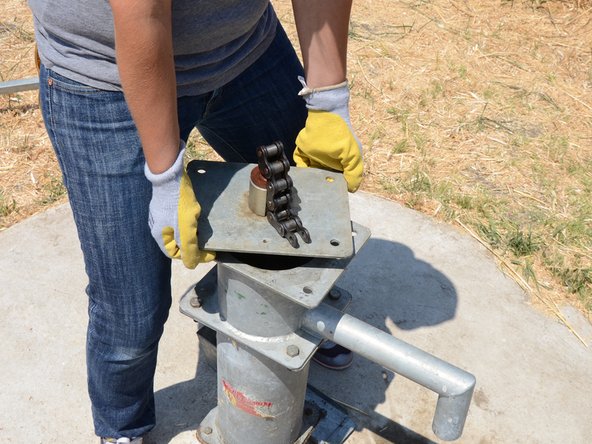
Slightly twist the head flange, until the corners overhang the top of the tank far enough to grab.
-


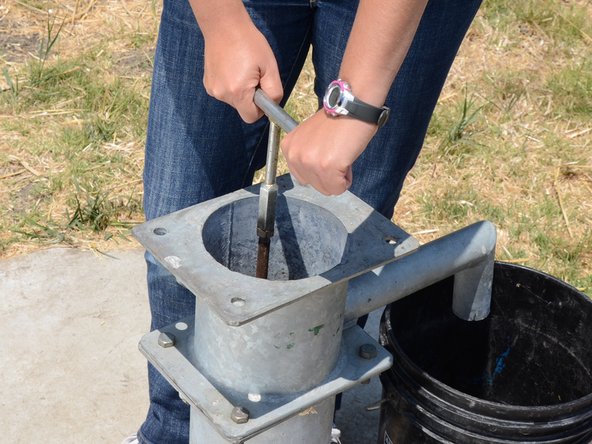


もう少しです!
To reassemble your device, follow these instructions in reverse order.
終わりに
To reassemble your device, follow these instructions in reverse order.
