メインコンテンツにスキップ

InFocus LP540 Projector Main Fans Replacement

必要な工具と部品

  1. InFocus LP540 Projector Main Fans Replacement, Main Board: 手順 1、 3の画像 1 InFocus LP540 Projector Main Fans Replacement, Main Board: 手順 1、 3の画像 2 InFocus LP540 Projector Main Fans Replacement, Main Board: 手順 1、 3の画像 3
    • Flip the projector right-side up and turn it so that the back ports are facing you.

    • Remove the 7 mm metallic screws using the flat-head screwdriver.

    • Using the T10 Torx screwdriver, remove the two black 10 mm screws located at the center of the back panel.

  2. InFocus LP540 Projector Main Fans Replacement: 手順 2、 2の画像 1 InFocus LP540 Projector Main Fans Replacement: 手順 2、 2の画像 2
    • Flip the projector over.

    • Use the T10 Torx screwdriver head to remove the two 77mm screws located nearest to the back panel ports.

    • Remove the two 10mm screws located near the lens side with the T10 Torx screwdriver head.

    • Flip the projector back over.

    • Lift up the main lid cautiously to avoid ripping the electrical ribbons.

  3. InFocus LP540 Projector Main Fans Replacement: 手順 3、 3の画像 1 InFocus LP540 Projector Main Fans Replacement: 手順 3、 3の画像 2 InFocus LP540 Projector Main Fans Replacement: 手順 3、 3の画像 3
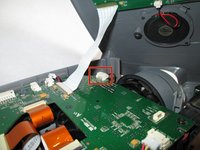
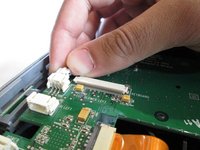
    • Unplug the speaker wire from the circuit board by simultaneously squeezing the sides and pulling.

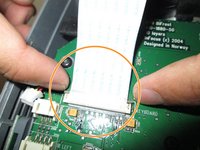
    • Pull on the brown tabs located at the sides of the white plastic ribbon holder and pull the ribbon out.

    • Remove the top cover.

  4. InFocus LP540 Projector Main Fans Replacement: 手順 4、 2の画像 1 InFocus LP540 Projector Main Fans Replacement: 手順 4、 2の画像 2
    • Hold down the release tabs to remove the cables from the white tabs.

  5. InFocus LP540 Projector Main Fans Replacement: 手順 5、 3の画像 1 InFocus LP540 Projector Main Fans Replacement: 手順 5、 3の画像 2 InFocus LP540 Projector Main Fans Replacement: 手順 5、 3の画像 3
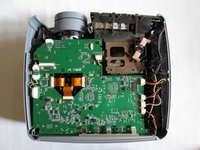
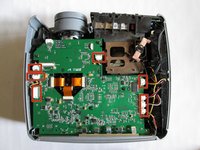
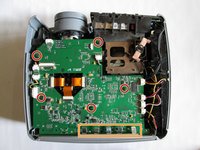
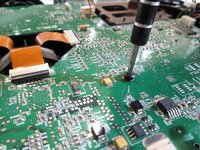
    • Use the T10 Torx screwdriver to remove the five 5mm screws located throughout the motherboard.

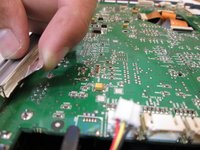
    • Pull up the five metal tabs located at the rear of the projector.

    • Do not pull up on the metal tabs too hard or too fast because they can break easily.

  6. InFocus LP540 Projector Main Fans Replacement: 手順 6、 3の画像 1 InFocus LP540 Projector Main Fans Replacement: 手順 6、 3の画像 2 InFocus LP540 Projector Main Fans Replacement: 手順 6、 3の画像 3
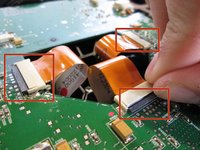
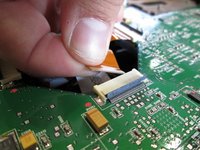
    • Remove the three gold ribbons by flipping up the black taps that hold the ribbon in place.

    • Pull the ribbons out carefully and place them under the main board.

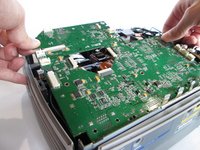
    • Carefully lift the entire main board up.

  7. InFocus LP540 Projector Main Fans Replacement, Main Fans: 手順 7、 2の画像 1 InFocus LP540 Projector Main Fans Replacement, Main Fans: 手順 7、 2の画像 2
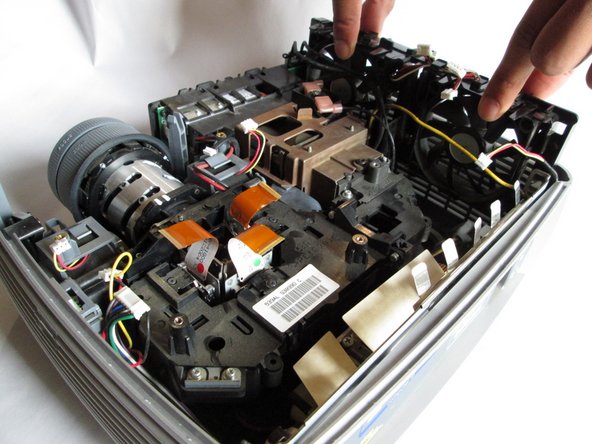
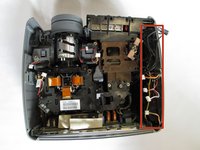
    • Once the main board has been removed, carefully lift the fans upward. Make sure no cables are tangled in the process.

終わりに

To reassemble your device, follow these instructions in reverse order.

ある他の人がこのガイドを完成しました。

作成者

3人の作成者と共同で作成されました。
Jorge L Navarro

メンバー登録日: 01/22/14

533 ポイント

5のガイドは作成済み

チーム

Cal Poly, Team 13-17, Regan Winter 2014 Cal Poly, Team 13-17, Regan Winter 2014人のメンバー

CPSU-REGAN-W14S13G17

6 メンバー

5のガイドは作成済み

0 件のコメント

コメントを追加

統計データ:

過去 24時間: 0

過去 7 日: 0

過去 30 日: 0

今までの合計 1,382