メインコンテンツにスキップ

Impuls Blender Electronic wire Replacement

必要な工具と部品

  1. Impuls Blender Electronic wire Replacement, Electronic wire: 手順 1、 3の画像 1 Impuls Blender Electronic wire Replacement, Electronic wire: 手順 1、 3の画像 2 Impuls Blender Electronic wire Replacement, Electronic wire: 手順 1、 3の画像 3
    • Here you see the Impuls blender

    • First, seperate the the blender jar from the bottom part by turning it and put it aside.

  2. Impuls Blender Electronic wire Replacement: 手順 2、 3の画像 1 Impuls Blender Electronic wire Replacement: 手順 2、 3の画像 2 Impuls Blender Electronic wire Replacement: 手順 2、 3の画像 3
    • Turn the bottom part over and look at the bottom.

    • Take the rubber parts out of the 4 holes to reveal the screws.

    • Take the 4 screws out using a Phillips screwdriver.

  3. Impuls Blender Electronic wire Replacement: 手順 3、 3の画像 1 Impuls Blender Electronic wire Replacement: 手順 3、 3の画像 2 Impuls Blender Electronic wire Replacement: 手順 3、 3の画像 3
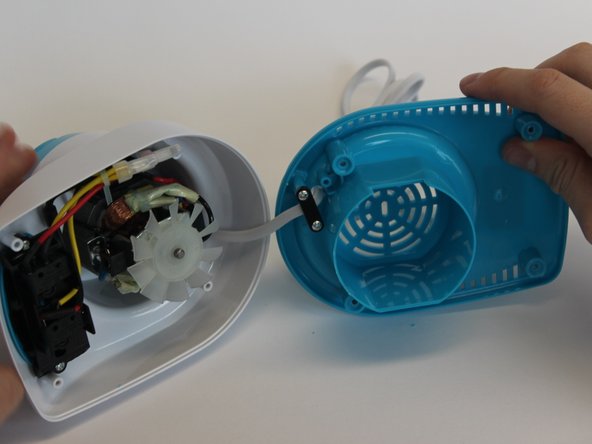
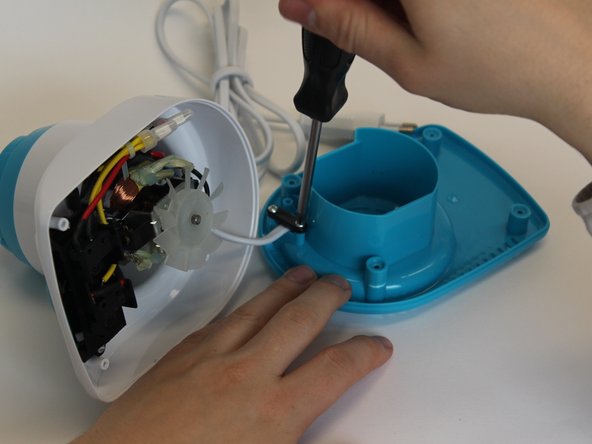
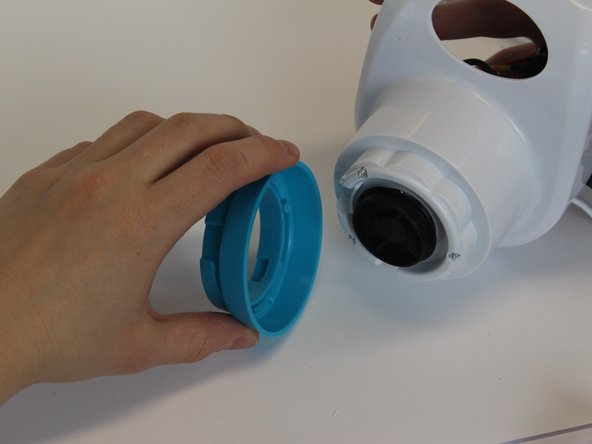
    • Take the blue bottom part off the rest of the product to reveal the inside.

    • Unscrew the black piece to be able to slide the blue part away from the rest.

  4. Impuls Blender Electronic wire Replacement: 手順 4、 3の画像 1 Impuls Blender Electronic wire Replacement: 手順 4、 3の画像 2 Impuls Blender Electronic wire Replacement: 手順 4、 3の画像 3
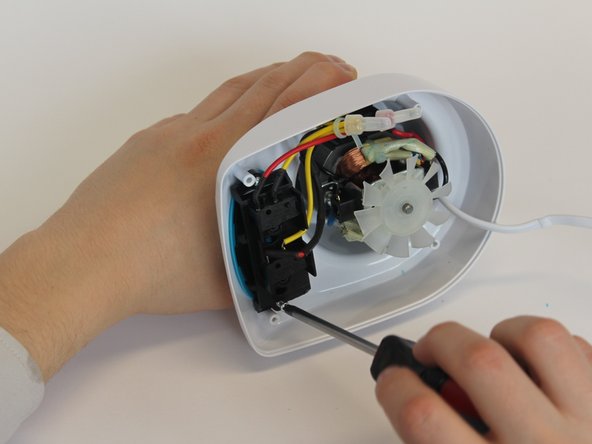
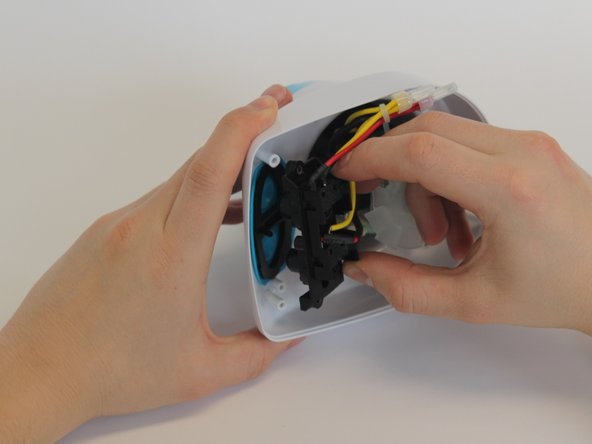
    • When you look to the inside, you see that there are two components; the buttons and the motor.

    • Unscrew the part that contains the buttons and take it off.

  5. Impuls Blender Electronic wire Replacement: 手順 5、 3の画像 1 Impuls Blender Electronic wire Replacement: 手順 5、 3の画像 2 Impuls Blender Electronic wire Replacement: 手順 5、 3の画像 3
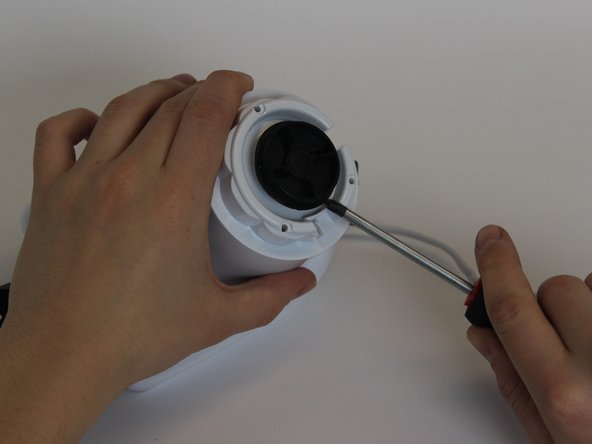
    • Take out the 3 screws that are deep inside.

    • Take off the blue part on top that was fixed with those screws.

    • Pull the black disc out by using the screwdriver as lever from multiple sides.

    • This will take some force, so do not be afraid it will break.

  6. Impuls Blender Electronic wire Replacement: 手順 6、 3の画像 1 Impuls Blender Electronic wire Replacement: 手順 6、 3の画像 2 Impuls Blender Electronic wire Replacement: 手順 6、 3の画像 3
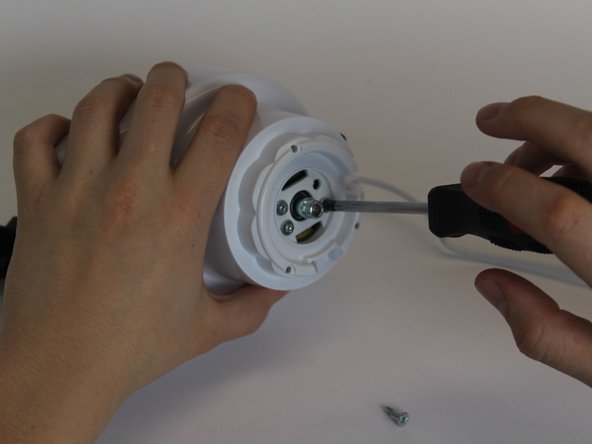
    • When you have taken off the black piece and revealed the 4 screws, unscrew them all.

    • Take out the motor part and the rest of the electronics.

  7. Impuls Blender Electronic wire Replacement: 手順 7、 3の画像 1 Impuls Blender Electronic wire Replacement: 手順 7、 3の画像 2 Impuls Blender Electronic wire Replacement: 手順 7、 3の画像 3
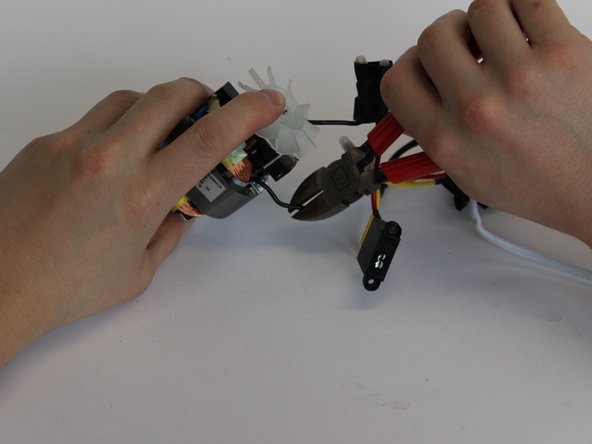
    • Find the fraction in the wire.

    • Cut off the broken part

    • Strip both sides of the wire that have to be attached again.

  8. Impuls Blender Electronic wire Replacement: 手順 8、 2の画像 1 Impuls Blender Electronic wire Replacement: 手順 8、 2の画像 2
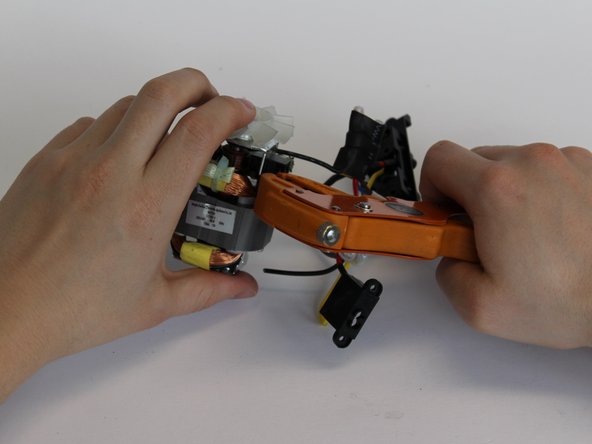
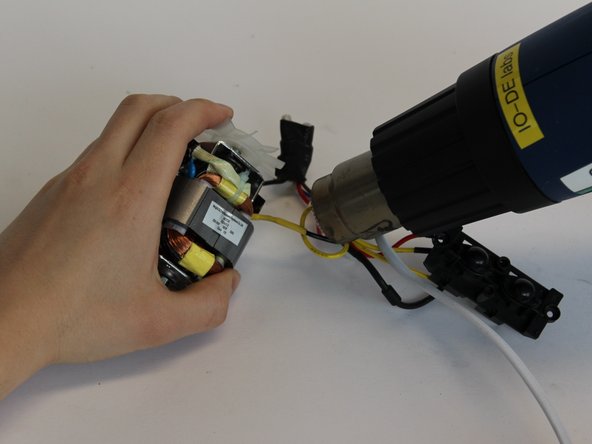
    • If you will use a shrink sleeve to cover the electronic wire, it has to be put on the wire first. Otherwise if electrical tape is used, this can be done afterwards.

    • Solder the two wires with a soldering iron.

    • Shrink the sleeve with a heater or put the electrical tape around the soldered wire.

終わりに

To reassemble your device, follow the instructions in reverse order.

ある他の人がこのガイドを完成しました。

作成者

3人の作成者と共同で作成されました。

Daan van der Sande

メンバー登録日: 03/08/17

101 ポイント

1ガイドが承認済み

チーム

0 件のコメント

コメントを追加

統計データ:

過去 24時間: 0

過去 7 日: 15

過去 30 日: 34

今までの合計 1,018