はじめに
If you want to upgrade your ThinkPad with a brand new SSD to unlock better performance with your laptop, this guide will show you how to access the hard drive slot and to switch out (or insert) a hard drive.
必要な工具と部品
-
-
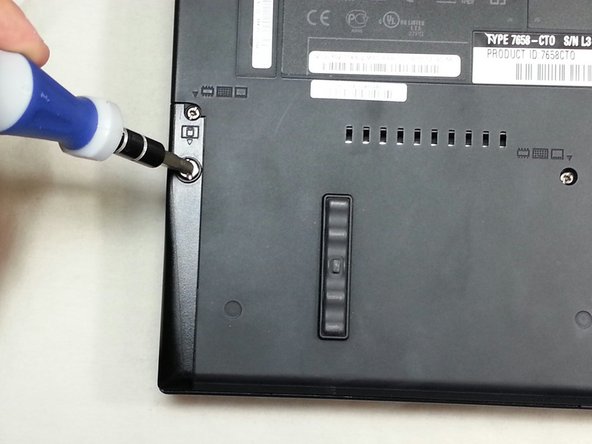
Turn the computer over so that the back is facing upwards.
-
Locate the screw in the bottom left-hand corner of the computer.
-
-


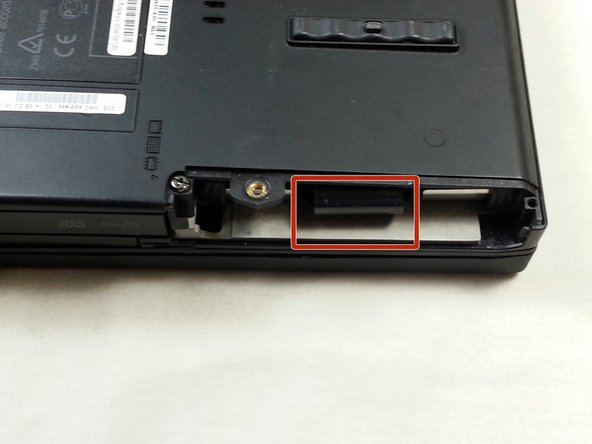


To reassemble your device, follow these instructions in reverse order. If your pull tab is broken, you will need to find something to use as a pull tab for the new drive. You can get a long piece of tape, and fold the end and stick the rest to the drive.
To reassemble your device, follow these instructions in reverse order. If your pull tab is broken, you will need to find something to use as a pull tab for the new drive. You can get a long piece of tape, and fold the end and stick the rest to the drive.
7 の人々がこのガイドを完成させました。
チーム

Cal Poly, Team 8-58, Johann Spring 2013 Cal Poly, Team 8-58, Johann Spring 2013人のメンバー
CPSU-JOHANN-S13S8G58
4 メンバー
10のガイドは作成済み