はじめに
Use this guide to replace the RAM in your IBM ThinkPad T30
必要な工具と部品
-
-
Flip the ThinkPad upside down with the bottom facing you.
-
Slide the latch to the right into the unlock position.
-
While holding the latch in the unlock position, lift the battery out with your other hand.
 FixBotに聞いてみる
-
-
-
Remove the 4 mm Phillips #0 screw located on the panel on the bottom right of the ThinkPad.
-
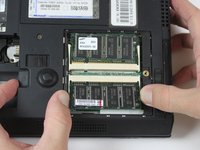
Lift up the cover and set it aside.
-
-
-
-
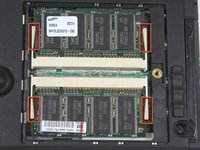
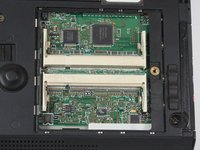
Locate the four white tabs. There are two sets of white tabs, the top two holding the first RAM stick and the bottom holding the second RAM stick.
-
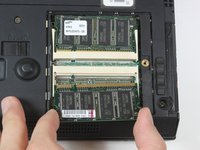
Removing one set at a time, press down on the white tabs at the same time. The RAM stick will pop out of place.
-


To reassemble your device, follow these instructions in reverse order.
ある他の人がこのガイドを完成しました。
チーム

Cal Poly, Team 3-20, Amido Fall 2012 Cal Poly, Team 3-20, Amido Fall 2012人のメンバー
CPSU-AMIDO-F12S3G20
3 メンバー
17のガイドは作成済み