メインコンテンツにスキップ

Hydraulic Door Closer Replacement

必要な工具と部品

  1. Hydraulic Door Closer Replacement, Hydraulic Door Closer: 手順 1、 1の画像 1
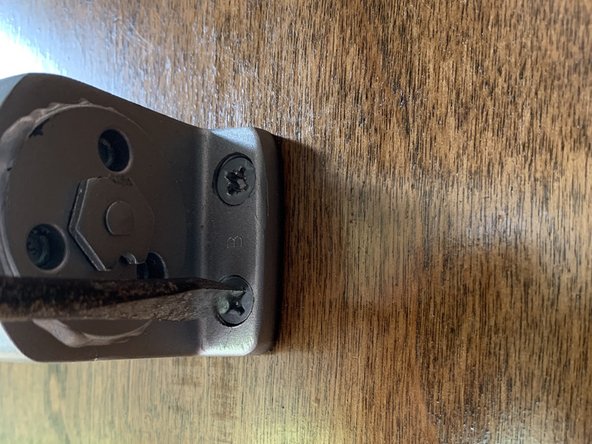
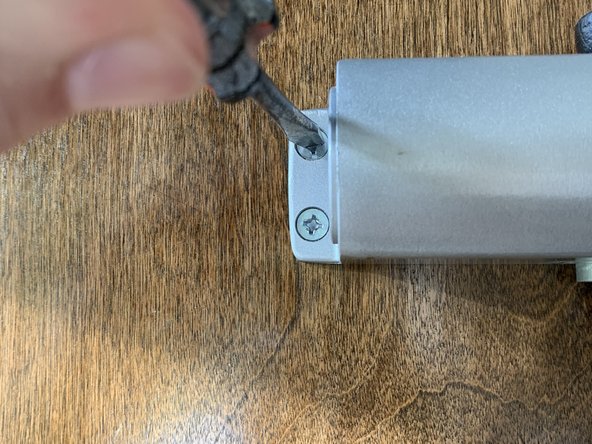
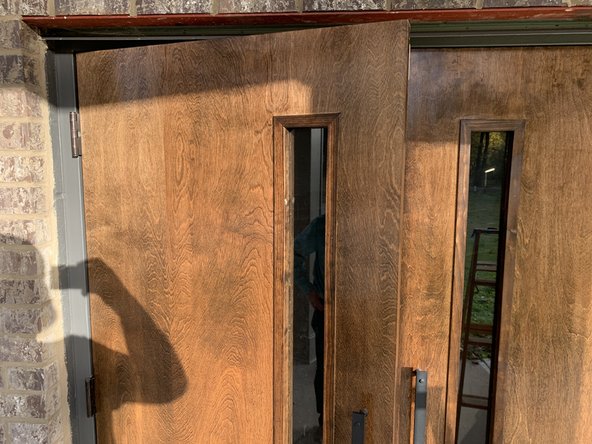
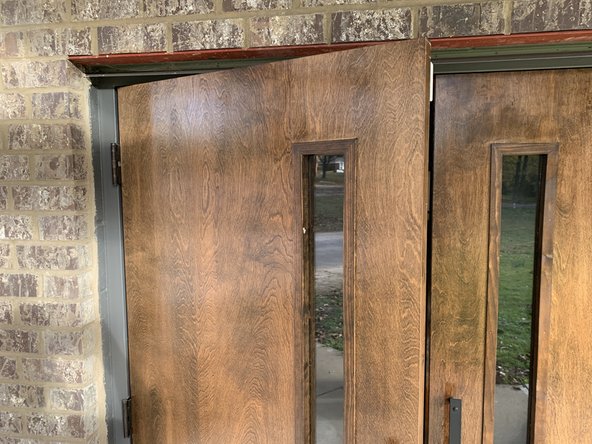
    • Identify if the hydraulic door closer needs to be adjusted or replaced.

    • If oil is seen leaking, then the closer needs to be replaced.

  2. Hydraulic Door Closer Replacement: 手順 2、 3の画像 1 Hydraulic Door Closer Replacement: 手順 2、 3の画像 2 Hydraulic Door Closer Replacement: 手順 2、 3の画像 3
    • Remove the 12.7mm screws on the bottom and top of the hydraulic door closer cover and pull the cover off the hydraulic door closer.

  3. Hydraulic Door Closer Replacement: 手順 3、 2の画像 1 Hydraulic Door Closer Replacement: 手順 3、 2の画像 2
    • Identify the adjustment screw and start with 1/8th turns using an Allen wrench, or a small flathead screwdriver if you do not have an Allen wrench. Turn the screw clockwise to slow down the door and counterclockwise to speed up the door.

  4. Hydraulic Door Closer Replacement: 手順 4、 3の画像 1 Hydraulic Door Closer Replacement: 手順 4、 3の画像 2 Hydraulic Door Closer Replacement: 手順 4、 3の画像 3
    • Observe if the door closes at the speed you desire, check it 10 more times by allowing the door to close by itself.

    • If the door does not close at the desired speed, repeat step 3.

  5. Hydraulic Door Closer Replacement: 手順 5、 2の画像 1 Hydraulic Door Closer Replacement: 手順 5、 2の画像 2
    • If oil is seen leaking then, the hydraulic door closer needs to be replaced.

    • Start by removing the old hydraulic door closer. Remove the 25.4mm screws screwed into the door frame and the door.

  6. Hydraulic Door Closer Replacement: 手順 6、 3の画像 1 Hydraulic Door Closer Replacement: 手順 6、 3の画像 2 Hydraulic Door Closer Replacement: 手順 6、 3の画像 3
    • After removing the old hydraulic door closer, fasten the new hydraulic door closer body to the top of the door. Use the holes left from the old hydraulic door closer to line up the body and to screw the 25.4mm screws without damaging the door.

  7. Hydraulic Door Closer Replacement: 手順 7、 2の画像 1 Hydraulic Door Closer Replacement: 手順 7、 2の画像 2
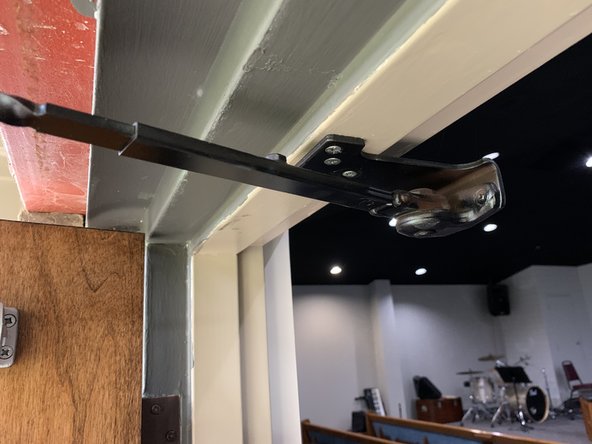
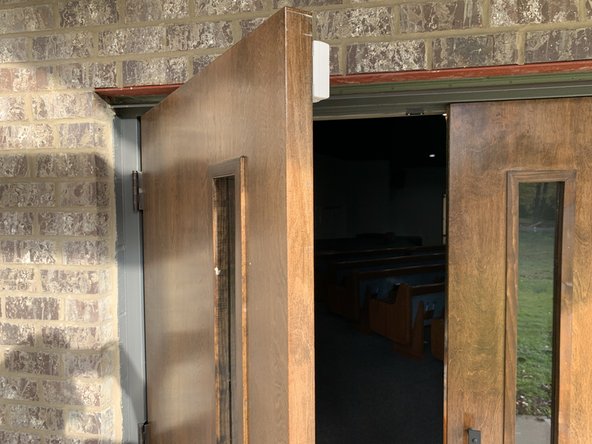
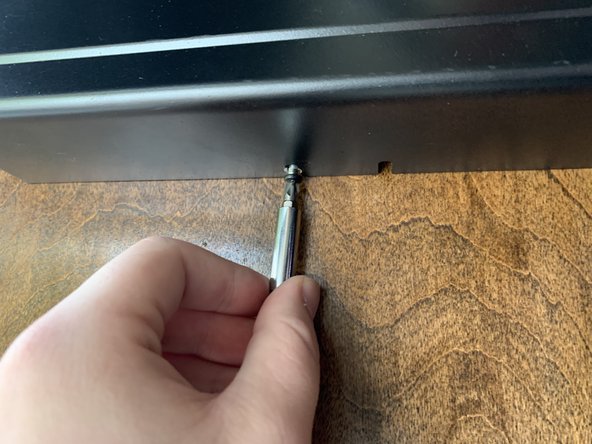
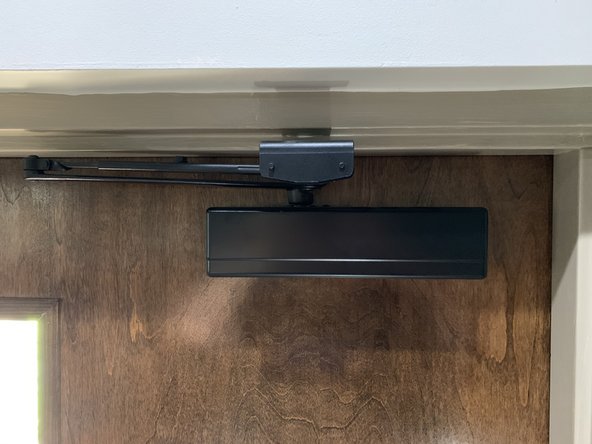
    • After mounting the hydraulic door closer body to the top of the door, attach the end of the hydraulic door closer arm to the top of the door frame. Use the holes left from the end of the old hydraulic door arm to properly line up the arm and to screw the 25.4mm screws without damaging the door frame.

  8. Hydraulic Door Closer Replacement: 手順 8、 3の画像 1 Hydraulic Door Closer Replacement: 手順 8、 3の画像 2 Hydraulic Door Closer Replacement: 手順 8、 3の画像 3
    • Observe the door closing by itself to make sure the hydraulic door closer is working properly.

  9. Hydraulic Door Closer Replacement: 手順 9、 1の画像 1
    • Using an Allen wrench, adjust the speed of the door closer to the desired speed by turning the adjustment screw.

    • Turn the adjustment screw clockwise to slow down the door or counterclockwise to speed up. If the door already closes at the desired speed, skip this step.

  10. Hydraulic Door Closer Replacement: 手順 10、 2の画像 1 Hydraulic Door Closer Replacement: 手順 10、 2の画像 2
    • Observe the changes you made to make sure the door closes at the desired speed. If the door closes at the desired speed, then check 10 times to be sure.

    • If the desired speed is not reached, repeat step 9.

  11. Hydraulic Door Closer Replacement: 手順 11、 3の画像 1 Hydraulic Door Closer Replacement: 手順 11、 3の画像 2 Hydraulic Door Closer Replacement: 手順 11、 3の画像 3
    • Once you have finished replacing the hydraulic door closer, put the cover back over it.

    • Next, screw both the top and bottom 12.7mm screws on the cover back in place.

ゴール

作成者

2人の作成者と共同で作成されました。

Blaine Bishop

メンバー登録日: 09/17/20

193 ポイント

1ガイドが承認済み

チーム

University of Memphis, Team S3-G24, Willis Fall 2020 University of Memphis, Team S3-G24, Willis Fall 2020人のメンバー

UM-WILLIS-F20S3G24

1 メンバー

1のガイドは作成済み

0 件のコメント

コメントを追加

統計データ:

過去 24時間: 9

過去 7 日: 35

過去 30 日: 149

今までの合計 6,063