メインコンテンツにスキップ
リペアコミュニティに参加 - アカウントの作成

Huawei Union Screen Replacement

必要な工具と部品

  1. Huawei Union Screen Replacement, Battery: 手順 1、 2の画像 1 Huawei Union Screen Replacement, Battery: 手順 1、 2の画像 2
    • Wedge your thumb nail, or the flat end of a spudger, into the bottom left corner and pry off.

    FixBotに聞いてみる
  2. Huawei Union Screen Replacement: 手順 2、 2の画像 1 Huawei Union Screen Replacement: 手順 2、 2の画像 2
    • Use the flat end of a spudger, or fingernail, to lift up the battery and pull out.

    FixBotに聞いてみる
  3. Huawei Union Screen Replacement, Camera Lens Panel: 手順 3、 1の画像 1
    • Remove the thirteen 3mm Phillips #00 screws from the back panel.

    FixBotに聞いてみる
  4. Huawei Union Screen Replacement: 手順 4、 1の画像 1
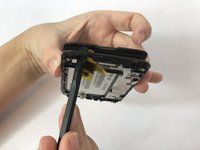
    • Use the flat end of a spudger to pry off the back panel.

    FixBotに聞いてみる
  5. Huawei Union Screen Replacement, Motherboard: 手順 5、 1の画像 1
    • Remove a single 3mm Phillips #00 screw from the motherboard.

    FixBotに聞いてみる
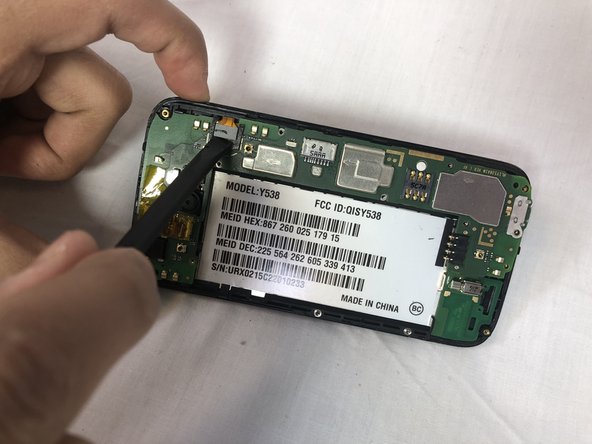
  6. Huawei Union Screen Replacement: 手順 6、 2の画像 1 Huawei Union Screen Replacement: 手順 6、 2の画像 2
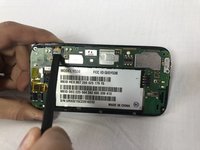
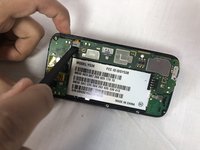
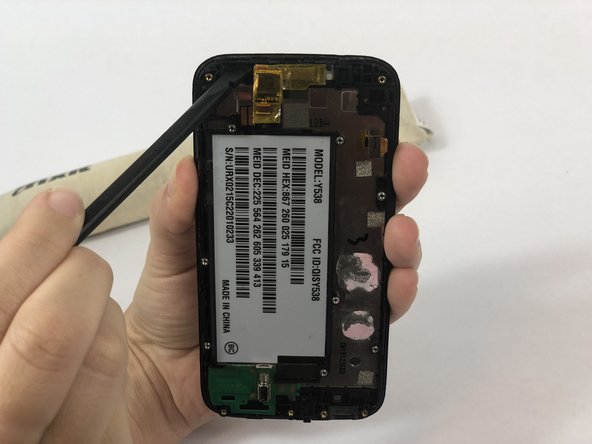
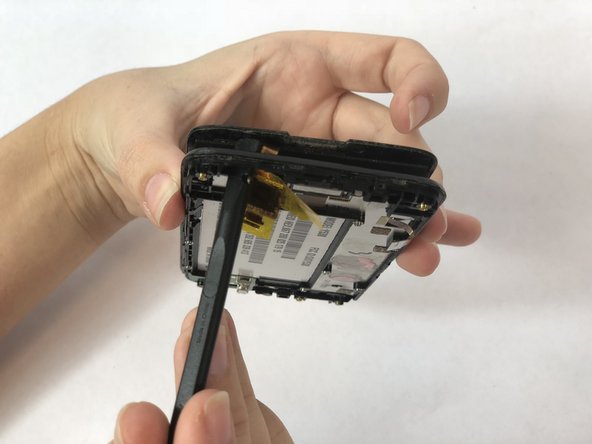
    • Using the flat end of a spudger to disconnect the motherboard ribbon cable.

    FixBotに聞いてみる
  7. Huawei Union Screen Replacement: 手順 7、 1の画像 1
    • Firmly hold the second ribbon cable's plastic film cover and pull up to disconnect.

    FixBotに聞いてみる
  8. Huawei Union Screen Replacement: 手順 8、 2の画像 1 Huawei Union Screen Replacement: 手順 8、 2の画像 2
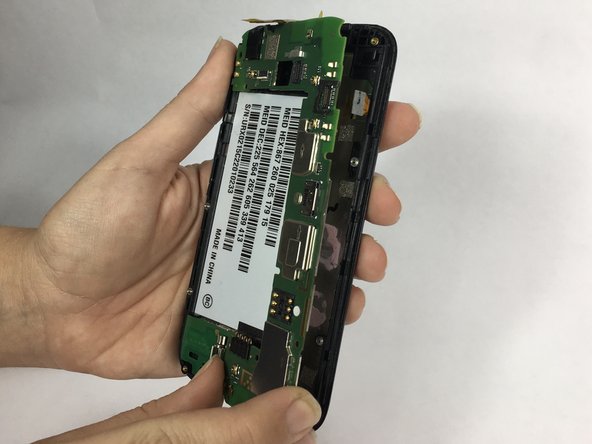
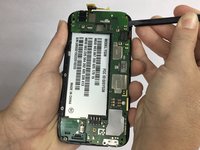
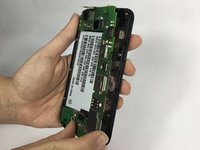
    • Wedge the flat end of a spudger underneath the motherboard and pry upwards to separate it from the frame.

    FixBotに聞いてみる
  9. Huawei Union Screen Replacement, Screen: 手順 9、 1の画像 1
    • Using an iOpener heat source tool, warm the screen of the phone to loosen adhesive of the screen.

    FixBotに聞いてみる
  10. Huawei Union Screen Replacement: 手順 10、 2の画像 1 Huawei Union Screen Replacement: 手順 10、 2の画像 2
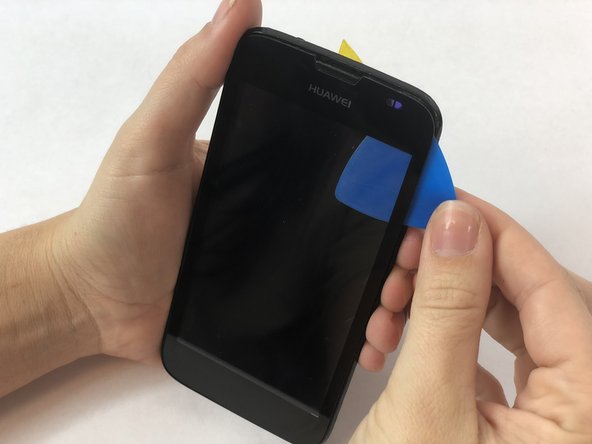
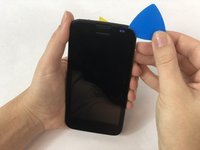
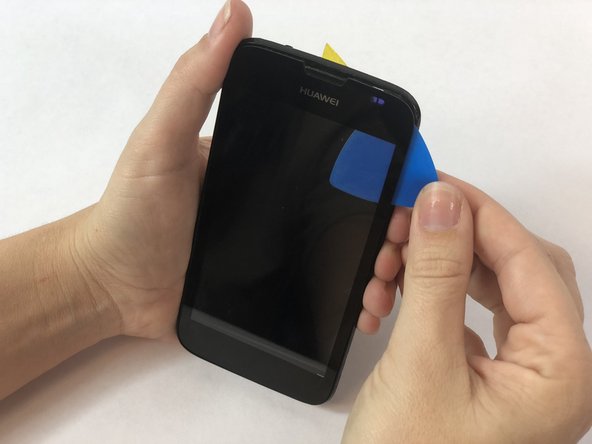
    • Wedge an opening pick underneath the screen and slowly work your way around the screen.

    FixBotに聞いてみる
  11. Huawei Union Screen Replacement: 手順 11、 2の画像 1 Huawei Union Screen Replacement: 手順 11、 2の画像 2
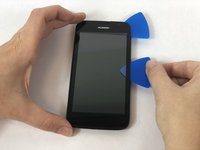
    • Using multiple Opening Picks, work your way around the edges making sure not to place too much pressure at any one point.

    • With each pass, move the Opening Pick further to complete separation.

    FixBotに聞いてみる
  12. Huawei Union Screen Replacement: 手順 12、 3の画像 1 Huawei Union Screen Replacement: 手順 12、 3の画像 2 Huawei Union Screen Replacement: 手順 12、 3の画像 3
    • Once screen is sufficiently separated, holding the sides of the frame firmly, use the Spudger to press through the small access window to the screen at the top let and completely separate the screen from the frame.

    • Do not push too firmly. Screen may break. If screen will not separate, use iOpener heating element again and start over.

    • Do not press too far when separating the screen. There is a small ribbon cable attached to the screen that must be gently drawn through small access window.

    FixBotに聞いてみる
  13. Huawei Union Screen Replacement: 手順 13、 1の画像 1
    • Pull screen away from frame making sure the ribbon cable stays attached.

    FixBotに聞いてみる
終わりに

To reassemble your device, follow these instructions in reverse order.

ある他の人がこのガイドを完成しました。

作成者

1人の作成者と共同作成されました。

Brittany Achor

メンバー登録日: 02/14/18

756 ポイント

6のガイドは作成済み

チーム

USF Tampa, Team S1-G1, Nance Spring 2018 USF Tampa, Team S1-G1, Nance Spring 2018人のメンバー

USFT-NANCE-S18S1G1

4 メンバー

12のガイドは作成済み

0件のガイドコメント

コメントを追加

統計データ:

過去 24時間: 2

過去 7 日: 11

過去 30 日: 73

今までの合計 829