メインコンテンツにスキップ

How to repair a lint trap on a Kenmore 67132 Dryer.

必要な工具と部品

  1. How to repair a lint trap on a Kenmore 67132 Dryer., How to repair a lint trap on a Kenmore 67132 Dryer.: 手順 1、 3の画像 1 How to repair a lint trap on a Kenmore 67132 Dryer., How to repair a lint trap on a Kenmore 67132 Dryer.: 手順 1、 3の画像 2 How to repair a lint trap on a Kenmore 67132 Dryer., How to repair a lint trap on a Kenmore 67132 Dryer.: 手順 1、 3の画像 3
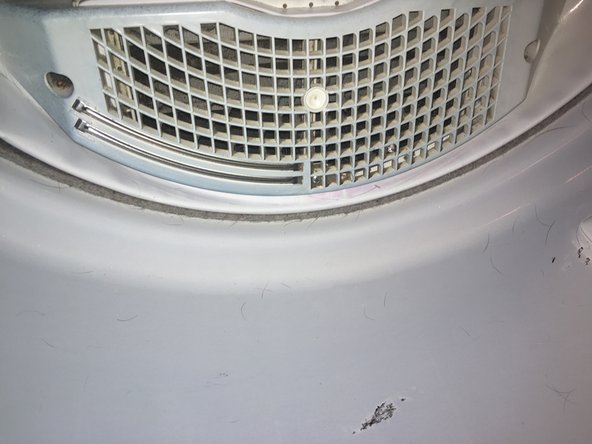
    • Using your Phillips #0 remove two 12.7 mm screws on each side of the door.

    • Remove the door.

  2. How to repair a lint trap on a Kenmore 67132 Dryer.: 手順 2、 2の画像 1 How to repair a lint trap on a Kenmore 67132 Dryer.: 手順 2、 2の画像 2
    • Using the Phillips #0, remove three 25.4 mm screws that hold the lint trap to the dryer.

  3. How to repair a lint trap on a Kenmore 67132 Dryer.: 手順 3、 3の画像 1 How to repair a lint trap on a Kenmore 67132 Dryer.: 手順 3、 3の画像 2 How to repair a lint trap on a Kenmore 67132 Dryer.: 手順 3、 3の画像 3
    • Remove the lint trap. You can see that there is a lot of lint in there. Once you take off the lint trap, you need to move it to the side. That way you have access to the trap and all the lint.

    • This is probably the reason the lint trap will not close.

  4. How to repair a lint trap on a Kenmore 67132 Dryer.: 手順 4、 2の画像 1 How to repair a lint trap on a Kenmore 67132 Dryer.: 手順 4、 2の画像 2
    • Use your hands to clean out all the lint from the trap. Grab all the lint inside the trap.

  5. How to repair a lint trap on a Kenmore 67132 Dryer.: 手順 5、 1の画像 1
    • Use an attachment to vacuum the remaining lint out of the trap.

  6. How to repair a lint trap on a Kenmore 67132 Dryer.: 手順 6、 2の画像 1 How to repair a lint trap on a Kenmore 67132 Dryer.: 手順 6、 2の画像 2
    • Use a washcloth and wipe down the trap and clean it.

  7. How to repair a lint trap on a Kenmore 67132 Dryer.: 手順 7、 2の画像 1 How to repair a lint trap on a Kenmore 67132 Dryer.: 手順 7、 2の画像 2
    • Replace the lint trap and using the Phillips #0 screwdriver, screw the three 25.4 mm screws to secure the lint trap.

  8. How to repair a lint trap on a Kenmore 67132 Dryer.: 手順 8、 3の画像 1 How to repair a lint trap on a Kenmore 67132 Dryer.: 手順 8、 3の画像 2 How to repair a lint trap on a Kenmore 67132 Dryer.: 手順 8、 3の画像 3
    • Using the Phillips #0 replace the four screws for the dryer door. Each side has two12.7mm screws.

終わりに

To put everything back start with the door, then putting the lint trap back on and then you are done. This guide is very simple. When you finish you should not have any screws left.

作成者

2人の作成者と共同で作成されました。

Hayley Cardinale

メンバー登録日: 04/09/20

157 ポイント

1ガイドが承認済み

チーム

0 件のコメント

コメントを追加

統計データ:

過去 24時間: 0

過去 7 日: 9

過去 30 日: 57

今までの合計 2,664