はじめに
The lightweight fabrics on sleeping bags carry bags can often tear after repeated use of the compression straps. This can make packing the sleeping bag more difficult, and less effective.
This guide will show how to use a sewing machine to fix a torn seam between the fabric and the compression webbing. This is a simple fix for anyone with experience of sewing machines, but may be a bit challenging without sewing knowledge.
必要な工具と部品
-
-
Find the location of the tear on your product. In best case, only the seam stitching should be broken, and no additional tears or damage to the webbing of fabric.
-
-
-
Unpack the sleeping bag and set it aside. Turn the carry bag inside-out and inspect the damage from inside. The seam should be clearly visible and there should be no fraying on the fabric or the webbing - if there is, you should carefully trim off frayed edges so long as enough fabric remains to run through the sewing machine later.
-
-
-
-
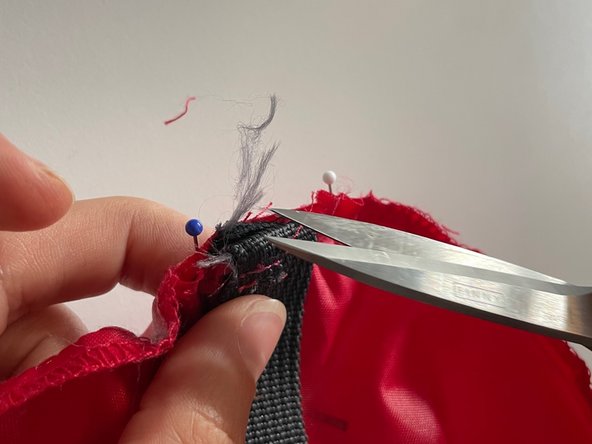
Use pins to secure the webbing back into the correct place.
-
Check the other (unbroken) webbing seams for the correct positioning on top or between the seam fabrics. This is unique to each product, so take care to match what you have and not copying the example shown.
-
Trim away any lose threads or fraying.
-
-
-
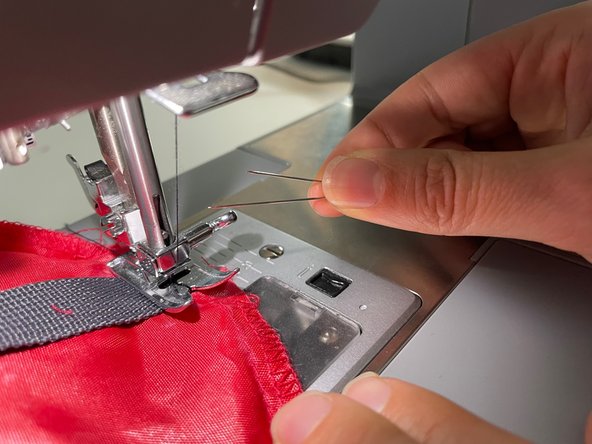
Prepare your sewing machine and the area around it. Position the broken seam underneath the foot and pull the foot down.
-
Remove the pins before starting!
-
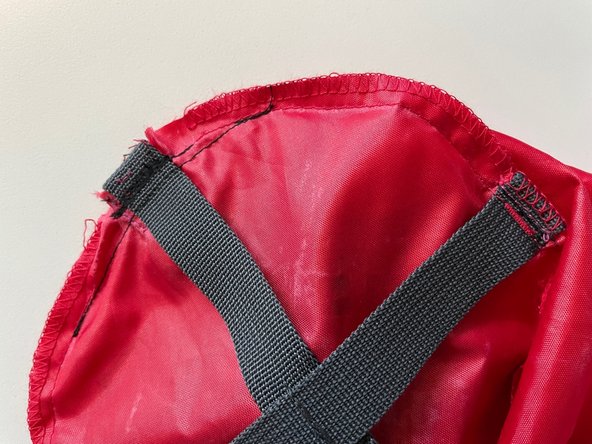
Start at one end of the seam and end at the other. Turn the bag around 180 degrees and repeat the process back the other way. Continue to do this until the repair looks to be a similar (or stronger) strength to the original. Lock the repair at both ends with a lock stitch or back stitch. Check the repair and finally cut the thread.
-
-
-
You repair is finished! Check the repair strength by pulling an unbroken strap gently, and then pulling the repaired strap in the same way.
-
When pulling the repaired strap, if it looks weak or strained, repeat step 4 again and add some additional stitching on the sewing machine.
-
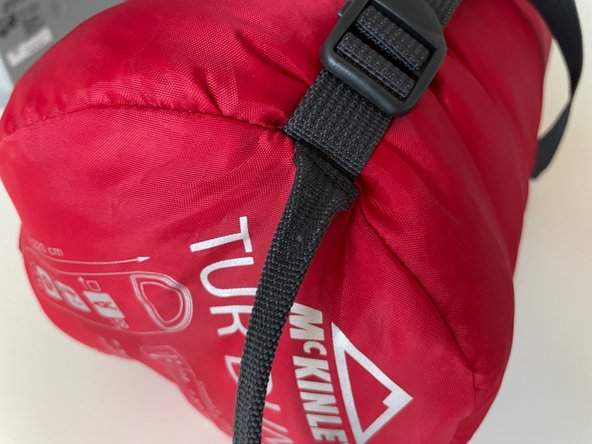
Turn the bag back the correct way, and stuff the sleeping bag back in. If it looks unstrained and strong, you're ready to go!
-
Note: it is normal for the repaired strap to be 5-10mm shorter after the repair, and this may be noticeable when the bag is packed.
-


To reassemble your device, follow these instructions in reverse order.
To reassemble your device, follow these instructions in reverse order.
